 EN
 IT Italiano
 ES Español
 FR Français
 DE Deutsch
Description
We have datasheets available for all components. If the datasheet is not present in the product download sheet, send us a message through the contact form and we will publish it on the website as soon as possible.
Tutorial: How to Use J-head Bowden Tube Connector
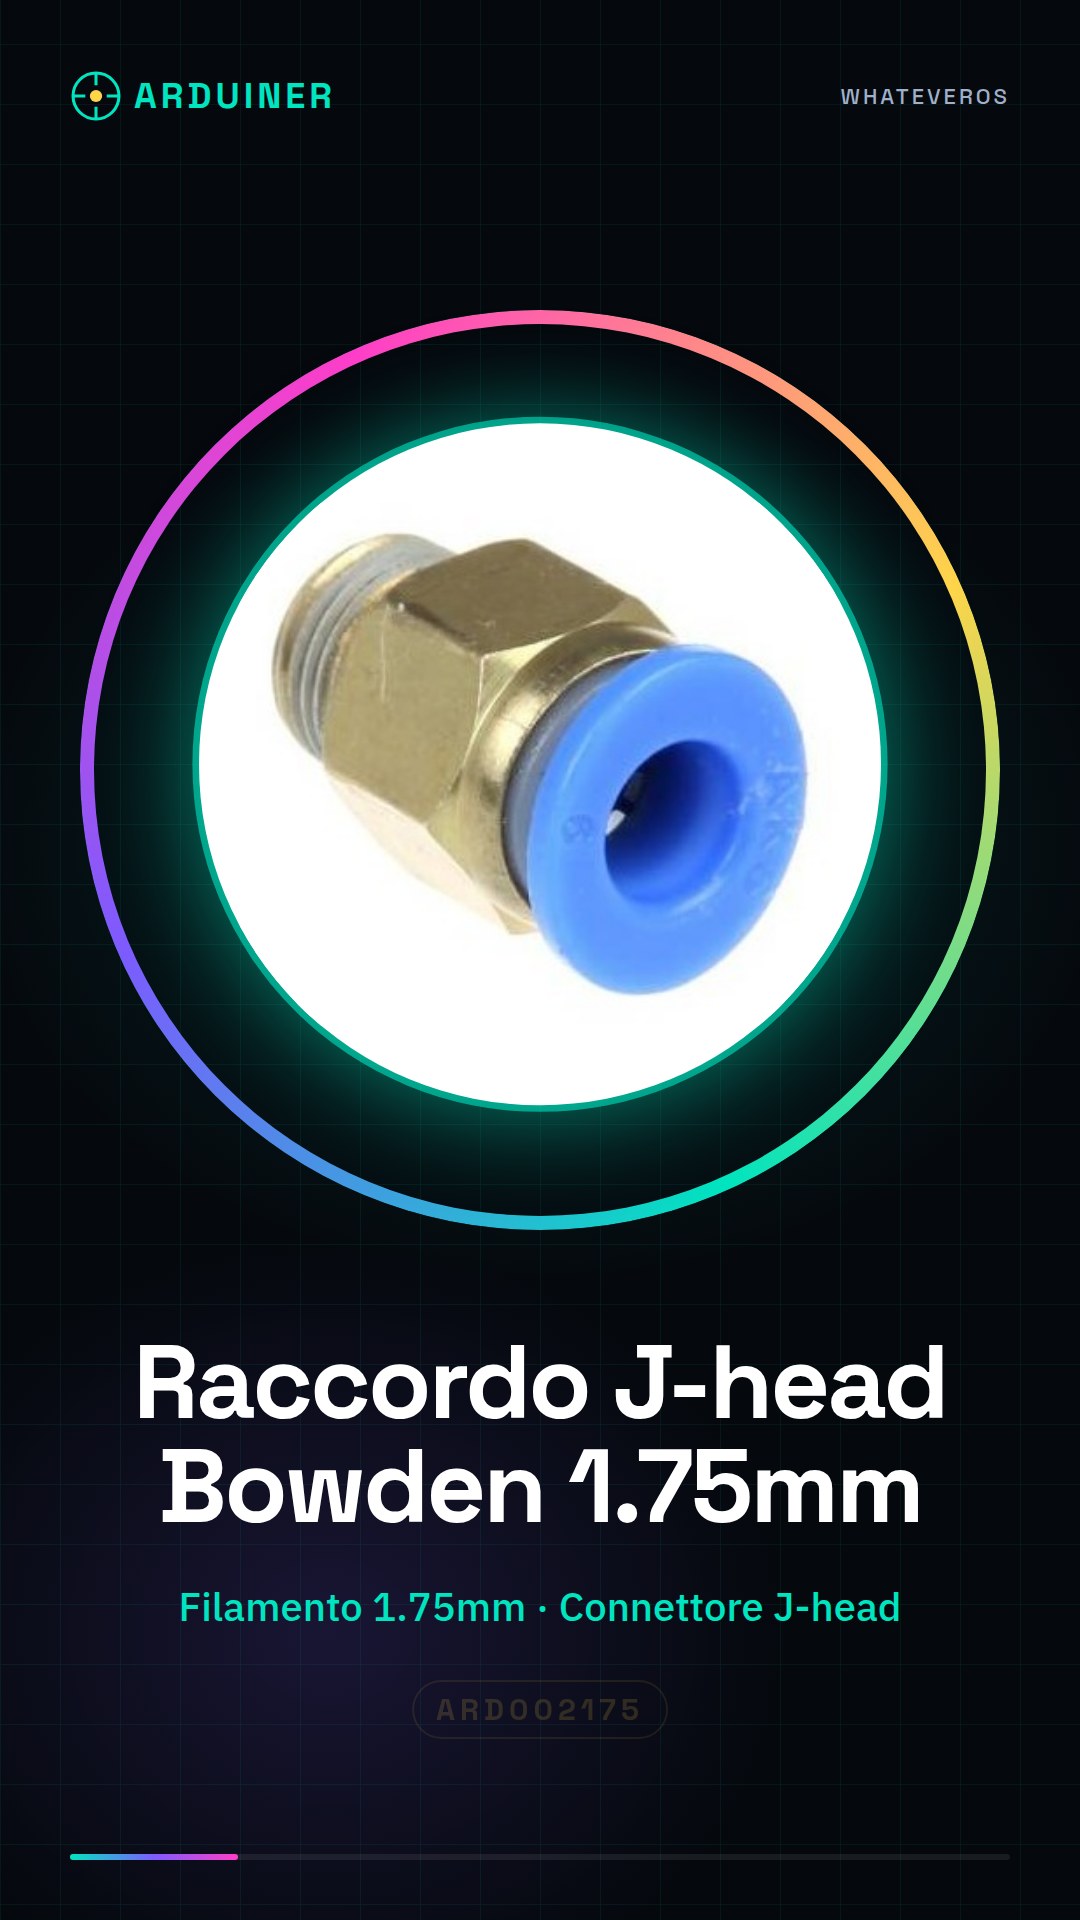
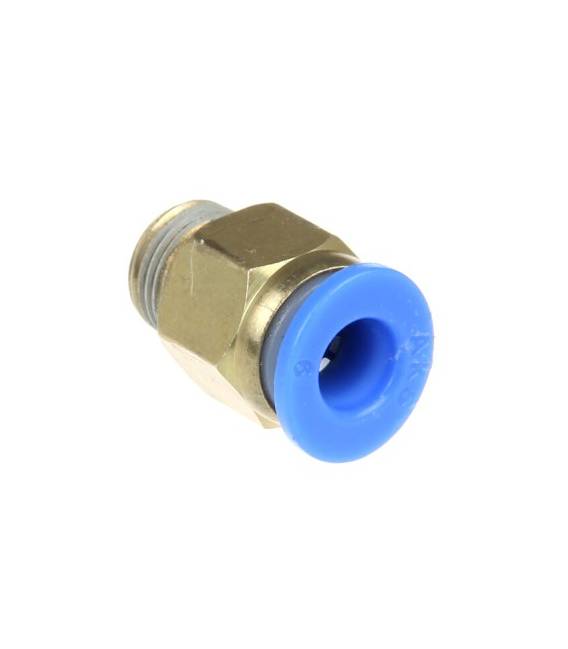
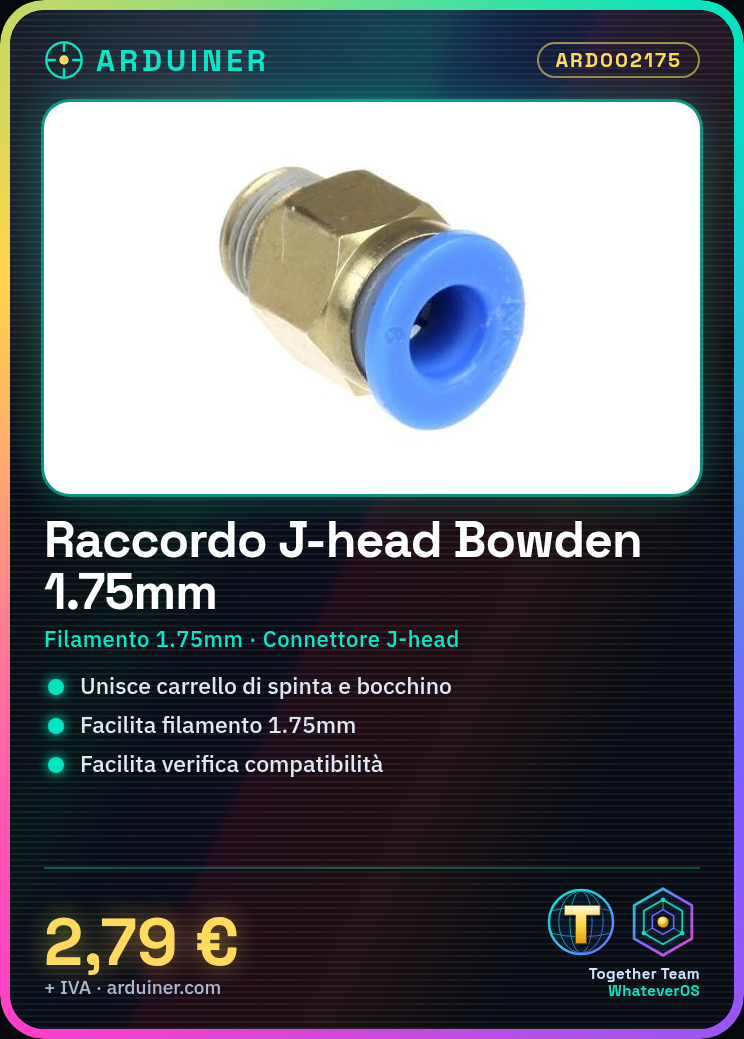
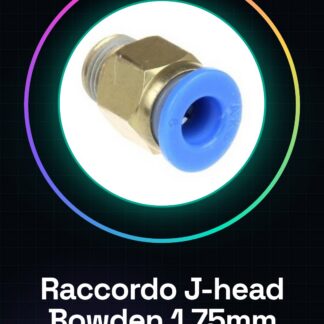
The J-head type Bowden tube connector for 1.75mm filament is essential for 3D printing, as it connects the filament pusher carriage to the extruder nozzle.
What you need
- Bowden Tube
- 1.75mm Filament
- 3D Printer with J-head Extruder
Steps
- Ensure the Bowden tube is properly cut and ready for installation.
- Gently insert one end of the filament into the J-head connector.
- Connect the other end of the filament to the pusher carriage of the 3D printer.
- Attach the Bowden tube to the extruder using the connector, making sure it is securely fastened.
- Check the compatibility and alignment between the connector and the connected parts.
- Test the printer with a short test run to ensure everything is working correctly.
Mini project
Create a small sculpture or custom 3D model using the installed Bowden connector.
Common mistakes
- Filament connection too tight
- Bowden tube not properly secured
- Filament jamming during printing
Recommended accessories
- Pusher carriage for 1.75mm filaments
- 3D printer repair tool set
- Extruder and nozzle cleaning kit
- J-head compatible Bowden tubes
Frequently asked questions
Can this connector be used with 2.85mm filaments?
No, this connector is specific for 1.75mm filaments.
How can I clean the connector if it jams?
Check the product datasheet for specific cleaning instructions.
Reviews
There are no reviews yet.