 EN
 IT Italiano
 ES Español
 FR Français
 DE Deutsch
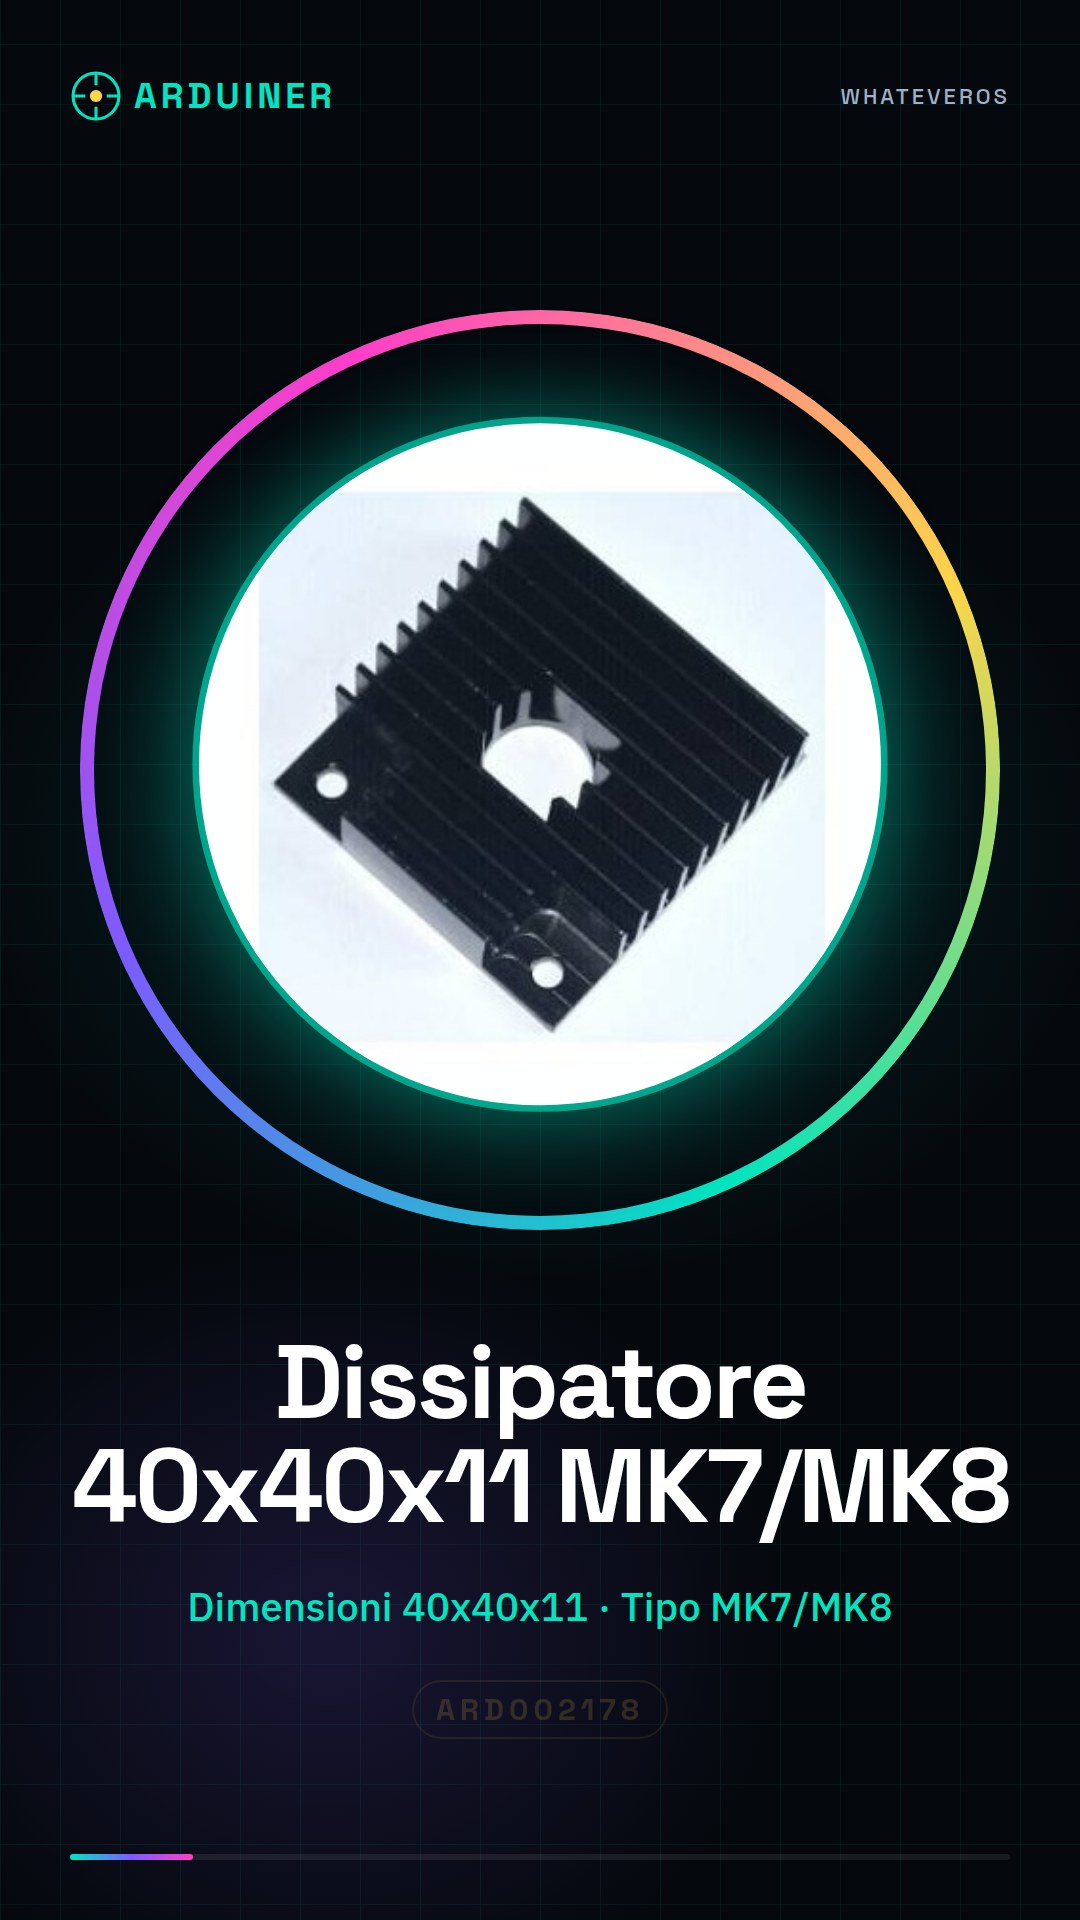
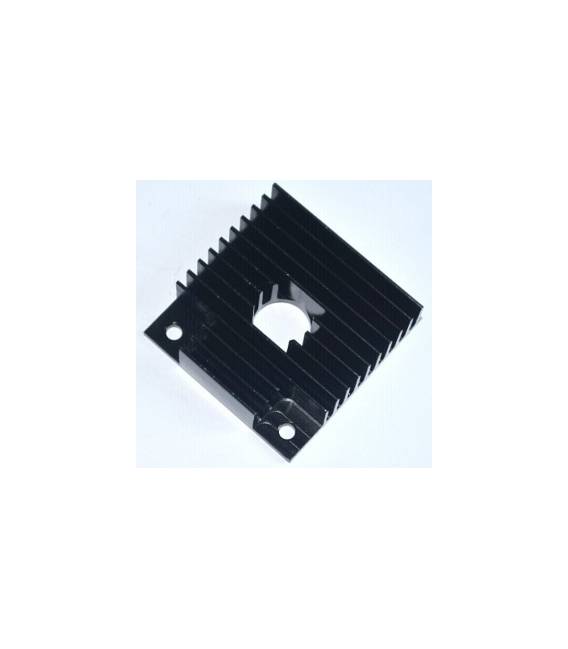
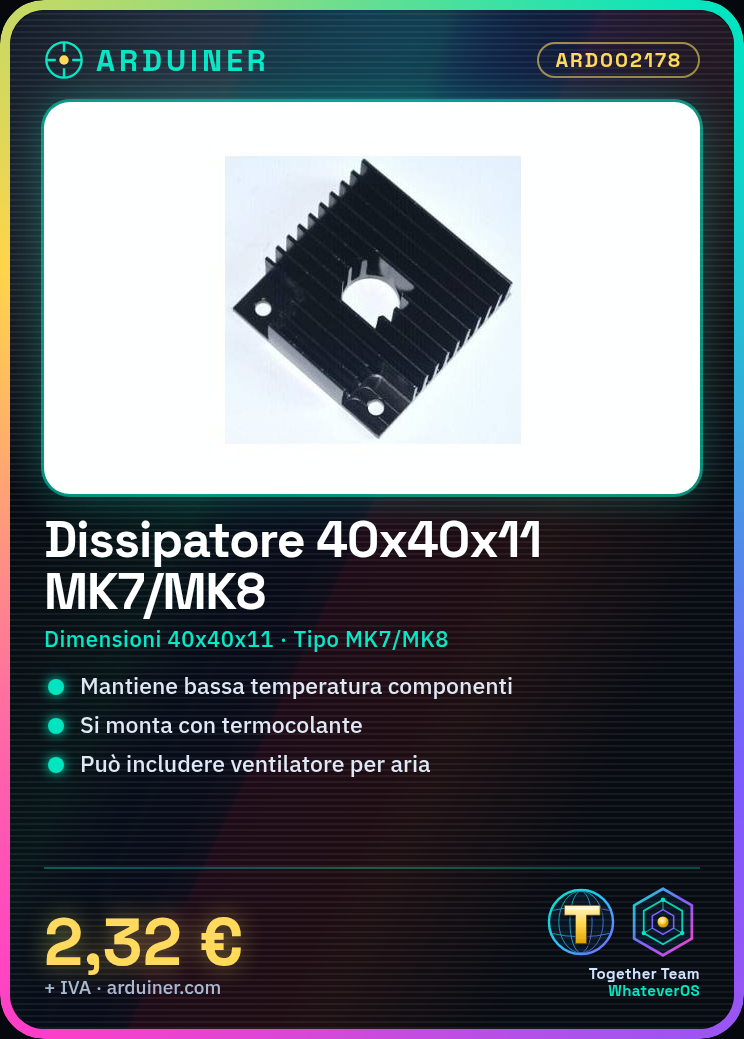
Description
We have datasheets available for all components. If the datasheet is not included in the product download card, please send us a message through the contact us module and we will publish it as soon as possible on the website.
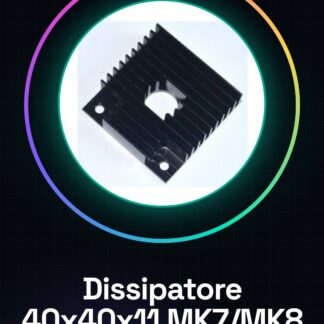
Tutorial: How to Use MK7/MK8 40x40x11 Heat Sink
The MK7/MK8 heat sink is essential for maintaining low temperatures of electronic components during intensive use, especially in 3d printers. This tutorial will guide you through the necessary steps to install it correctly.
What you need
- MK7/MK8 heat sink
- thermal tape
- mounting clearance
- fan
Steps
- Check the datasheet of the heat sink for the dimensions and type of connection required for installation.
- Apply a thin strip of thermal tape to the surface of the component to be cooled.
- Place the MK7/MK8 heat sink on the surface of the component, ensuring it is well adhered and centered.
- If necessary, mount a fan on the opposite side of the heatsink to improve air circulation.
- Check the stability of the installation by mounting everything on a base or in a fixed position.
Mini project
Project: Install a complete cooling system for your 3D printer, including the MK7/MK8 heatsink and a fan.
Common mistakes
- Do not apply too little or too much thermal paste
- Mount the heatsink without ensuring it is centered on the surface to be cooled
- Omit the fan installation step when necessary
Recommended accessories
- 40x40mm fan
- Thermal paste
- Heatsink mounting guide
Frequently asked questions
Is the MK7/MK8 heatsink compatible with other components?
Check the component datasheet you want to cool to verify if the heatsink is compatible.
How much heat can it dissipate?
Heat dissipation capability depends on usage conditions and ventilation type. Check the datasheet for specific details.

Reviews
There are no reviews yet.