 EN
 IT Italiano
 ES Español
 FR Français
 DE Deutsch
Description
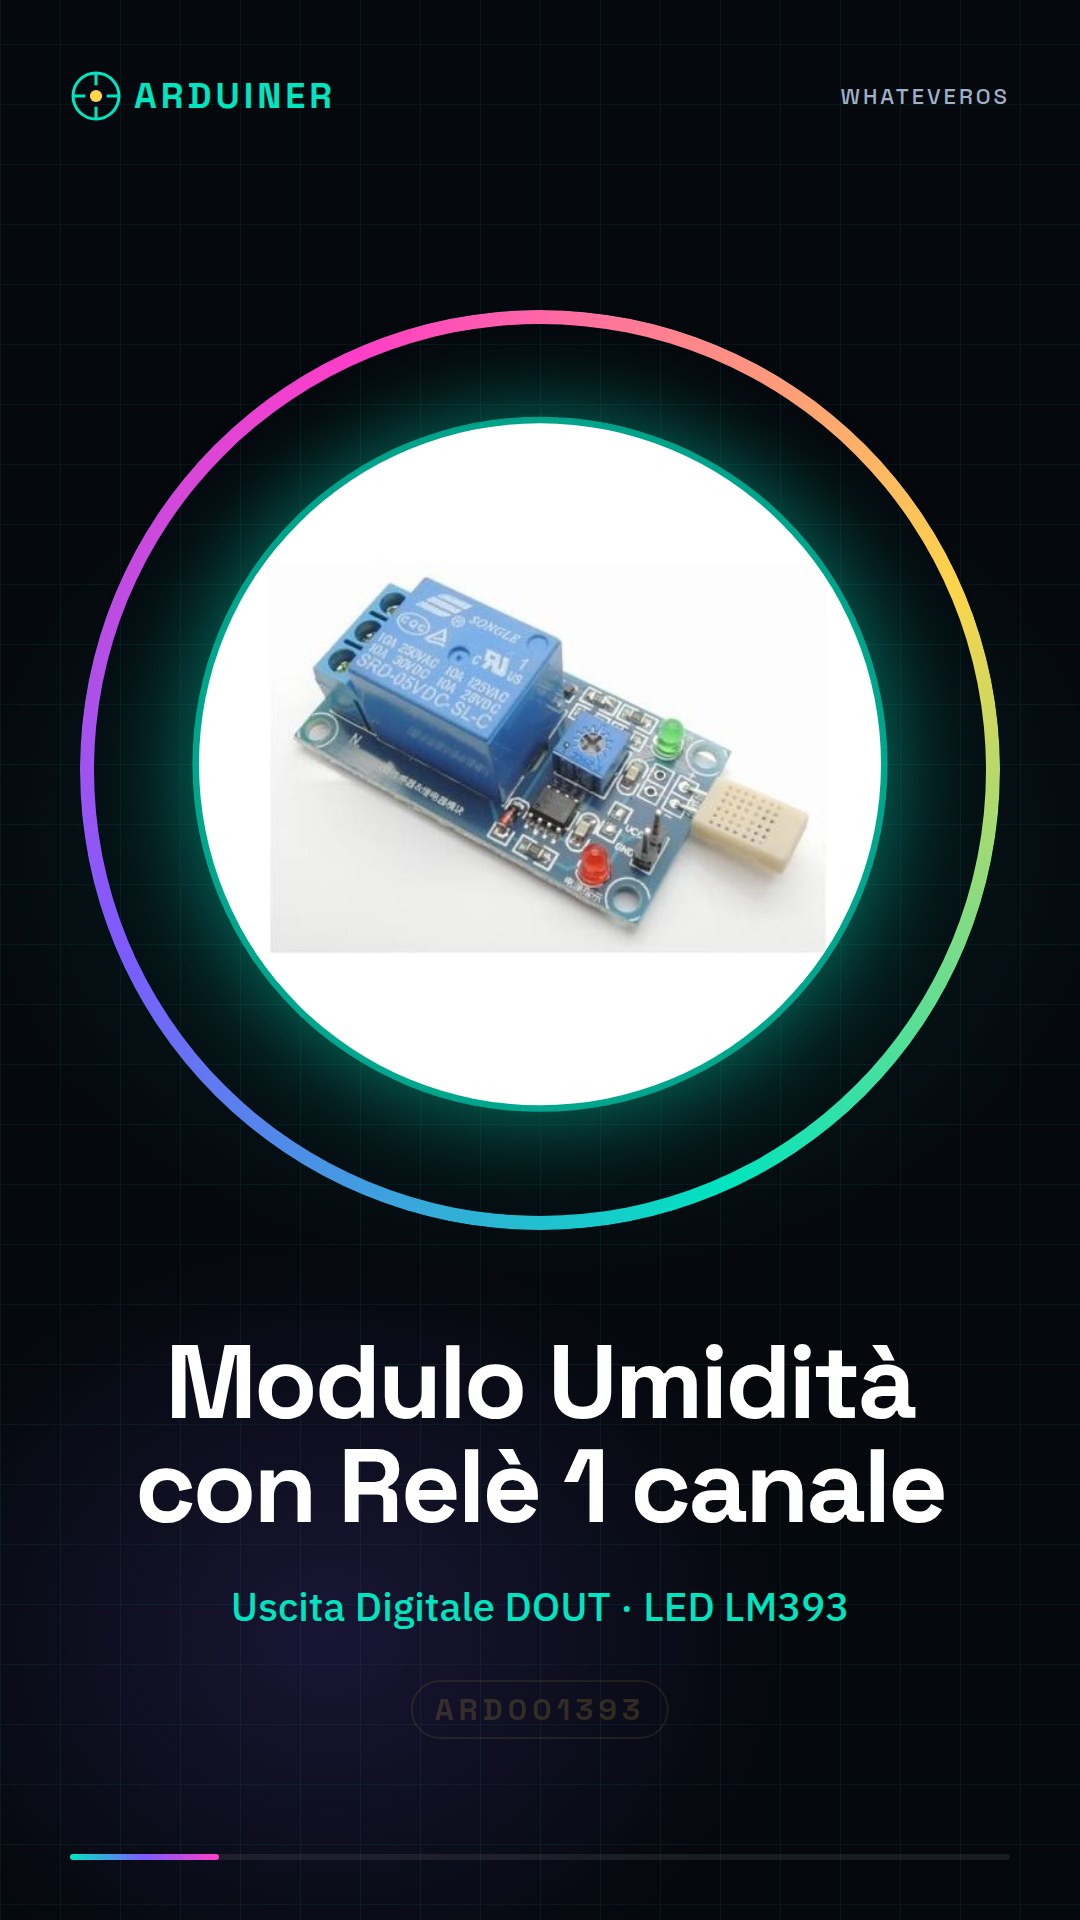
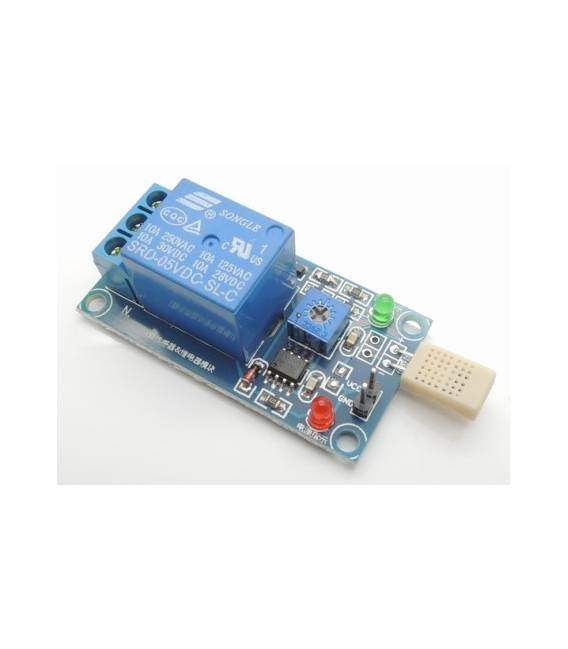
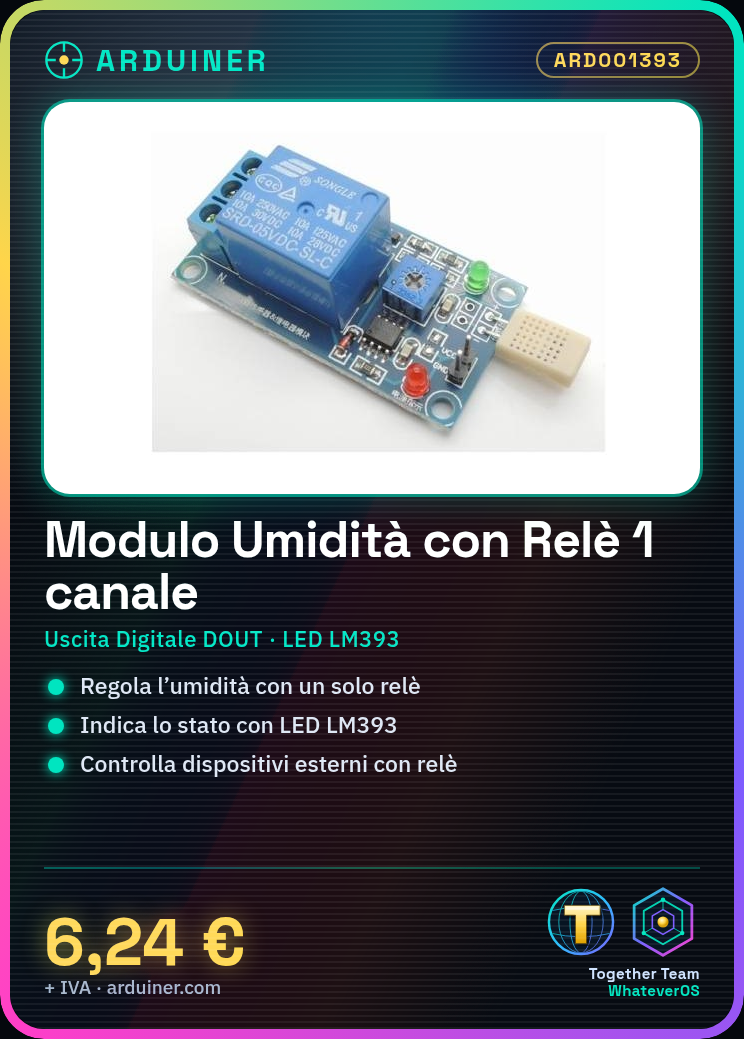
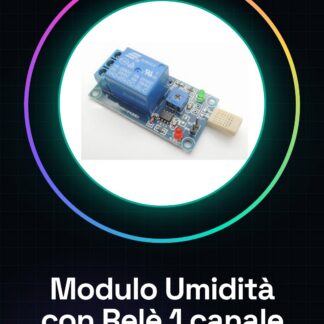
Humidity Module with 1 Channel Relay and LED Indicator LM393 Humidity Sensor HR202 Digital Output Module
Tutorial: How to Use Humidity Module with Relay and LED
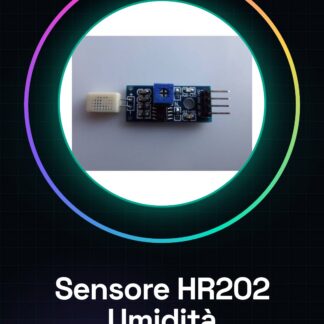
The HR202 humidity module is a useful component for projects requiring automatic humidity management. It is ideal for smart gardening enthusiasts or anyone who wants to monitor the environment.
What you need
- Arduino Uno
- Jumper Wires (various colors)
- 5V Power Supply
Steps
- Connect the VCC and GND pins of the HR202 module to the Arduino power supply.
- Connect the DOUT pin to the digital input pin of the Arduino.
- If necessary, connect the relay to an external device (check the datasheet for the correct voltage).
- Connect the LED pins to the power supply and the HR202 module as a visual indicator.
- Write the Arduino sketch to read humidity from the sensor.
- Test the connection with a simple loop that turns the relay on/off based on humidity values.
- If everything works, customize the humidity threshold to activate the relay automatically.
- Test the project on a small external device like a water pump.
Example code
const int sensorPin = 2; // Pin digitale dove è collegato DOUT del sensore
const int relayPin = 7; // Pin di controllo del relè
void setup() {
  pinMode(sensorPin, INPUT);
  pinMode(relayPin, OUTPUT);
}
void loop() {
  if (digitalRead(sensorPin) == HIGH) {
    digitalWrite(relayPin, HIGH); // Attiva il relè se DOUT è alto
  } else {
    digitalWrite(relayPin, LOW); // Disattiva il relè altrimenti
  }
}
Mini project
Create an automatic irrigation system for a plant. Connect the water pump to the HR202 relay module and set the desired humidity level.
Common mistakes
- Connect the DOUT pin to an analog pin on the Arduino.
- Do not check the correct voltage for the relay before connecting it.
- Forget to add a current-limiting resistor for the LED.
- Use an incorrect humidity threshold in the code.
Recommended accessories
- Arduino Uno
- Jumper Connections (various colors)
- 5V Relay
- Water Pump
Frequently asked questions
Does the relay only activate when the humidity is too high?
No, you can set the humidity threshold in the code.
Can I connect multiple HR202 sensors to a single Arduino board?
Yes, but you need to add pull-up resistors and modify the code to handle different pins.
What is the difference between this module and one without a relay?
This module includes an integrated relay that can automatically control external devices based on humidity.
Reviews
There are no reviews yet.