 EN
 IT Italiano
 ES Español
 FR Français
 DE Deutsch
Description
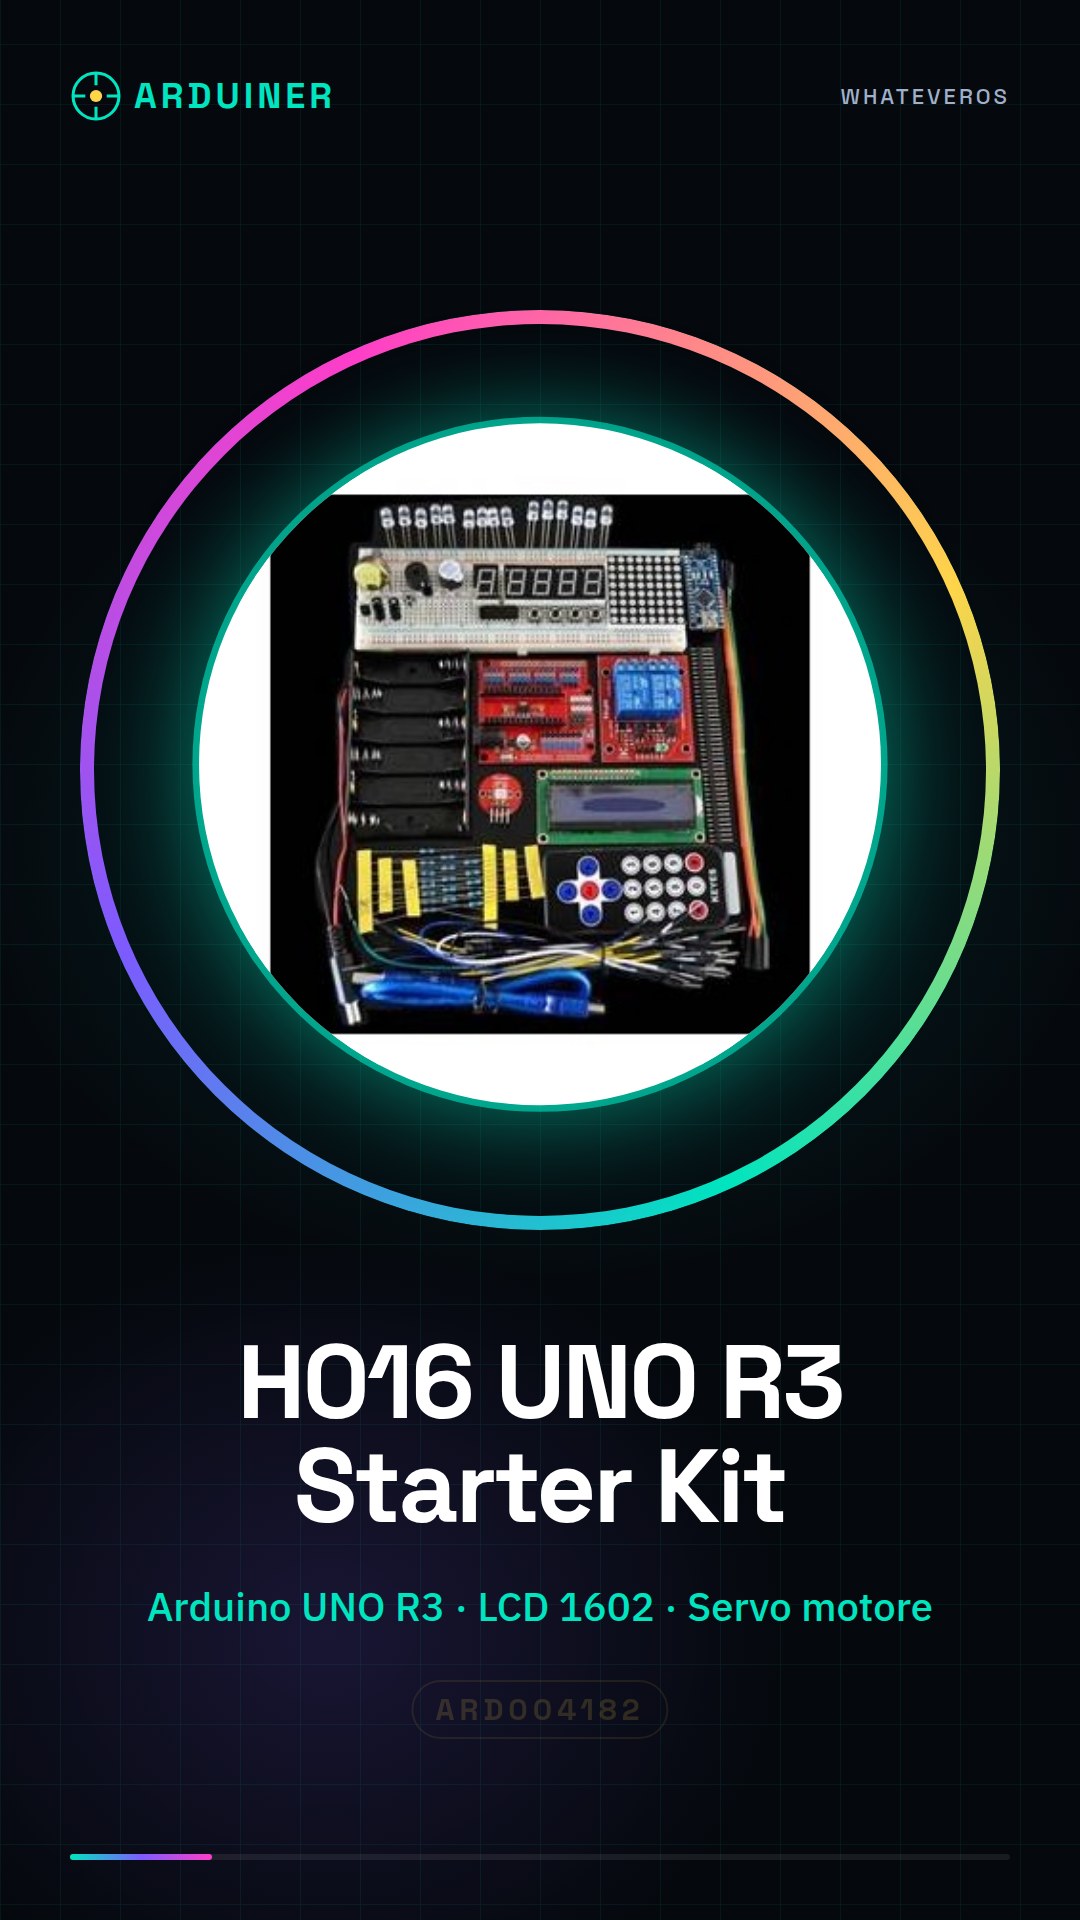
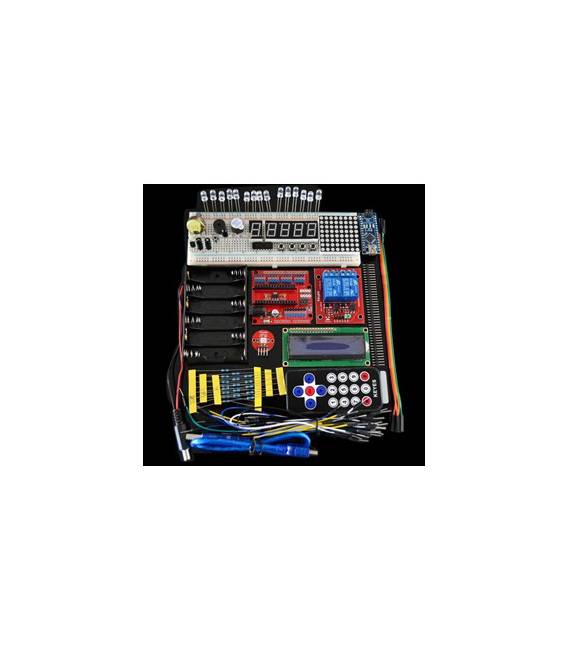
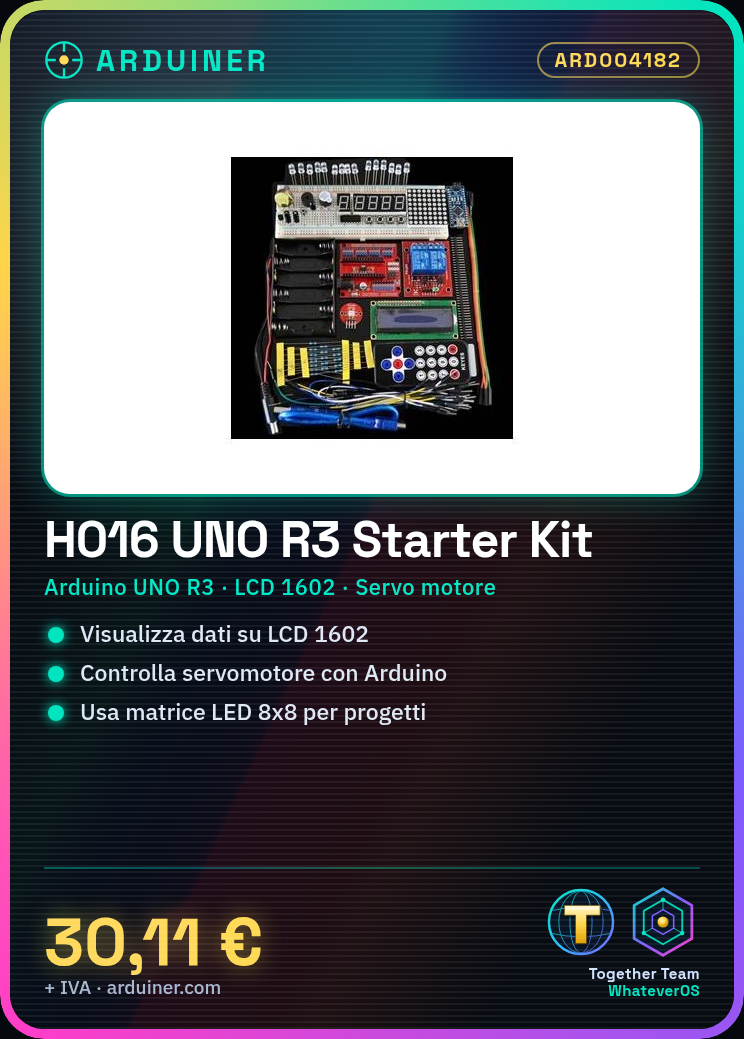
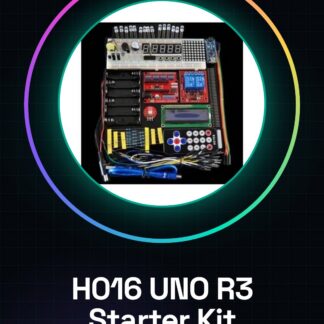
H016 UNO R3 Starter Kit 1602 LCD Servo Motor Dot Matrix Breadboard LED for Arduino kit01
| Kit List | Qty |
| Arduino Nano + Shield Board + USB Cable | 1 |
| 1602 LCD Module | 1 |
| 3-color plug-in components | 1 |
| Rotary Potentiometer 15MM step 3 feet 2.54 5K | 1 |
| 830 point Breadboard / 8 * 8 DOT MATRIX (1pc / each) | 1 |
| Active / Passive buzzer (1pc / each) |
1 |
| Resistor 220R, 1K, 10K (5pcs / each) | 15 |
| LM35 Temperature Sensor / Flame Sensor (1pc / each) | 2 |
| Male-male jumper wire for Breadboard | 30 |
| Dupont Female-Female Cable (4 pieces / set) | 1 |
| Remote Controller / 74H595 IC (1pc / each) | 1 |
| 2 Channel Relay Module (5V) | 1 |
| 1 * 40 Pin Header | 1 |
| Toggle Switch | 2 |
| single segment LED display | 1 |
| 4 digit 7-segment LED display | 1 |
| toggle switch | 1 |
| photoresistor | 4 |
Tutorial: How to use H016 UNO R3 Starter Kit
The H016 UNO R3 kit is ideal for beginners who want to start experimenting with Arduino. It includes a wide range of components and accessories necessary to perform basic projects such as data visualization on an LCD display, servo motor control, and the use of LED matrices.
What you need
- Arduino UNO R3
- 1602 LCD Display
- Servo motor
- LED dot matrix
- Breadboard
- various LEDs
Steps
- Connect the LCD display to the breadboard pins.
- Connect the servo motor to the digital pins of the Arduino UNO R3.
- Install the necessary libraries to manage the display and the servomotor (LiquidCrystal.h, Servo.h).
- Write an Arduino sketch that uses the installed libraries to control the LCD display and the servomotor.
- Check the correct display of data on the LCD screen.
- Test the movement of the servomotor in response to Arduino commands.
- Add various LEDs to the breadboard to light them up with digital pins.
- Try combining the kit’s features by creating a simple interaction project.
Example code
// Esempio di sketch Arduino
#include <LiquidCrystal.h>
#include <Servo.h>

LiquidCrystal lcd(12, 11, 5, 4, 3, 2);
Servo myservo;
int pos = 0;

void setup() {
 myservo.attach(9);
 lcd.begin(16, 2);
}

void loop() {
 for(pos = 0; pos <= 180; pos += 1) { // Ciclo per muovere il servomotore da sinistra a destra.
 myservo.write(pos);
 delay(15);
 }
 for(pos = 180; pos >= 0; pos -= 1) {
 myservo.write(pos);
 delay(15);
 }
}
Mini project
Create a digital clock that displays the time on the LCD screen and moves the servomotor to indicate the hours.
Common mistakes
- Do not install the necessary library correctly.
- Connect the servo motor without checking the power supply voltage.
- Write code that does not take into account the servomotor’s resistance.
- Use LEDs directly with digital pins without current-limiting resistors.
Recommended accessories
- Arduino connector kit
- Set of variable resistors
- Arduino sensor kit
- Large breadboard
Frequently asked questions
How can I control multiple servomotors?
Use a multiplexer or connect each servomotor to a separate digital pin.
What is the difference between an LCD display and an LED dot matrix display?
The LCD display shows text and numbers, while the LED dot matrix display creates custom images or characters.
Reviews
There are no reviews yet.