 EN
 IT Italiano
 ES Español
 FR Français
 DE Deutsch
Description
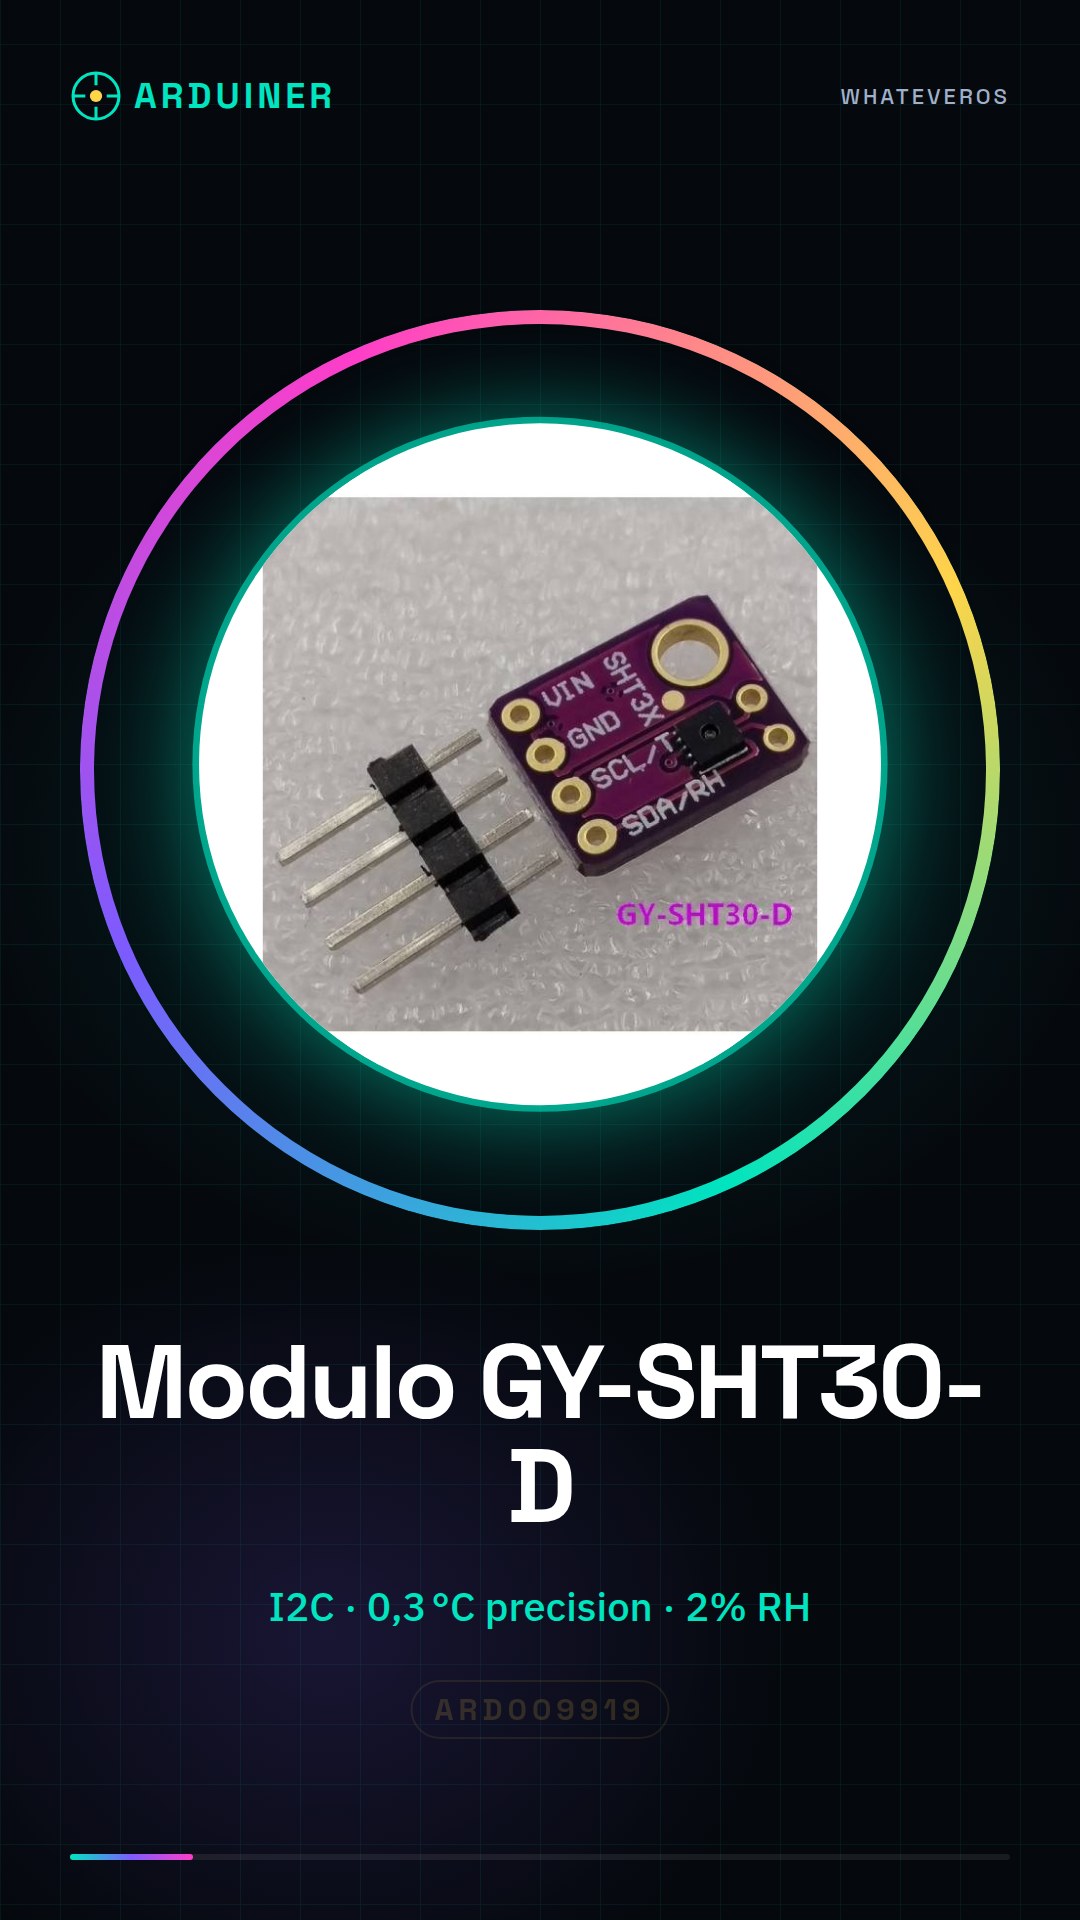
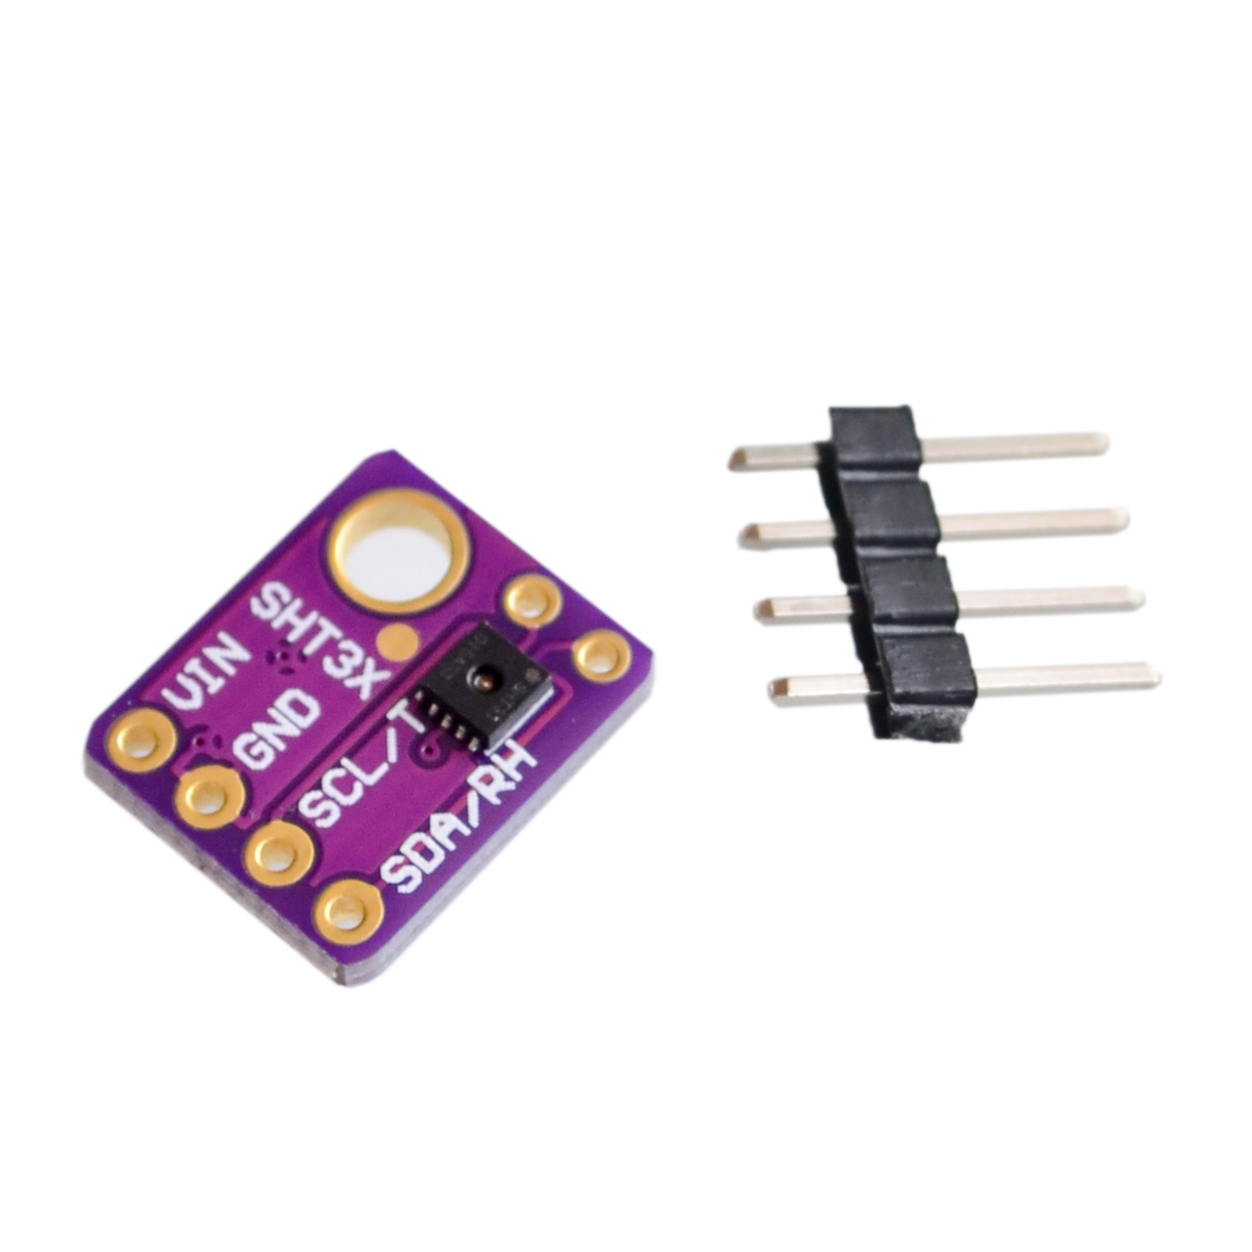
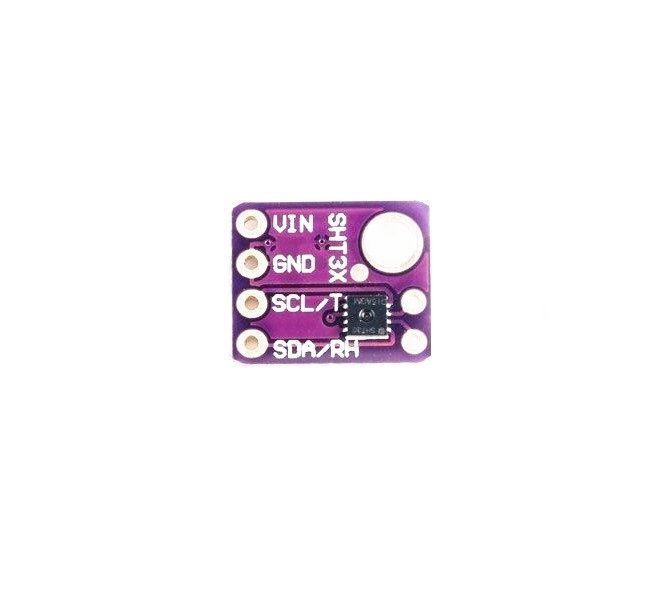
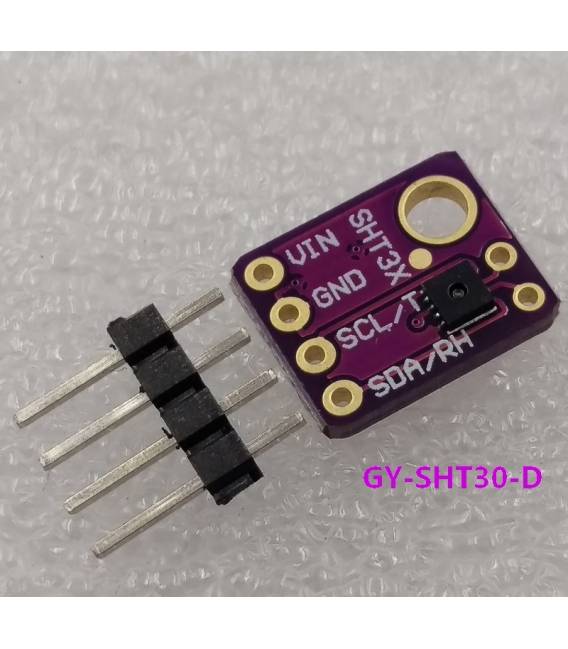
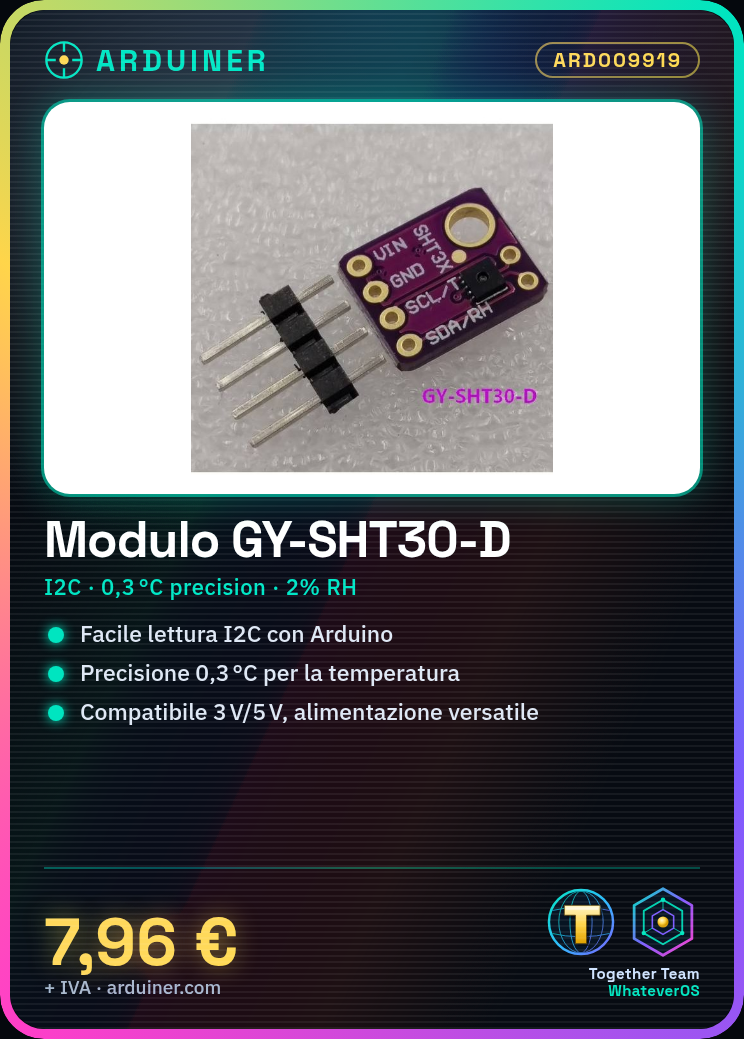
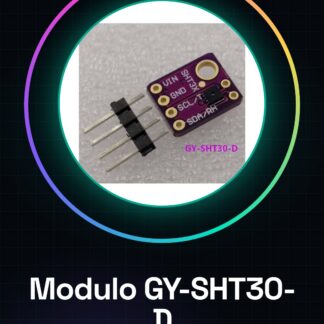
GY-SHT30-D Digital Temperature Sensor and I2C Compatible with Arduino
-
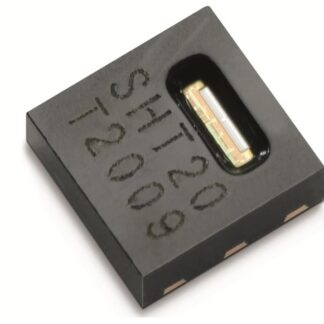
The temperature sensors / Sensiron are among the most refined and high-precision devices that can be obtained. And finally, we have some that have a true I2C interface for easy reading. The SHT30-D sensor has an excellent relative accuracy of 2% and a temperature precision of 0.3 C for most uses.
Unlike previous SHT sensors, this sensor has a true I2C interface and (bonus!) Also with two address options. Furthermore, it is compatible with 3 V or 5 V, so it can be powered and communicated with practically any microcontroller or microcomputer.
A cute chip – so we created a breakout board with the SHT30-D and some supporting circuits like pullup resistors and capacitors. Each order comes with a fully assembled and tested breakout PCB and a small header piece. You’ll need to solder the header onto the PCB but it’s pretty simple and takes only a few minutes, even for a beginner.
Power pins:
Vin: this is the power pin. The chip uses 2.5-5 V CC for power. For aTutorial: How to use GY-SHT30-D
The GY-SHT30-D is a digital temperature and humidity I2C sensor compatible with Arduino, ideal for environmental monitoring projects.
What you need
- Arduino or compatible
- I2C cable
- 4.7kΩ pull-up resistor
- Arduino IDE software
Steps
- 1. Connect the pull-up resistor between SDA and VCC.
- 2. Connect SDA to the Arduino’s SDA pin.
- 3. Connect SCL to the Arduino’s SCL pin.
- 4. Load the code onto the GY-SHT30-D.
- 5. Run the code to read the temperature and humidity.
- 6. Check I2C communication with an oscilloscope or debugger.
- 7. Refer to the datasheet for further settings.
- 8. Try mounting the sensor in an environmental monitoring project.
Example code
```cpp
#include <Wire.h>
#include <SHT3x.h>

SHT3x sht3x;

void setup() {
  Wire.begin();
  sht3x.begin();
}

void loop() {
  float temperature = sht3x.readTemperature();
  float humidity = sht3x.readHumidity();
  Serial.print("Temp: ");
  Serial.print(temperature);
  Serial.print("C, Hum: ");
  Serial.print(humidity);
  Serial.println("%");
  delay(1000);
}
```
Mini project
Build a room humidity monitoring system. Connect the GY-SHT30-D to an Arduino and display the values on a serial port.
Common mistakes
- Forget to connect the 4.7kΩ pull-up resistor.
- Configure Wire.begin() without initializing the sensor.
- Do not use delay() to read the data.
- Do not check I2C communication with an oscilloscope.
Recommended accessories
- Arduino Uno
- I2C cable
- 4.7kΩ pull-up resistor
- LCD display
Frequently asked questions
How can I verify I2C communication?
Use an oscilloscope or debugger to verify I2C communication.Does the GY-SHT30-D work with Arduino Nano?
Yes, the GY-SHT30-D is compatible with Arduino Nano.Can I use another pull-up resistor?
Yes, but make sure it is between 1kΩ and 10kΩ.
Reviews
There are no reviews yet.