 EN
 IT Italiano
 ES Español
 FR Français
 DE Deutsch
Description
What it is
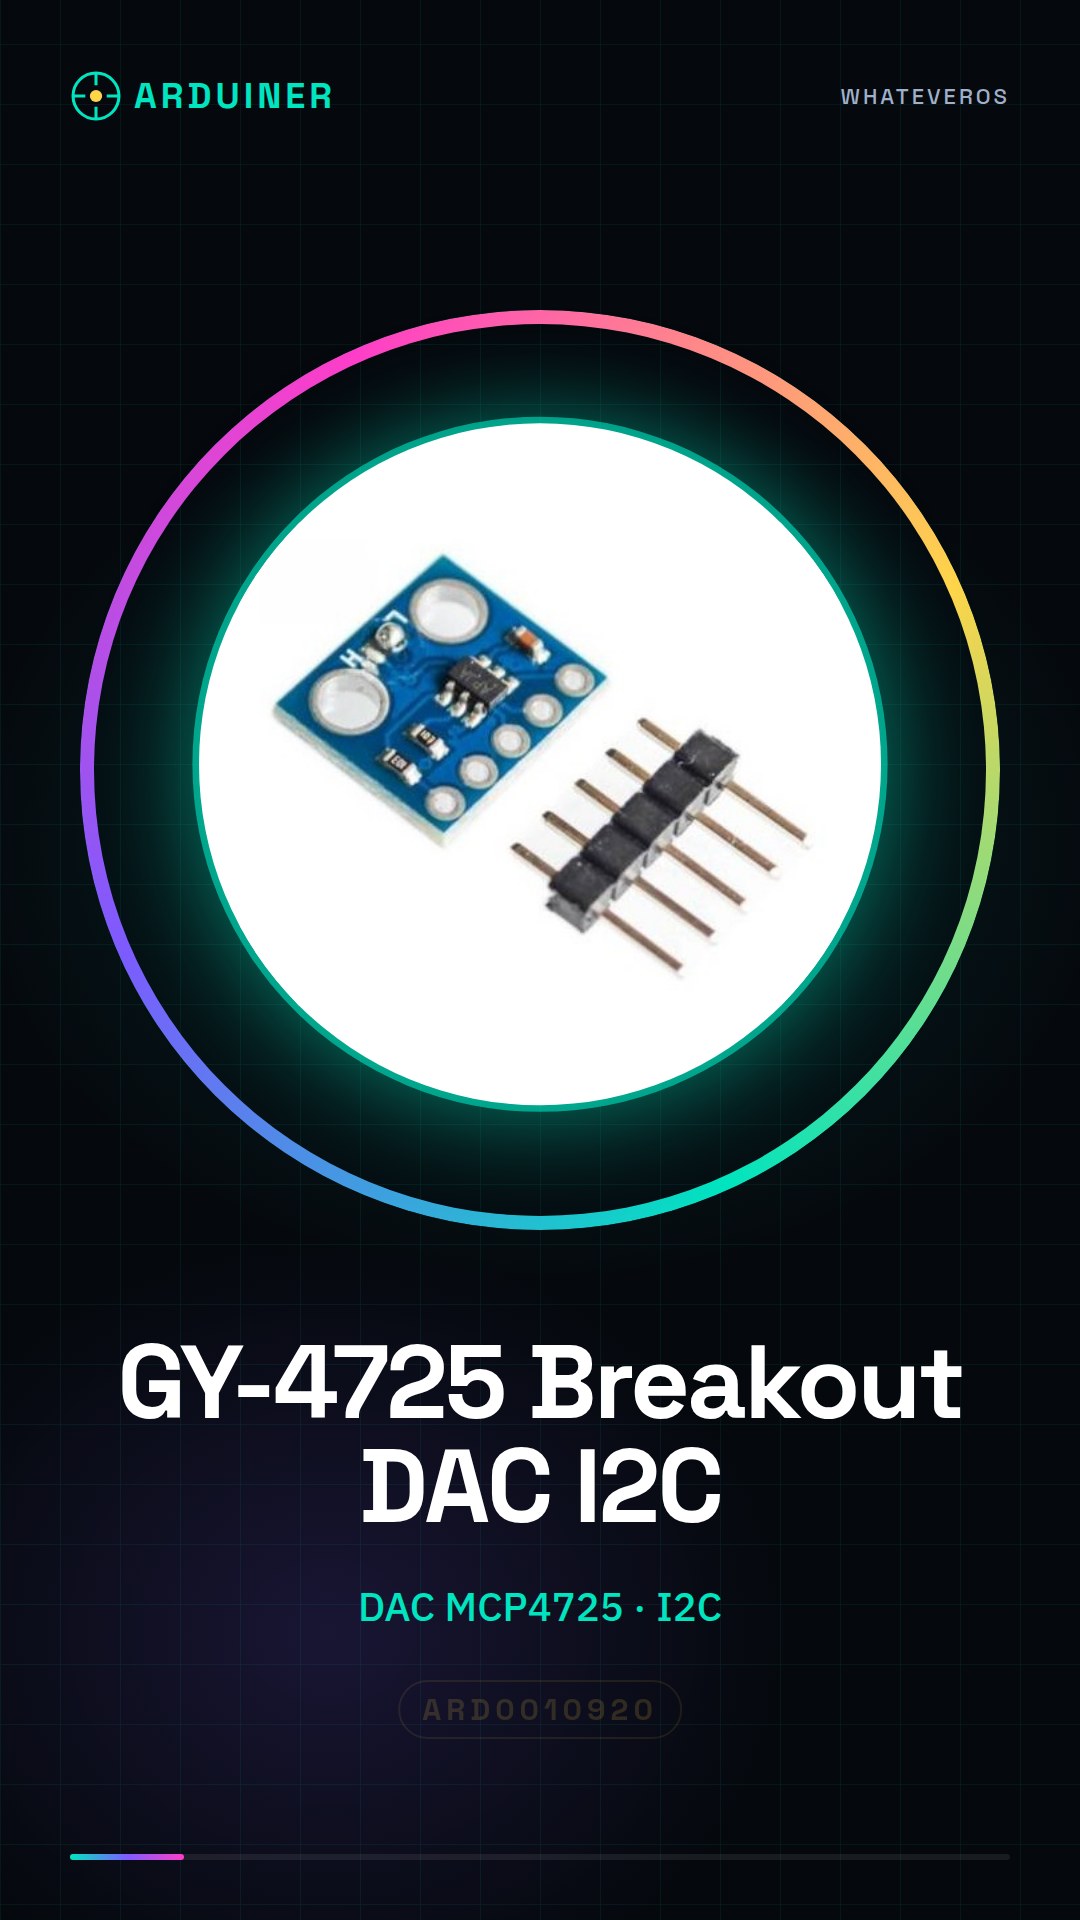
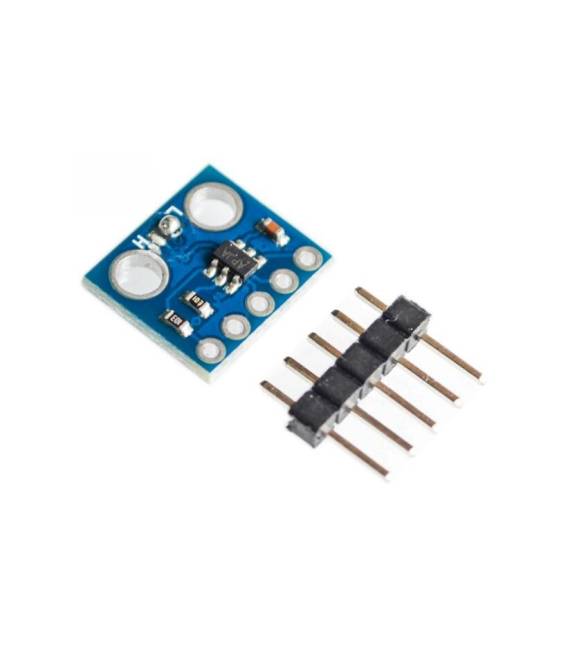
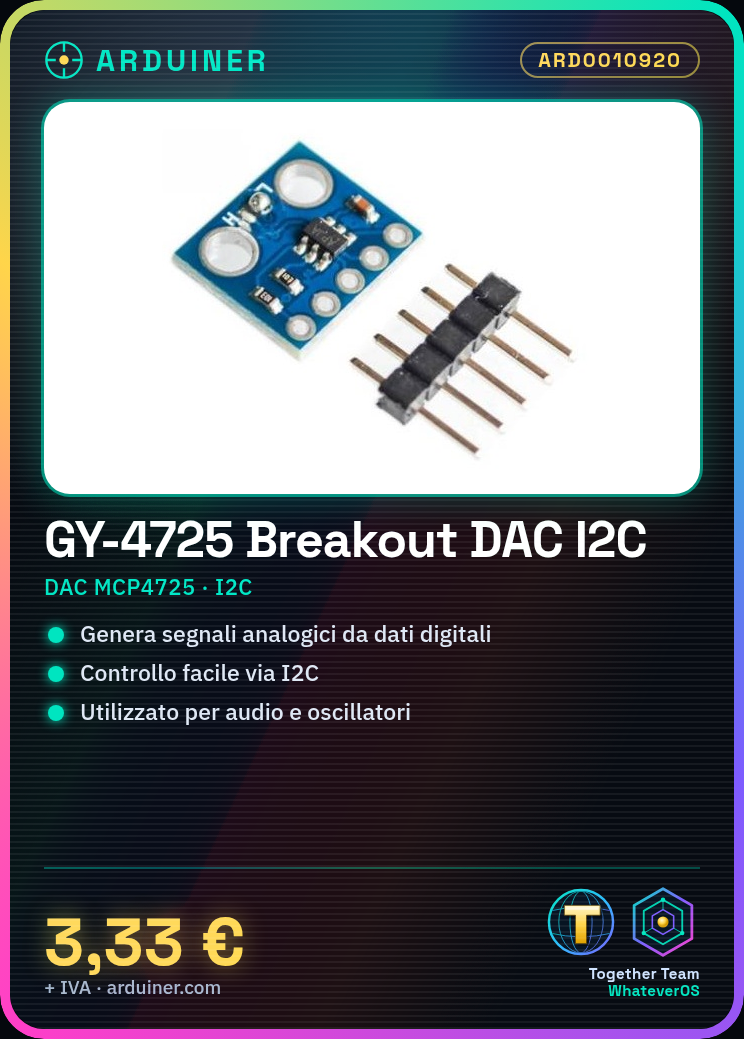
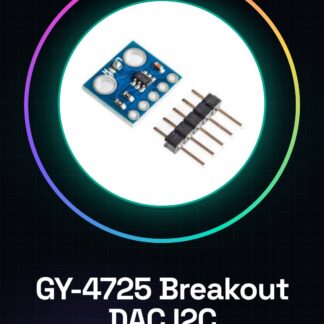
The GY-4725 Breakout DAC I2C is an analog-to-digital converter (DAC) that allows the generation of analog signals from digital signals. It is based on the MCP4725 chip and offers an I2C interface for control.
Features
- Analog-to-Digital Converter (DAC)
- Based on the MCP4725 chip
- I2C Interface
What it is for
The GY-4725 Breakout DAC I2C is useful for projects that require analog outputs, such as audio signal generation, control of analog devices, or creation of oscilloscopes. It is compatible with Arduino and other microcontrollers that support the I2C interface.
Tutorial: How to use GY-4725 Breakout DAC I2C
The GY-4725 Breakout DAC I2C is an analog-to-digital converter (DAC) that allows the generation of analog signals from digital signals. Useful for projects that require analog outputs, suitable for beginners and intermediates.
What you need
- Microcontroller Arduino
- I2C Cable
- Pull-up Resistor (10kΩ)
- Power Supply
Steps
- 1. Connect the GY-4725 to the Arduino microcontroller via the following pins: VCC to 5V, GND to GND, SDA to SDA, SCL to SCL.
- 2. Connect a pull-up resistor (10kΩ) between SDA and VCC, and between SCL and VCC.
- 3. Power the GY-4725 with a 5V voltage.
- 4. Load the provided Arduino code.
- 5. Verify the correct I2C configuration in the datasheet.
- 6. Set the desired DAC value through the code.
- 7. Check the analog output with a multimeter.
- 8. Test the output stability.
Example code
```void setup() { Wire.begin(); } void loop() { int val = 512; // Valore DAC da 0 a 1023 Wire.beginTransmission(0x60); Wire.write((byte)0x40); Wire.write((byte)(val >> 8)); Wire.write((byte)(val & 0xFF)); Wire.endTransmission(); delay(1000); } ```Mini project
Create a simple oscilloscope using an Arduino, a GY-4725, and an oscilloscope. Generate variable frequency signals and measure the output.
Common mistakes
- Forget to connect the pull-up resistors.
- Incorrect I2C address.
- Voltage not stable.
- Incorrect code syntax.
Recommended accessories
- Multimeter
- Oscilloscope
- Pull-up resistor (10kΩ)
- Arduino Shield
Frequently asked questions
How to set the DAC value?
Use the Arduino code to set the DAC value between 0 and 1023.
What is the correct I2C address?
The I2C address is 0x60.
How to test the output?
Use a multimeter to measure the analog output.
What are the voltage limits?
The DAC input and output must be between 0V and 5V.
Reviews
There are no reviews yet.