 EN
 IT Italiano
 ES Español
 FR Français
 DE Deutsch
Description
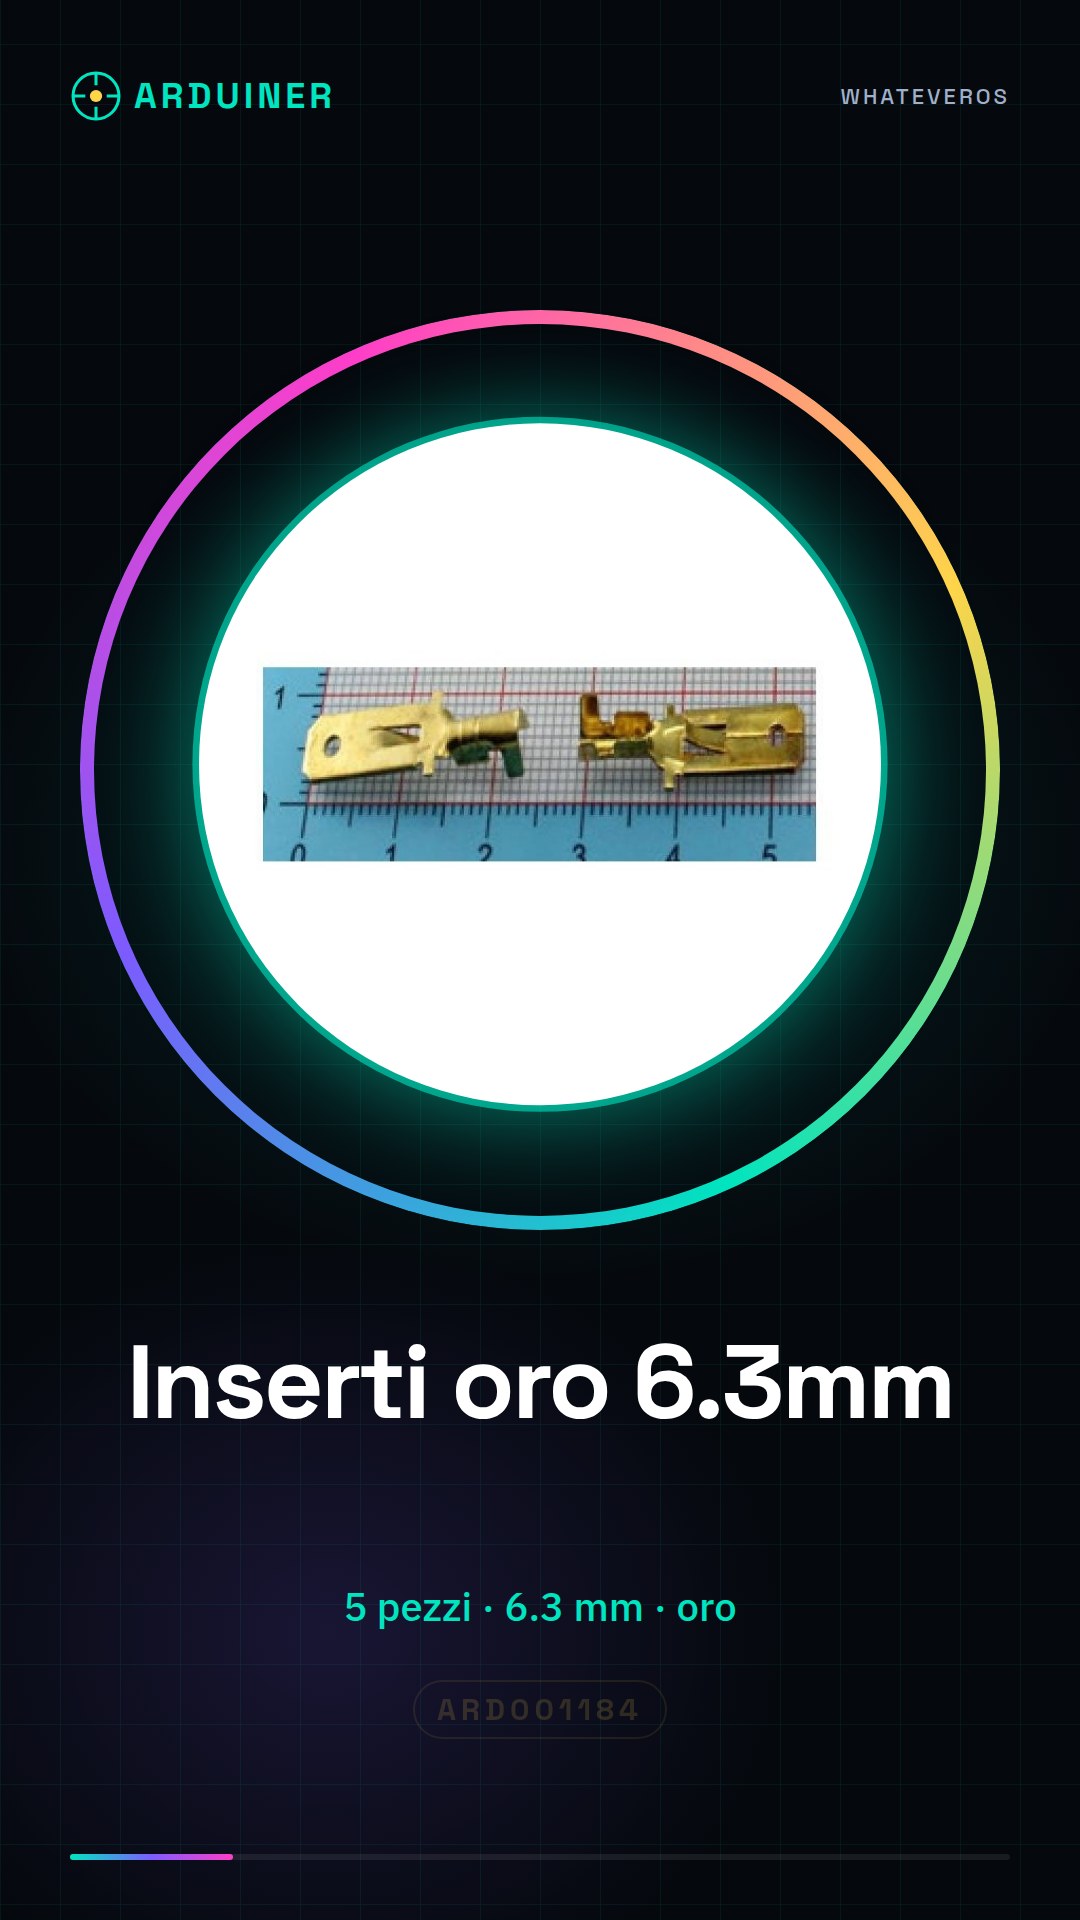
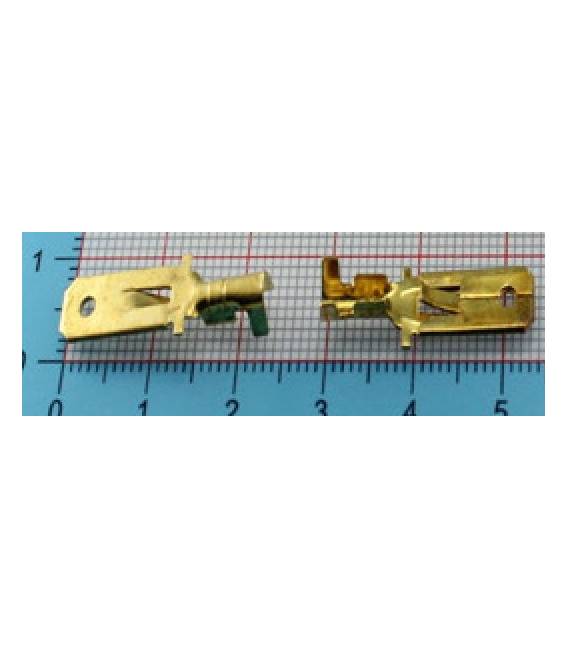
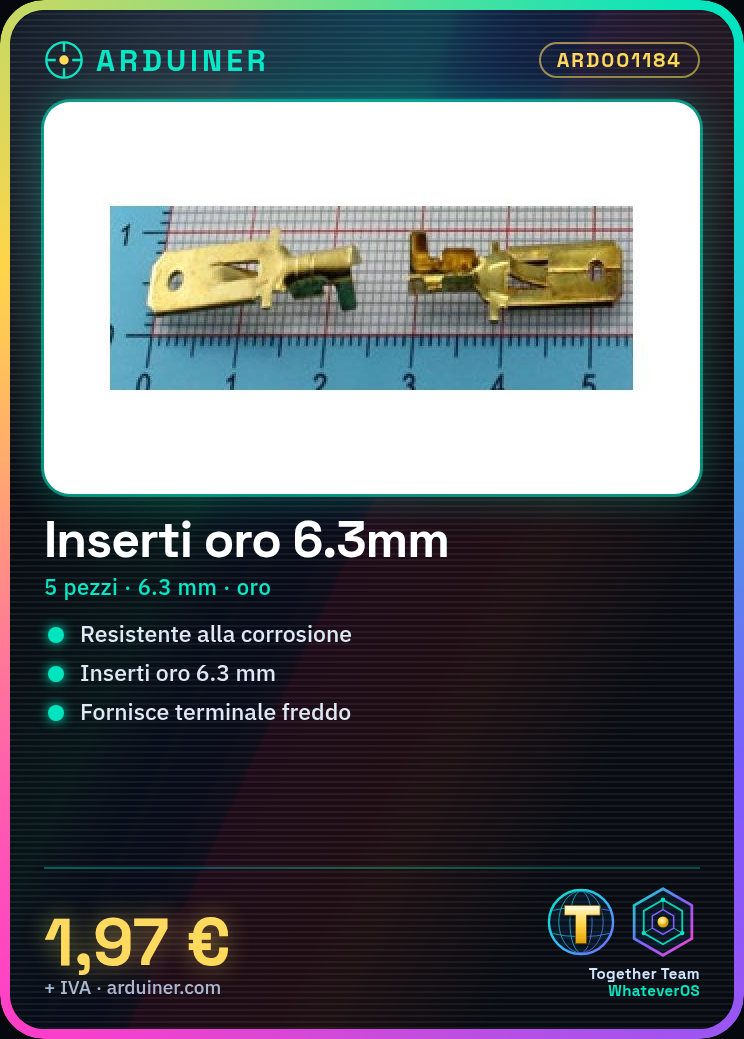
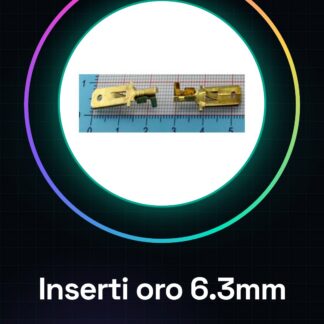
5 pieces 6.3 inserts, gold, cold terminal, terminal
Tutorial: How to Use 6.3 mm Inserts
Gold inserts are ideal for makers working on electronic projects, allowing for a secure and corrosion-resistant connector.
What you need
- Arduino
- 3D Printer
- Connection cable
- Soldering pliers
- Solder
Steps
- Prepare the position for the insert on the project.
- Use a 3D printer or laser cutter to prepare the insert support.
- Apply flux to the inside of the insert and the mounting plate.
- Insert the insert into the desired position on the project.
- Secure the insert with soldering pliers to ensure contact.
- Check that each connection is solid and free of short circuits.
Mini project
Create a custom support for Arduino using a 3D printer, integrating 6.3 mm inserts to connect the sensors.
Common mistakes
- Do not apply enough solder.
- Insert the insert at a non-orthogonal angle relative to the mounting plate.
- Omit the final connection check.
Recommended accessories
- 3d printer
- Soldering Pliers
- Universal connection cable
Frequently asked questions
How can I verify that the insert is correctly applied?
Check for a solid connection without short circuits.
Can I use these inserts for non-electronic projects?
Yes, but make sure the environmental conditions are suitable for the material resistance of the insert.
Reviews
There are no reviews yet.