 EN
 IT Italiano
 ES Español
 FR Français
 DE Deutsch
Description
What it is
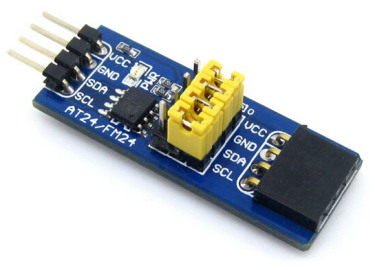
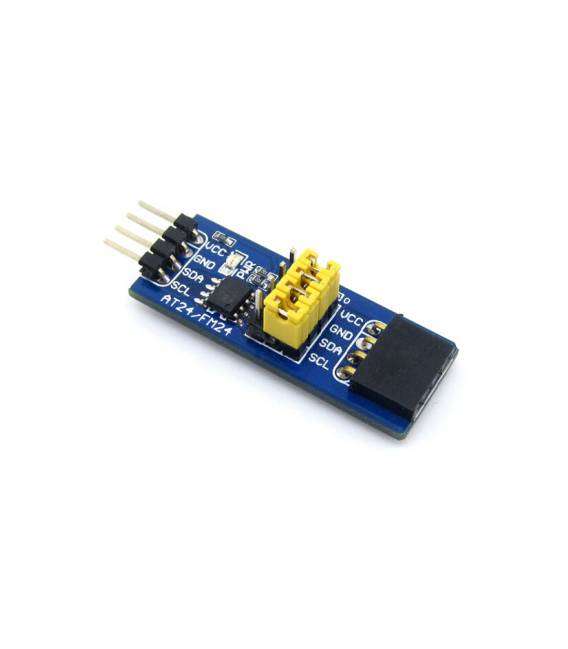
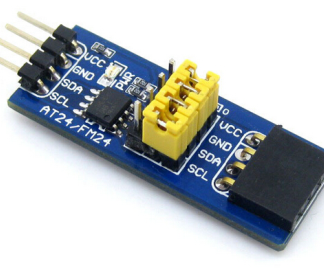
The FM24CLXX FRAM Board is a development board for Arduino compatible with a 3.3V voltage. It is designed to simplify the use of the FM24CL16 memory module, a low-power consumption FRAM (Ferroelectric Random Access Memory) device.
Features
- FRAM Memory Module FM24CL16
- Arduino 3.3V Compatibility
- Operating Voltage: 3.3V
- Memory Capacity: check datasheet
What it is for
The FM24CL16 module is ideal for projects that require persistent storage of small amounts of data, such as date and time logs, user settings, or sensor data. FRAM memory offers advantages such as high access speed, low power consumption, and long durability.
Tutorial: How to use FM24CL16
The FM24CL16 module is a low-power consumption storage device ideal for projects that require persistent storage of small amounts of data. Useful for beginners and intermediate makers.
What you need
- Arduino
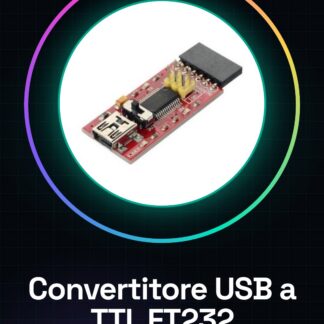
- FTDI Cable
- 1kΩ Resistor
Steps
- Check the datasheet for the FM24CL16 specifications.
- Connect the VCC of the FM24CL16 module to the 3.3V of the Arduino.
- Connect the GND of the module to the GND of the Arduino.
- Connect DQ to a digital pin of the Arduino (e.g., D10).
- Connect the 1kΩ resistor between VCC and DQ.
- Upload the source code to the Arduino.
- Explore the stored data with a visualization software.
- Verify the stability and longevity of the memory.
Example code
```void setup() { Serial.begin(9600); SPI.begin(); SPI.setClockDivider(SPI_CLOCK_DIV16); SPI.setBitOrder(MSBFIRST); SPI.setDataMode(SPI_MODE0); byte address = 0x50; byte data[2] = {0x00, 0x00}; SPI.transfer(address); SPI.transfer(data[0]); SPI.transfer(data[1]); byte readData = SPI.transfer(0x00); Serial.println(readData); }```Mini project
Create a date and time recorder on the Arduino using the FM24CL16 module in 30 minutes.
Common mistakes
- Connect DQ directly to VCC without resistor.
- Omit the SPI bus configuration.
- Forget to verify the stability of the memory.
- Do not explore the stored data.
Recommended accessories
- Arduino Uno
- FTDI Cable
- 1kΩ resistor
- Data visualization software
Frequently asked questions
How to set up the SPI bus?
Configure SPI with `SPI.setClockDivider(SPI_CLOCK_DIV16);`, `SPI.setBitOrder(MSBFIRST);` and `SPI.setDataMode(SPI_MODE0);`.
Which pins to use?
Use D10 for DQ and VCC, GND.
Why is the resistor important?
Avoid electrical damage to devices.
How to read stored data?
Run the source code and read data through Serial Monitor.
Reviews
There are no reviews yet.