 EN
 IT Italiano
 ES Español
 FR Français
 DE Deutsch
Description
We have the technical specifications of all components available; if not present in the product download card, send a message from the contact us module and we will publish it as soon as possible on the site.
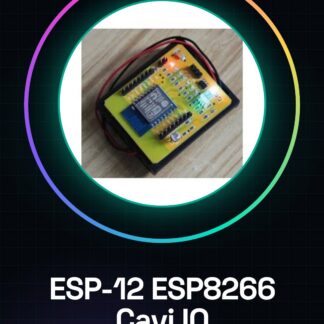
Tutorial: How to use ESP-12 ESP8266 Test IO Cables Complete
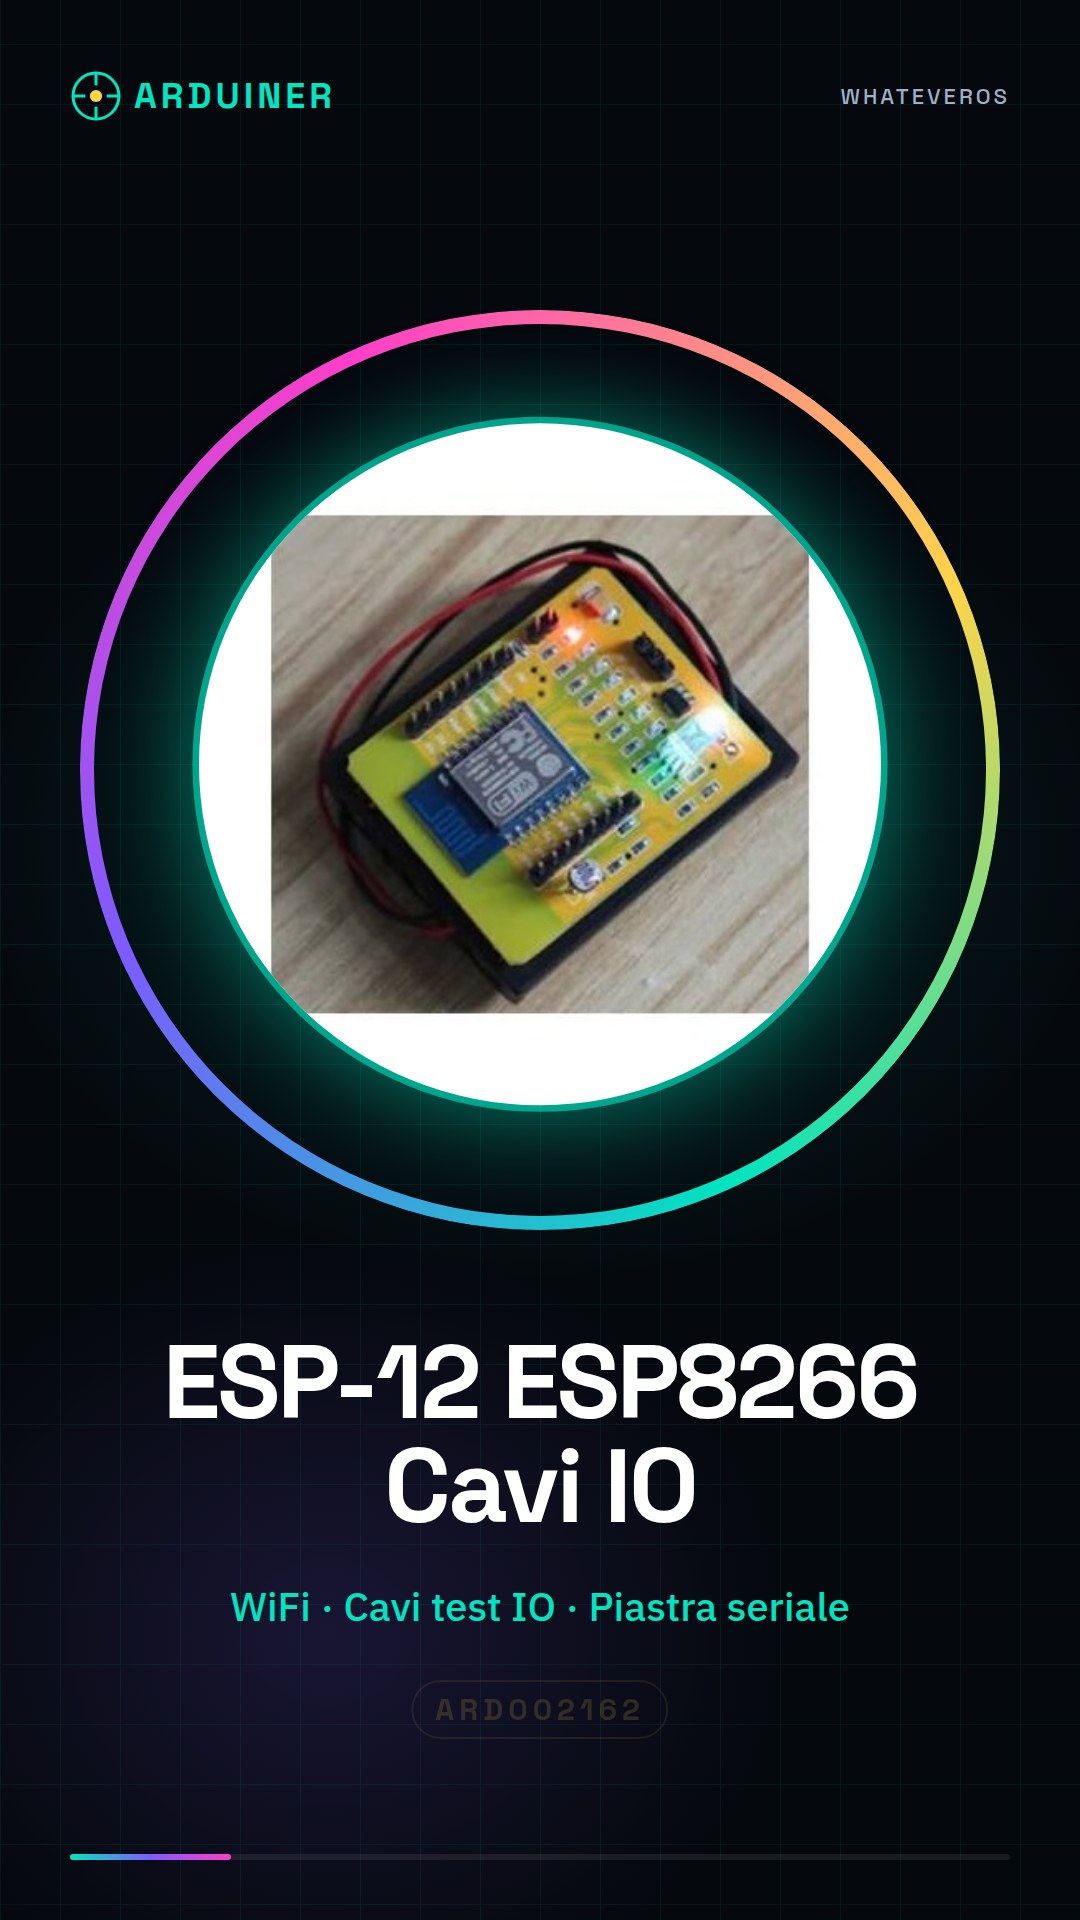
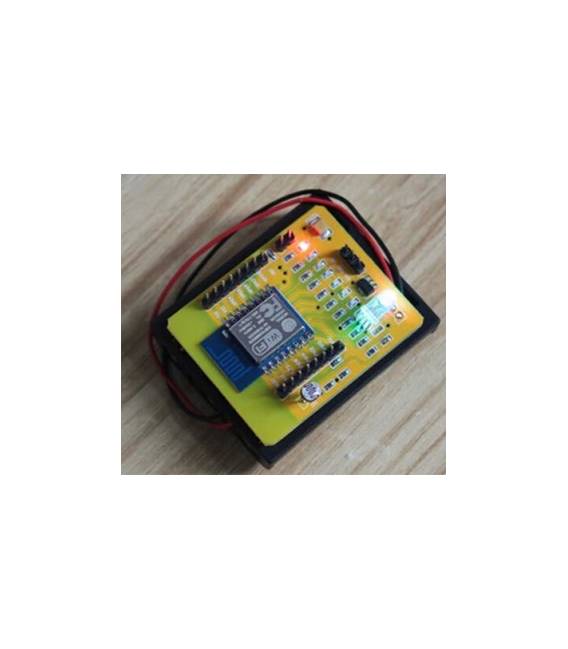
The ESP-12 ESP8266 is a WiFi module that allows your creations to connect to the Internet. Useful for IoT projects, drones, and remote control systems.
What you need
- ESP-12 ESP8266
- Arduino
- USB Cable
- PC with Arduino IDE
Steps
- 1. Install the Arduino IDE and the ESP8266 plugin.
- 2. Connect the ESP8266 module to your Arduino.
- 3. Check the test IO complete cables.
- 4. Load the example code ‘ESP8266WiFi’ in Arduino.
- 5. Configure the WiFi connection on the module.
- 6. Check the connection with the serial monitor.
- 7. Try to send a WiFi message.
- 8. Test the Internet connection.
Example code
Serial.begin(115200); WiFi.begin("SSID", "password"); while (WiFi.status() != WL_CONNECTED) { delay(1000); Serial.println("Connessione in corso..."); } Serial.println("Connesso a WiFi!");Mini project
Create a simple web server with Arduino and ESP8266.
Common mistakes
- Do not forget to install the ESP8266 plugin.
- Incorrect pin connections.
- Wrong WiFi credentials.
- Serial monitor not set to 115200 baud rate.
Recommended accessories
- Arduino Uno
- USB cable
- WiFi module
- ESP8266 antenna
Frequently asked questions
How to set up WiFi connection?
Use the function WiFi.begin(“SSID”, “password”).
What are the minimum requirements for the Arduino IDE?
At least Arduino IDE 1.6.5.
Why can’t I connect?
Check the WiFi configuration and the code.
Can I use this module with a Raspberry Pi?
Yes, but it may require a different driver.
Reviews
There are no reviews yet.