 EN
 IT Italiano
 ES Español
 FR Français
 DE Deutsch
Description
What it is
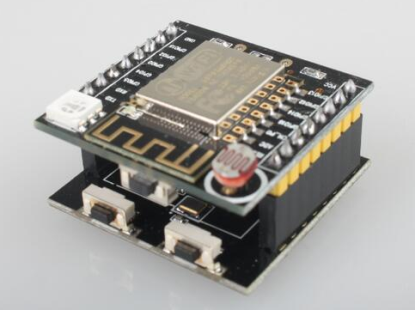
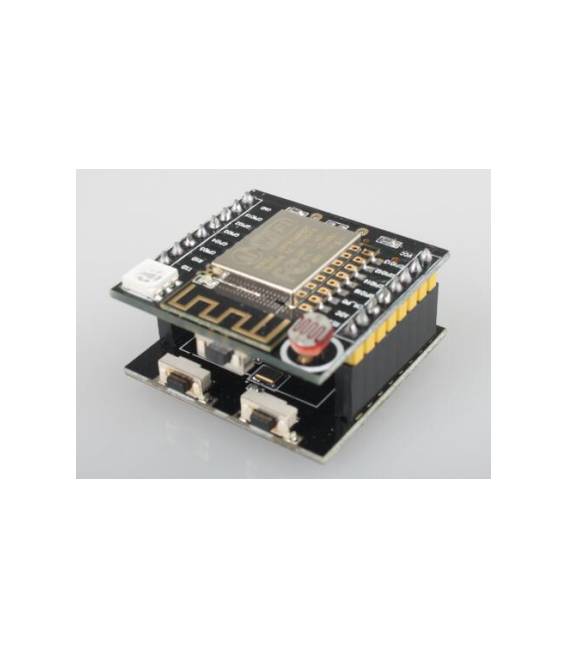
The ESP8266 development board with Integrated Photoresistor SDK APP EK1722 is an electronic circuit that combines an ESP8266 microcontroller with a photoresistor. It allows for IoT (Internet of Things) projects that require both WiFi connectivity and ambient light measurement.
Features
- ESP8266 microcontroller
- Integrated photoresistor
- WiFi connectivity
- SDK APP EK1722
What it is for
The board is ideal for projects such as smart lighting systems that turn a lamp on or off based on ambient light. It can also be used for 3D printing and drone projects, leveraging WiFi connectivity for remote control and data collection. Arduino compatibility is not specified, check the datasheet.
Tutorial: How to use ESP8266 Board with Photoresistor
This board combines an ESP8266 microcontroller with a photoresistor, ideal for IoT projects requiring WiFi connectivity and light measurement.
What you need
- ESP8266 Board with Photoresistor
- Arduino IDE
- USB Cable
- 10kΩ Resistor
- Light Sensor Shield (optional)
Steps
- 1. Install the Arduino IDE.
- 2. Connect to your computer with the USB cable.
- 3. Download the ESP8266 module driver.
- 4. Load the ‘ESP8266WiFi’ example code in Arduino IDE.
- 5. Connect the photoresistor to pin A0.
- 6. Connect the 10kΩ resistor between VCC and GND, with the free terminal connected to GND.
- 7. Load the following code in Arduino IDE:
- 8. `void loop() { Serial.println(analogRead(A0)); }`
Example code
void loop() { Serial.println(analogRead(A0)); }Mini project
Create a simple smart lighting system that turns a lamp on/off based on ambient light.
Common mistakes
- Do not install the ESP8266 driver.
- Connect the photoresistor directly to VCC without a pull-down resistor.
- Omit WiFi configuration.
- Do not upload the correct code to Arduino IDE.
Recommended accessories
- LED Lamp
- Relay
- Arduino Nano
- WiFi Shield
Frequently asked questions
How to configure WiFi connection?
Use `WiFi.begin(ssid, password);` in your Arduino code.
What is the difference between pull-up and pull-down resistor?
A pull-down resistor connects GND to the pin, while a pull-up resistor connects VCC to the pin.
Why do I need to connect a resistor?
To protect the photoresistor and establish a stable reference point.
Can I use this board with other microcontrollers?
Yes, but make sure the prototype is compatible.

Reviews
There are no reviews yet.