 EN
 IT Italiano
 ES Español
 FR Français
 DE Deutsch
Description
What it is
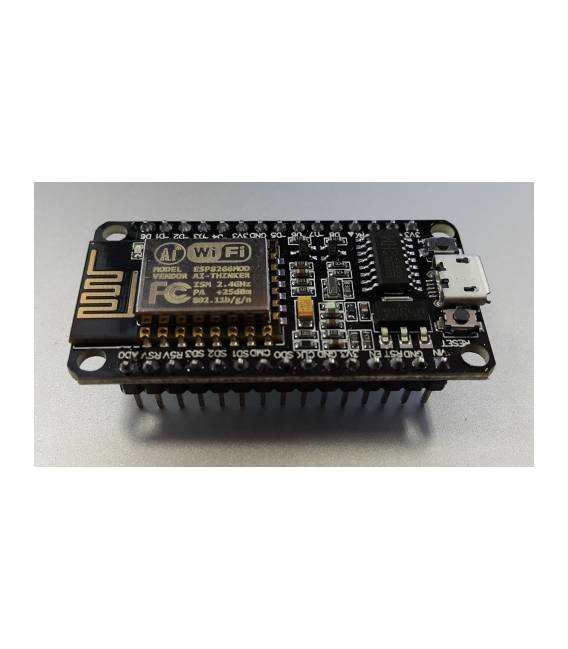
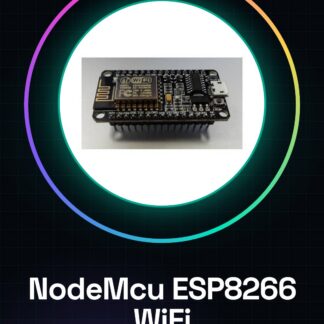
The ESP8266 NodeMCU Lua WIFI V3 CH340 is an economical and versatile WiFi module that combines an ESP8266 processor with a Lua interface. It allows connection to the Internet or local networks, making it ideal for IoT projects and automation applications.
Features
- Microcontroller: ESP8266
- Interface: Lua
- Connection: WiFi
- Protocol: TCP/IP
- Programming port: CH340
What it is for
The ESP8266 NodeMCU can be used to create a wide range of IoT devices, such as temperature, humidity, or motion sensors that transmit data online. Thanks to the Lua interface, it is possible to implement control and management logic directly on the module. Compatibility with Arduino simplifies integration with existing boards and libraries.
Tutorial: How to use ESP8266 NodeMcu Lua WIFI V3 CH340
The ESP8266 NodeMCU is a small and powerful WiFi module that allows connection to the Internet or local networks. Ideal for beginners and IoT projects, it enables direct execution of Lua scripts.
What you need
- Windows, macOS, or Linux operating system computer
- USB A-micro B cable
- ESP8266 friendly software like Arduino IDE
Steps
- Install the integrated development environment (IDE) for Arduino and download ESP8266 support.
- Connect the NodeMCU module to the computer’s USB port via a micro USB cable.
- Configure the IDE with the ‘ESP8266 Module’ board and select the correct port.
- Download a WiFi scan code example from File > Examples > ESP8266 WiFi Scan to test the WiFi connection.
- Compile and run the loaded program on the NodeMCU module.
- Verify that the program output is displayed correctly in the Arduino IDE.
Example code
wifi.beginDns();
wifi.printDiag(Serial);
Serial.println(wifi.getHostname());
Mini project
Create a temperature sensor using the DHT11 module connected to the NodeMCU and send the data via WiFi to an online platform like ThingSpeak.
Common mistakes
- Ensure that the Arduino IDE is correctly configured for ESP8266.
- Check the USB cable connections and the CH340 driver installed on the computer.
- Check the network settings of the NodeMCU module such as SSID and WiFi password.
Recommended accessories
- DHT11 Sensor
- Relay Module 5V SPDT
- RGB LED controllable with PWM
- LCD Display 16×2
Frequently asked questions
How can I load the firmware onto the NodeMCU module?
Use the built-in Flasher function in the Arduino IDE or an external software like esplorer.
Which programming languages does it support?
Mainly supports Lua, but can be used with other languages through the Arduino IDE environment.
Reviews
There are no reviews yet.