 EN
 IT Italiano
 ES Español
 FR Français
 DE Deutsch
Description
What it is
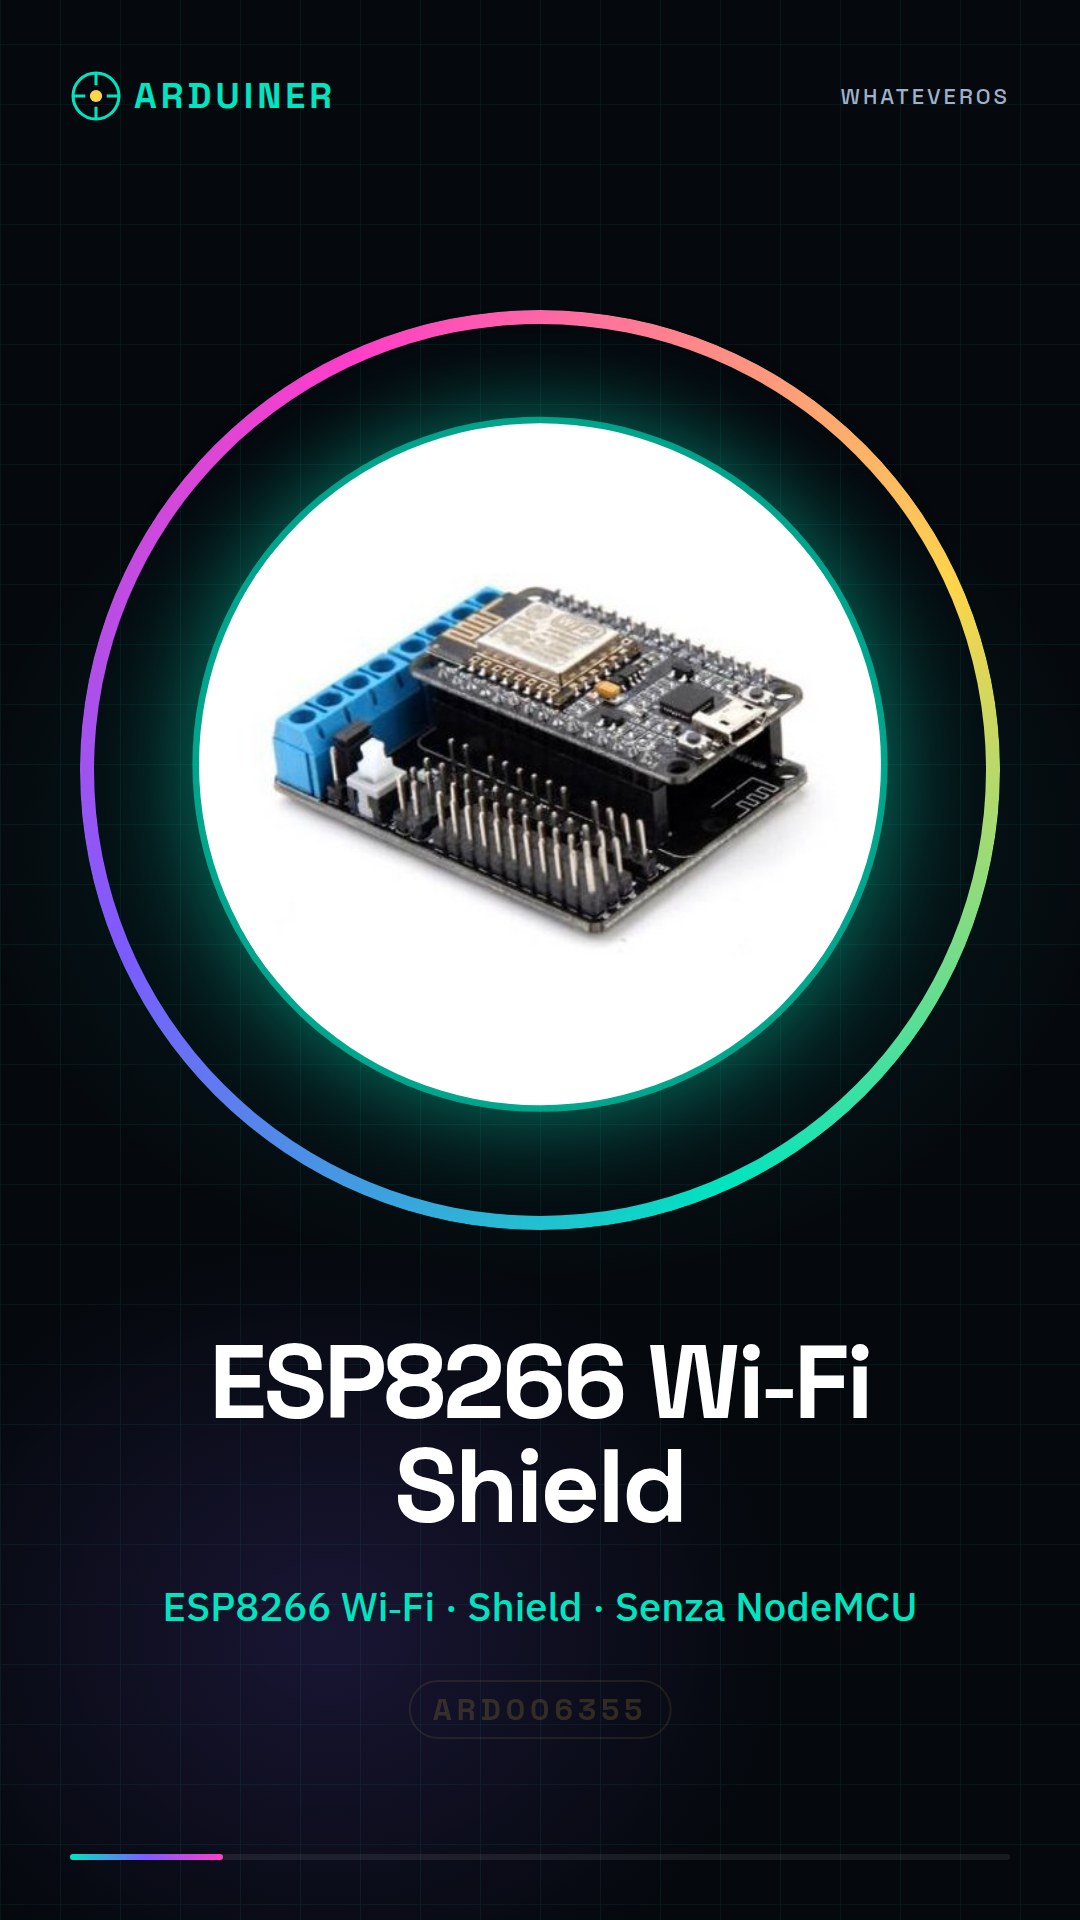
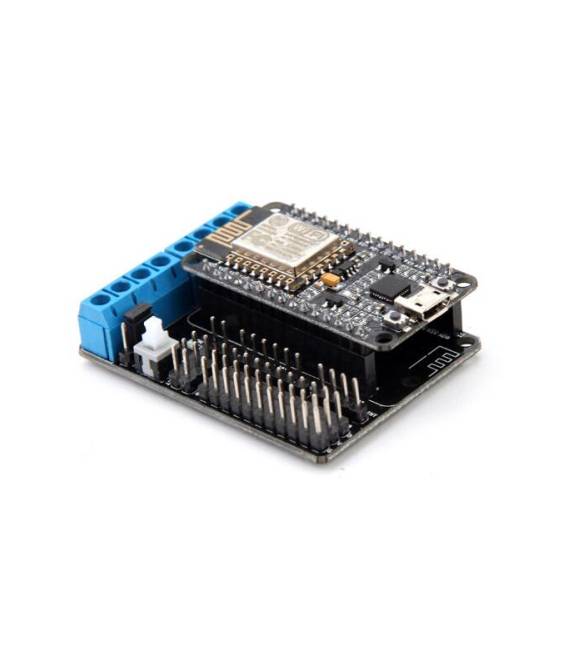
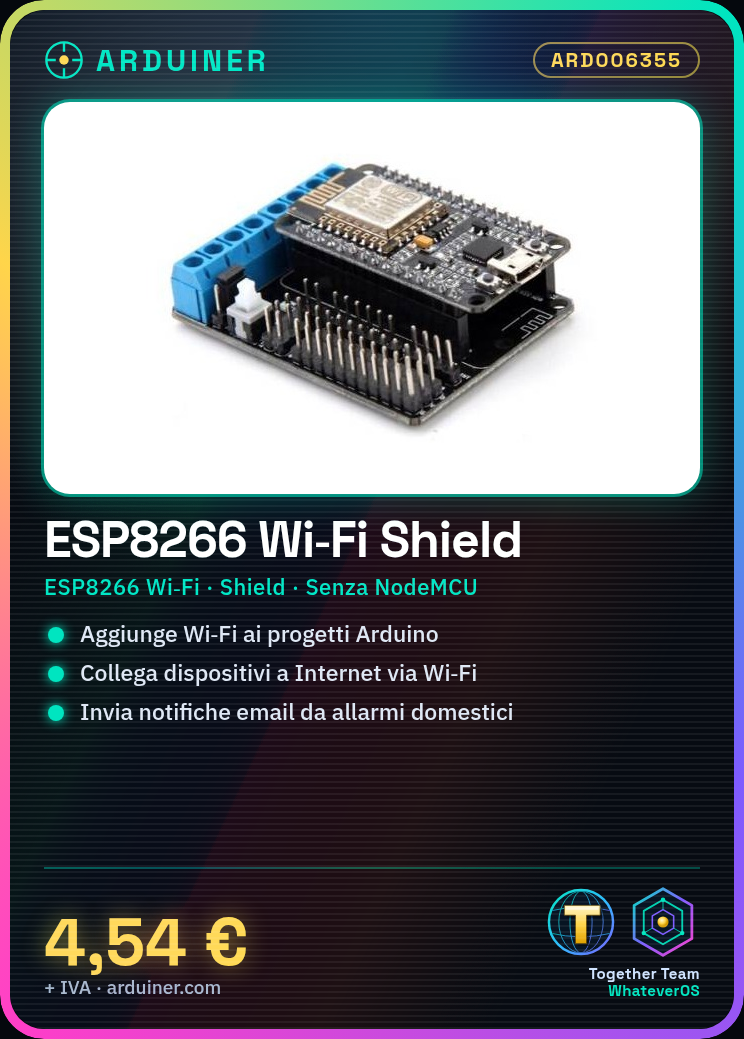
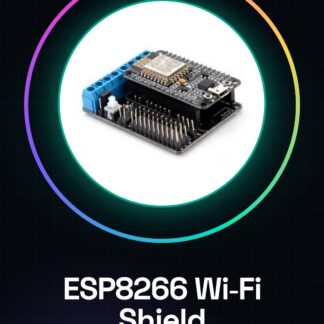
L’ESP8266 WiFi NodeMCU Shield It is a module that allows adding Wi-Fi functionality to Arduino projects. This shield, without including the NodeMCU microcontroller, enables easy integration with electronic devices to connect them to the Internet.
Features
- Allows adding Wi-Fi functionality to Arduino projects
- Ideally used for connecting devices to the Internet via Wi-Fi
What it is for
The ESP8266 WiFi NodeMCU Shield is useful for IoT projects, remote monitoring, and any application that requires a wireless connection. It can be used to create home alarm systems that send email notifications when triggered.
Tutorial: How to use ESP8266 WiFi NodeMcu Shield
The ESP8266 WiFi NodeMCU Shield is a module useful for connecting electronic devices to the internet via Wi-Fi. Ideal for IoT projects, remote monitoring, or any application that requires a wireless connection.
What you need
- ESP8266
- Arduino-compatible microcontroller (such as NodeMCU)
- USB Type B cable
- power supply
Steps
- Connect the ESP8266 WiFi NodeMcu Shield module to the compatible microcontroller.
- Connect the microcontroller to the power supply to provide power.
- Use a USB Type B cable to connect the microcontroller to the computer.
- Install the ESP8266WiFi library through the Arduino IDE.
- Write a sketch that establishes a Wi-Fi connection with your network credentials.
- Upload the sketch to the microcontroller connected to the ESP8266 WiFi NodeMcu Shield.
- Verify Wi-Fi connectivity through the serial monitor of the Arduino IDE.
- Test additional features such as sending data over the internet.
Example code
//Esempio di codice minimale per stabilire una connessione Wi-Fi
#include <ESP8266WiFi.h>
const char* ssid = "SSID";
const char* password = "PASSWORD";
void setup() {
  Serial.begin(115200);
  WiFi.begin(ssid, password);
}
void loop() {}
Mini project
Create a home alarm system that sends an email notification when triggered.
Common mistakes
- WiFi configuration error: check the network credentials in the code.
- Insufficient power supply to the microcontroller and ESP8266 module.
- Difficulty installing the ESP8266WiFi library in Arduino IDE.
- Physical connections not established between components.
Recommended accessories
- ESP-01
- NodeMCU Microcontroller
- USB Type B Cable
- 5V Power Supply
Frequently asked questions
How can I update the firmware of the ESP8266?
Use the Arduino IDE to upload a sketch that updates the firmware of the module.
What is the difference between ESP-01 and this shield?
The ESP-01 is an autonomous module, while this shield is designed to be used with other microcontrollers like NodeMCU.
Reviews
There are no reviews yet.