 EN
 IT Italiano
 ES Español
 FR Français
 DE Deutsch
Description
What it is
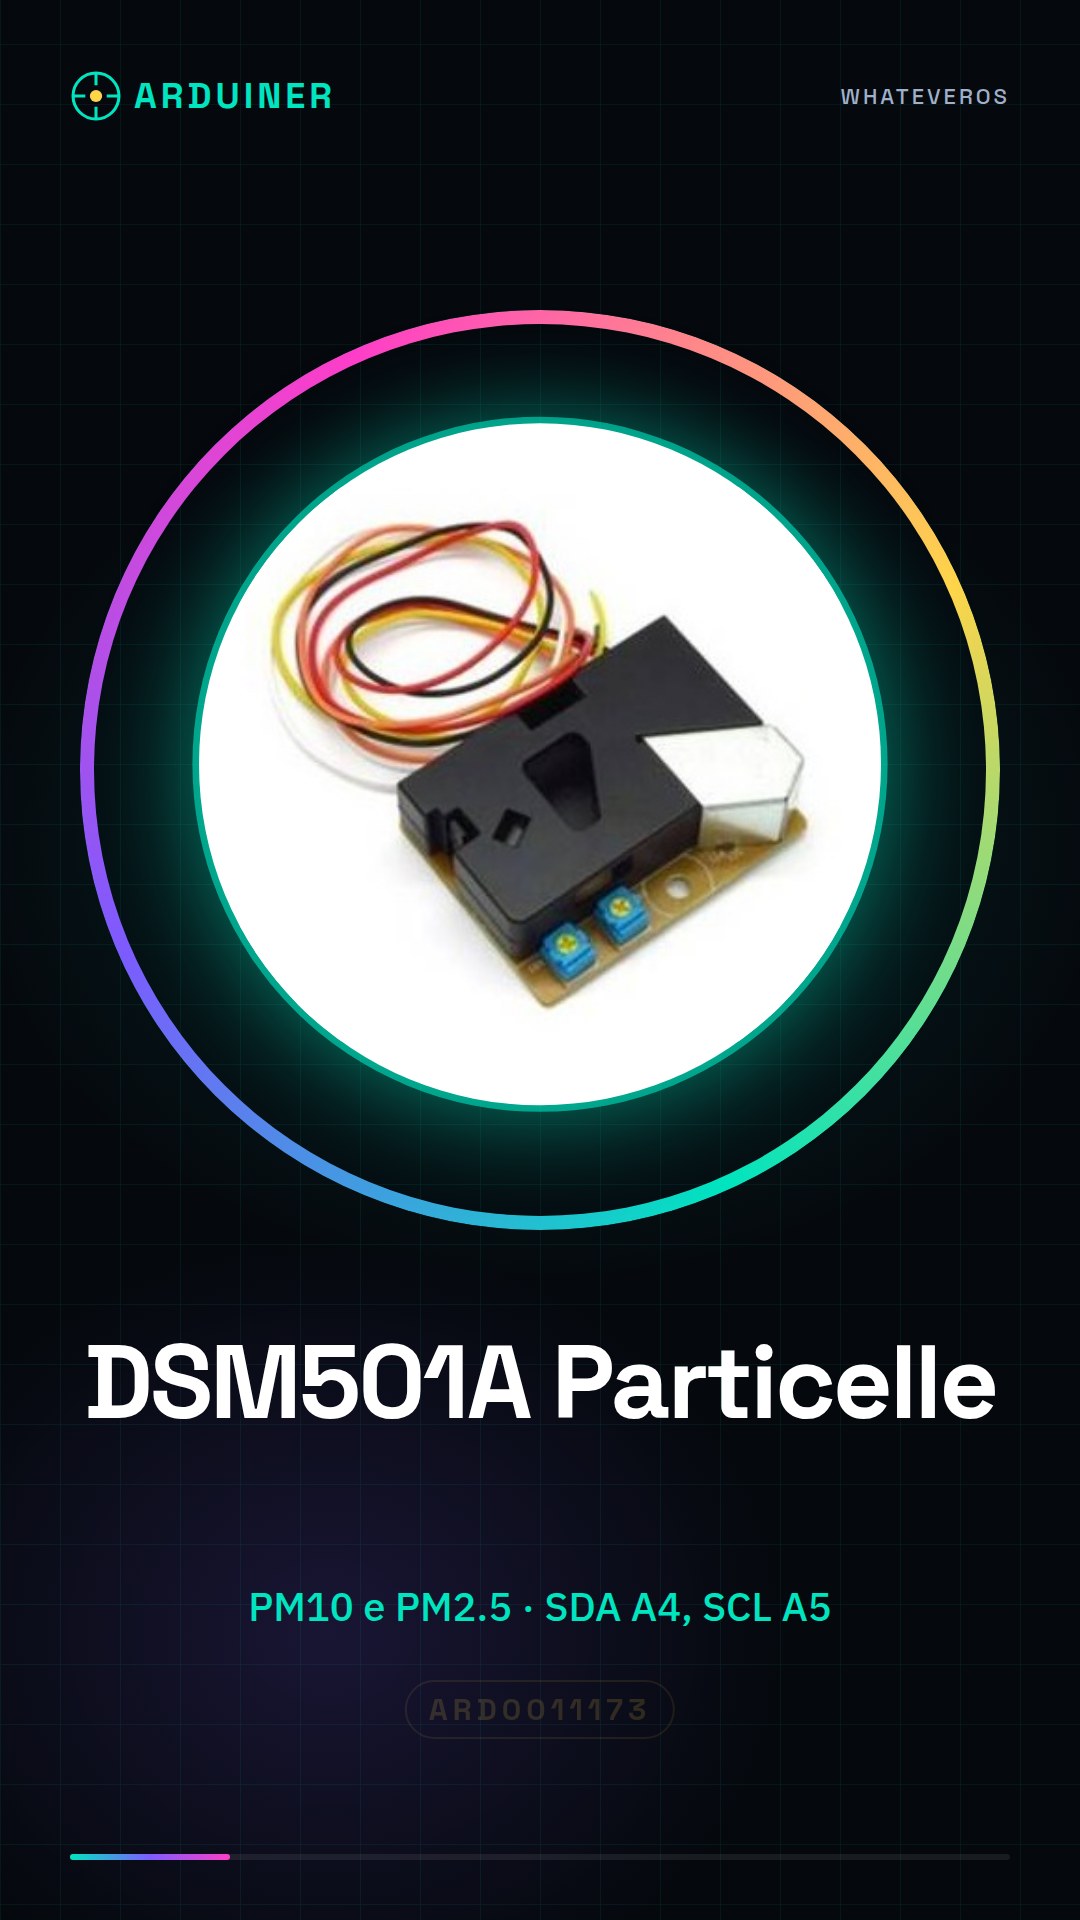
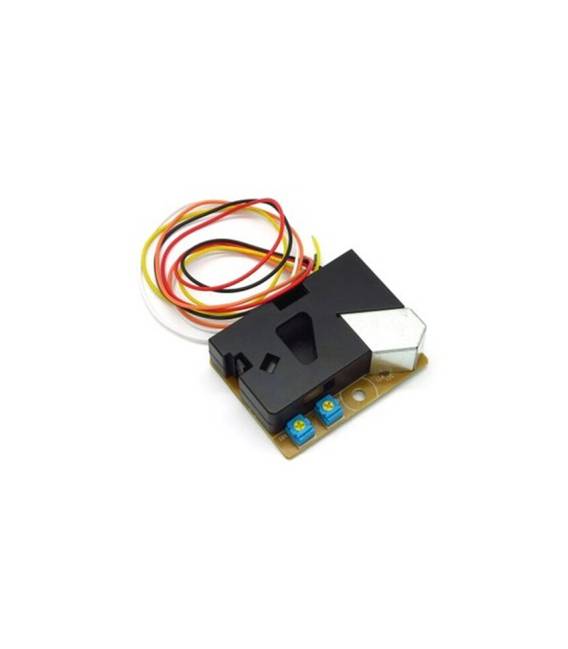
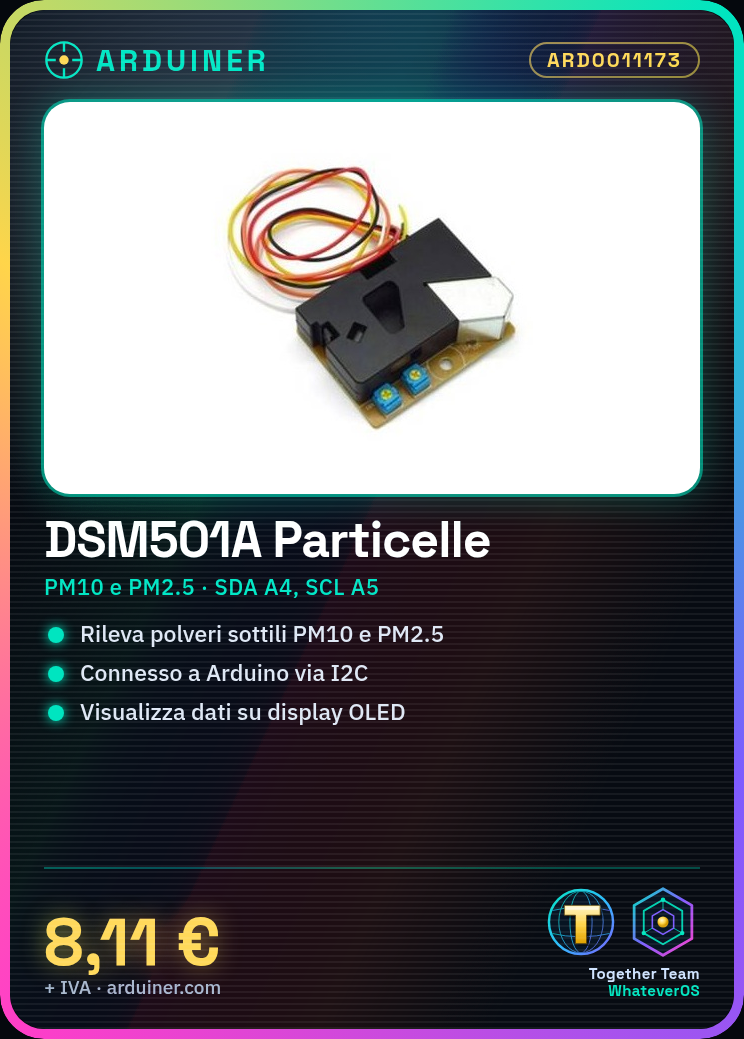
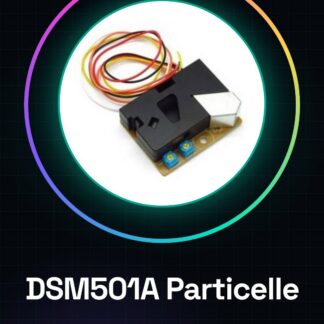
The DSM501A is a particle dust air sensor for measuring dust particles in the air, ideal for DIY projects and environmental monitoring. With the DSM501A, you can detect fine dust concentrations such as PM10 and PM2.5.
Features
- Precise air particle dust sensor
- Ideally suited for monitoring PM10 and PM2.5
- Compatible with Arduino and ESP projects
What it is for
The DSM501A is used to create air monitoring systems that display data on an OLED screen. It is suitable for both beginners and more experienced makers.
Tutorial: How to use DSM501A Dust Particles
The DSM501A is a fine dust and atmospheric particulate sensor ideal for DIY projects such as air monitors. It is suitable for both beginners and more experienced makers.
What you need
- Arduino Uno
- USB A-Micro B cable
- 3D Printer (for home)
- 5V power supply
Steps
- Connect the DSM501A to the Arduino pin VCC and GND for power.
- Connect the following pins of the DSM501A to the digital pins of the Arduino: SDA to A4, SCL to A5.
- Install the Adafruit_ParticleSensor.h library in the Arduino IDE library manager.
- Include ‘Adafruit_ParticleSensor.h’ in the sketch and instantiate the sensor object.
- Configure the I2C bus with beginWire() in the setup() function.
- Call readPM10andPM25() to read the PM10 and PM2.5 dust data.
- Display the read values on the serial monitor or on a connected OLED display.
- Check the sensor specifications in the datasheet for further configurations.
Example code
// Includere la libreria
#include <Adafruit_ParticleSensor.h>
// Istanziare l'oggetto
Adafruit_ParticleSensor particlesensor = Adafruit_ParticleSensor();
void setup() {
  Serial.begin(9600);
  if (!particlesensor.begin()) {
    while (1); // Bloccare il codice se non riesce a inizializzare.
  }
}
void loop() {
  particlesensor.readPM10andPM25();
  Serial.print("PM1.0: "); Serial.println(particlesensor.PM1_0);
}
Mini project
Create an air quality monitor that displays PM10 and PM2.5 dust data on a connected OLED display.
Common mistakes
- Do not verify the correct power supply of the sensor.
- Omission of the necessary library for the Arduino code.
- I2C settings not configured correctly.
- Ignore the verification of calibration data in the datasheet.
Recommended accessories
- Arduino Uno
- 0.96″ OLED Display
- USB Power Supply / Power Adapter / Adapter
- 3D Printing Connector Kit
Frequently asked questions
Does the sensor work without power?
No, make sure to always connect the power correctly.
Do I need to calibrate the sensor before use?
Check the datasheet if necessary for your specific application.
Reviews
There are no reviews yet.