 EN
 IT Italiano
 ES Español
 FR Français
 DE Deutsch
Description
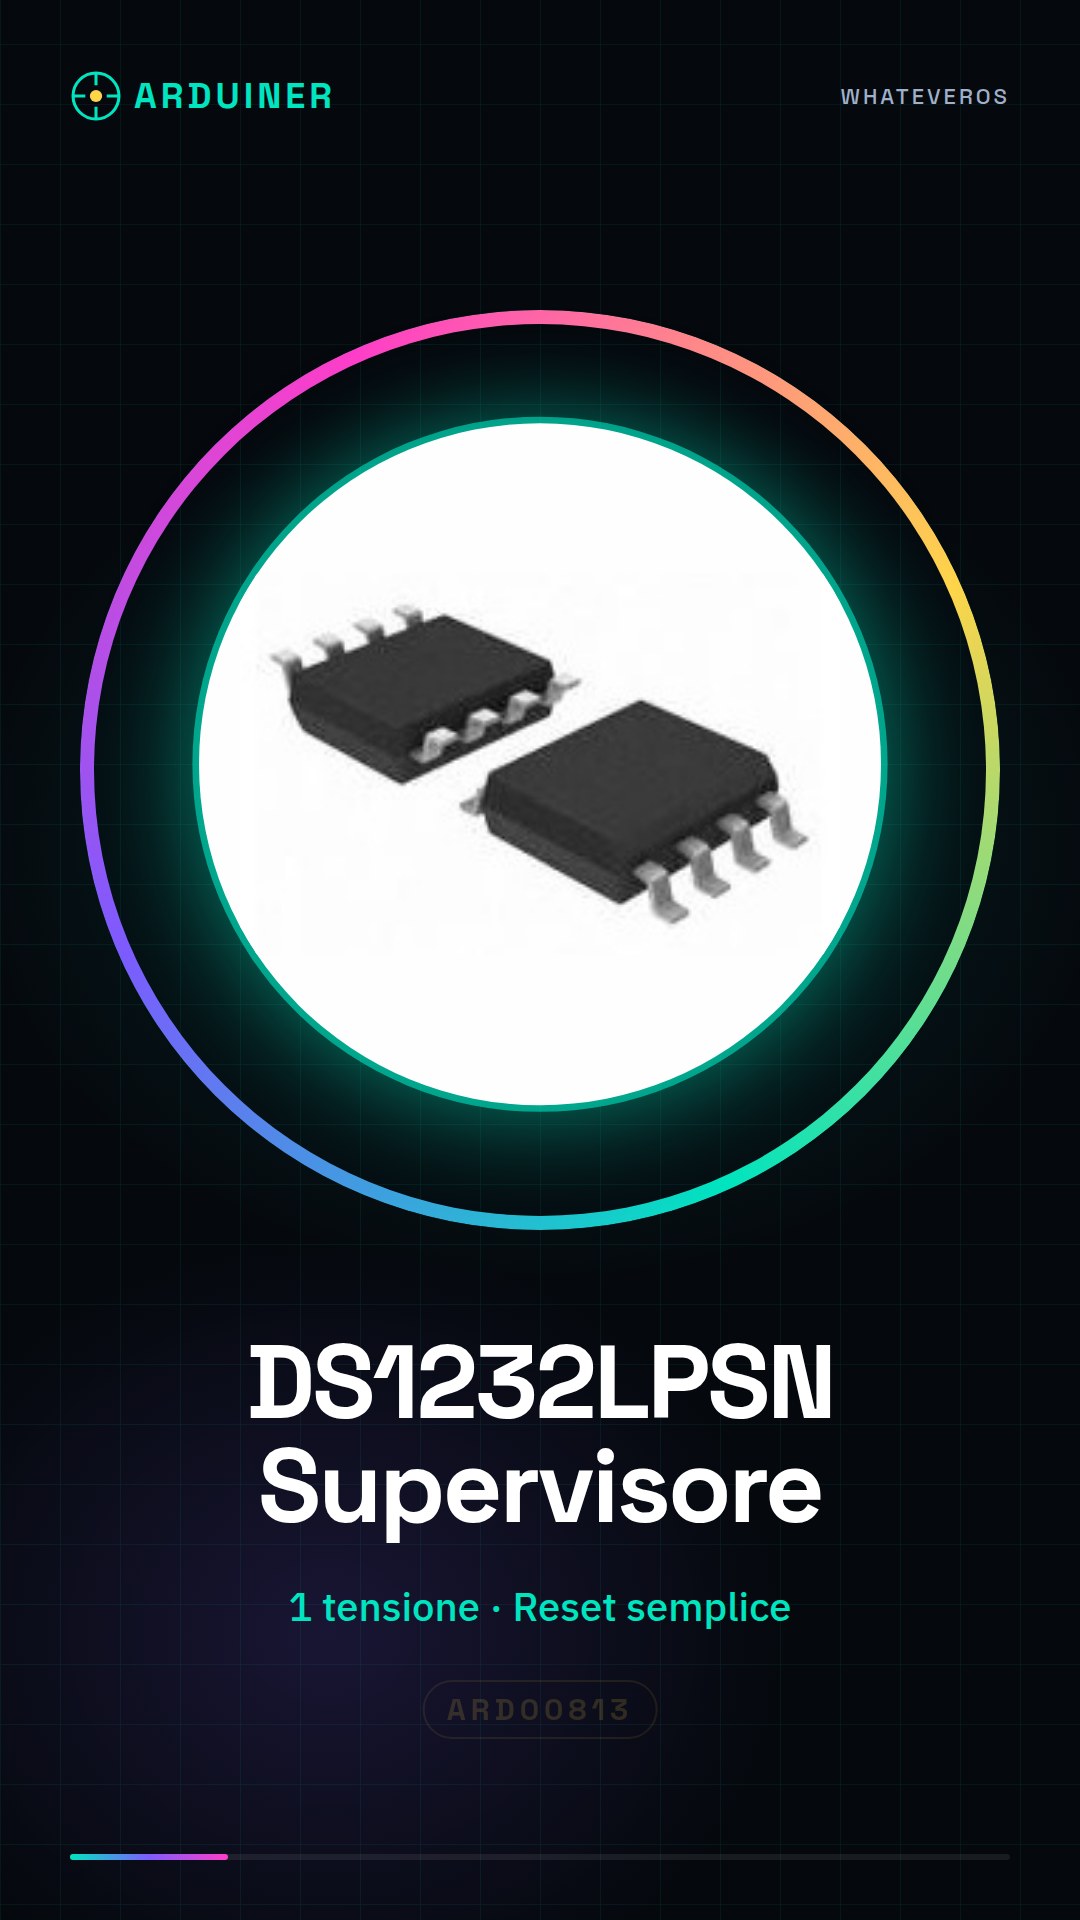
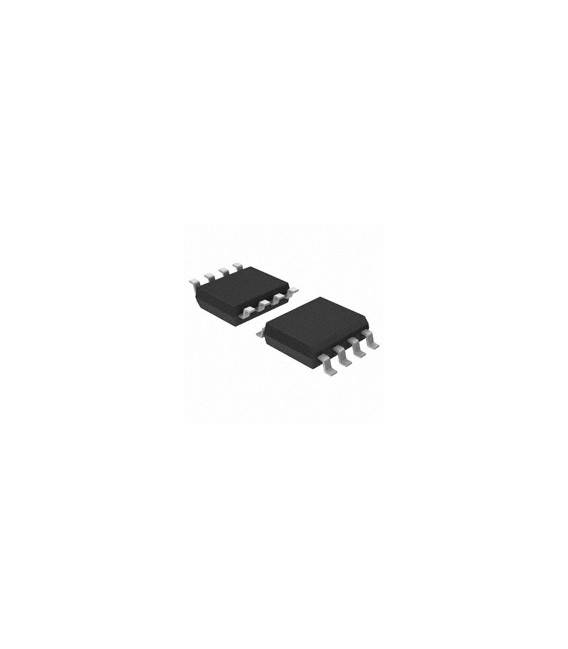
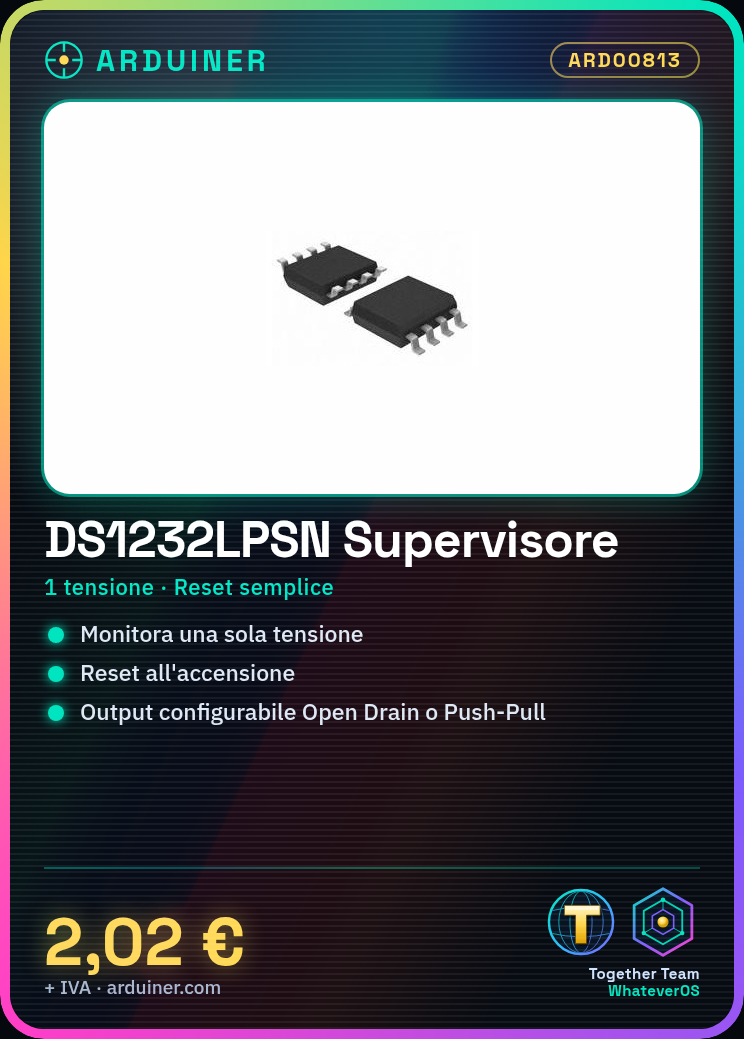
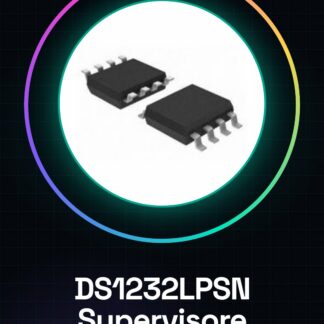
DS1232LPSN Voltage Supervisor IC Integrated Circuits
| Datasheets | DS1232LP (S) |
|---|---|
| Product Photos | 8-SOIC |
| Product Training Modules | Lead (SnPb) Finish for COTS Long-Term Supply Program |
| Standard Package | 100 |
| Category | Integrated Circuits (IC) |
| Family | PMIC – Supervisors |
| Series | |
| Type | Simple Reset / Power-On Reset |
| Number of Voltage Monitored | 1 |
| Output | Open Drain, Push-Pull |
| Restore | Active High / Active Low |
| Reset timeout | adjustable / selectable |
| Voltage – Threshold | 4.37V, 4.62V |
| Operating Temperature | |
| Mounting Type | Surface Mount |
We have available the technical sheet of all components, should it not be present in the product download card, send us a message from the contact us form and we will publish the first possible on our website.
Tutorial: How to use DS1232LPSN Voltage Supervisor
The DS1232LPSN voltage supervisor is an essential component for protecting electronic circuits from low or high voltage conditions. It is ideal for projects that require safe current management, such as Arduino prototypes or solar power systems.
What you need
- Arduino Uno
- JST Connectors
- Solderable Wires
- LiPo Battery
Steps
- Check the DS1232LPSN’s minimum and maximum power supply voltage on the datasheet.
- Connect the VCC pin to the positive terminal of the power supply.
- Connect the GND pin to the common ground (GND) of the circuit.
- Read the RESET and PGOOD pins from the datasheet to understand the current state of the IC.
- If necessary, connect a capacitor between VCC and GND near the IC to filter out interference.
- Connect the RESET pin to a digital input pin of the Arduino if you want to monitor the reset interruption.
- Write a simple Arduino sketch that reads the state of the RESET and PGOOD pins.
- Test the configuration with different power supply voltages.
Example code
// Verifica lo stato del supervisore DS1232LPSN
int resetPin = 2;
int pgoodPin = 3;
void setup() {
pinMode(resetPin, INPUT);
pinMode(pgoodPin, INPUT);
Serial.begin(9600);
}
void loop() {
digitalWrite(LED_BUILTIN, digitalRead(resetPin));
Serial.print("RESET:"); Serial.println(digitalRead(resetPin));
Serial.print("PGOOD:"); Serial.println(digitalRead(pgoodPin));
deLAY(1000);}
Mini project
Create a protection system for an Arduino prototype that automatically shuts off when the battery voltage drops below the set minimum value.
Common mistakes
- Connect VCC and GND to the circuit incorrectly.
- Ignore the bypass capacitors near the IC.
- Do not check the status of the RESET and PGOOD pins in the Arduino code.
Recommended accessories
- JST Connection
- 10uF Capacitor
- 3.7V LiPo Battery
Frequently asked questions
What is the minimum supply voltage for the DS1232LPSN?
Check the datasheet.
How can I connect the RESET to the Arduino circuit?
Connect the RESET pin to a digital interface of the Arduino and read the pin state in the code.
Reviews
There are no reviews yet.