 EN
 IT Italiano
 ES Español
 FR Français
 DE Deutsch

Description
What it is
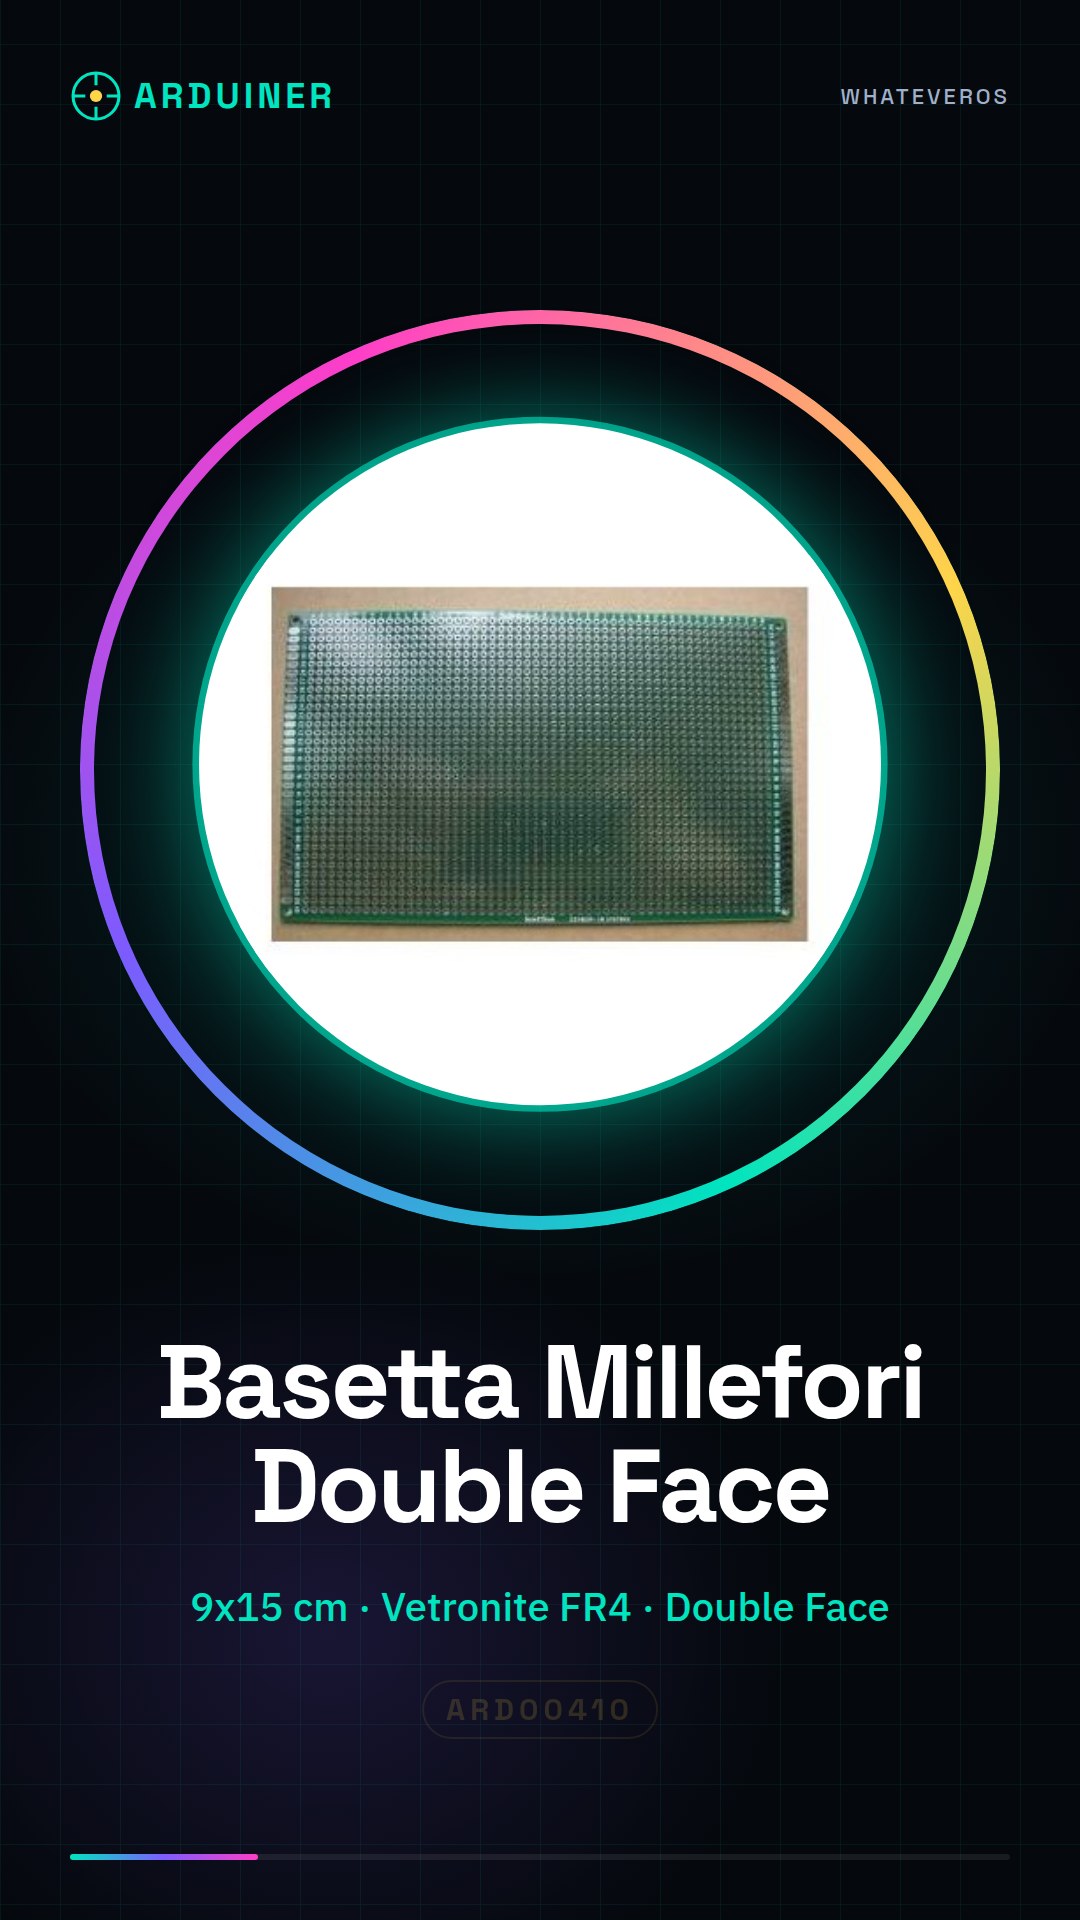
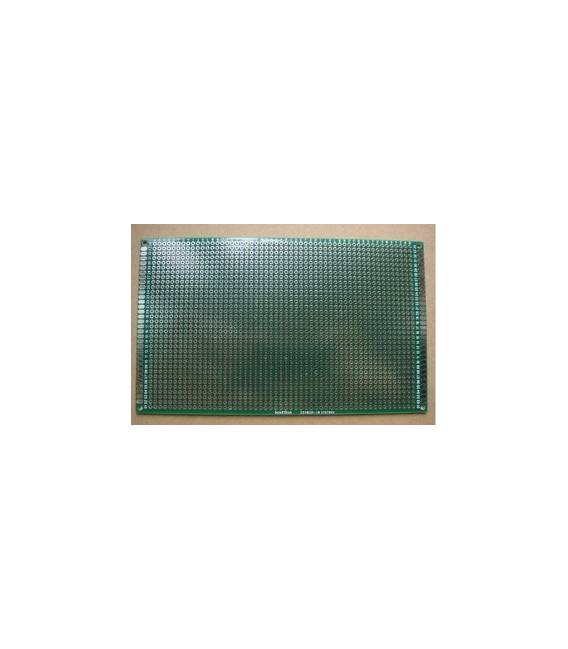
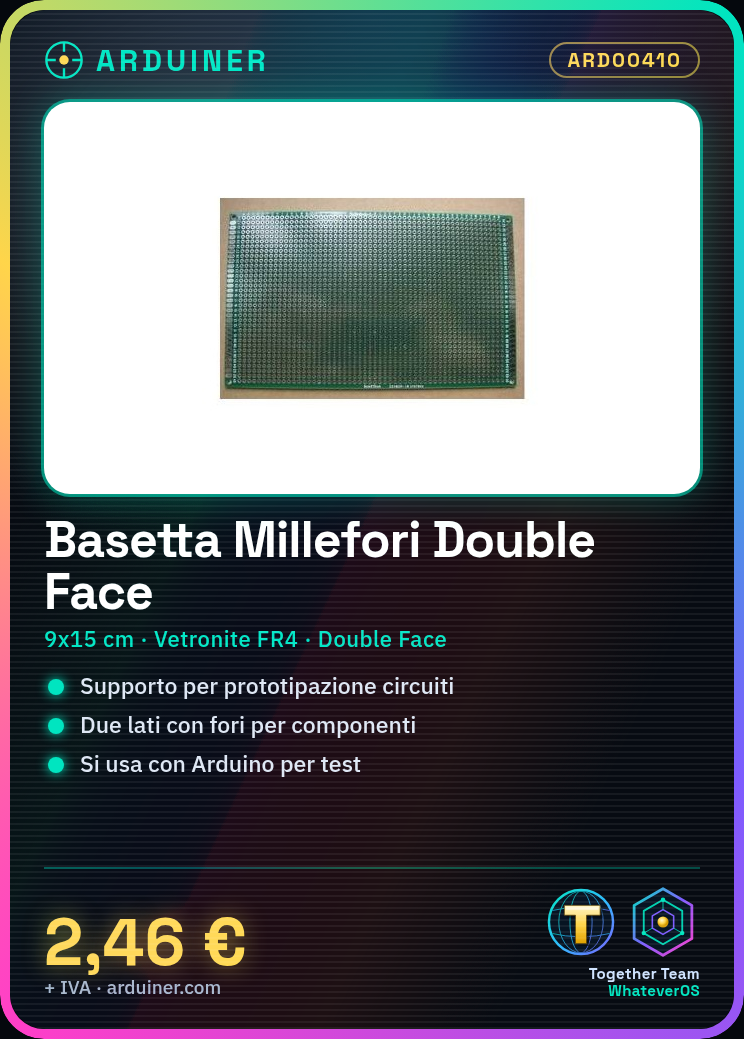
The FR4 Double Sided Prototyping Board is an ideal support for prototyping electronic circuits on PCB (Printed Circuit Board). It is made of FR4 glass-reinforced epoxy laminate and offers two sides with holes for inserting electronic components.
Features
- Dimensions: 9 x 15 cm
- Material: FR4 Glass-reinforced Epoxy Laminate
- Double-sided (two sides with holes)
- SKU: ARD00410
- Price: 2.46 €
What it is for
The FR4 double-sided prototyping board is useful for easily testing electronic components before the final production of a printed circuit. It is suitable for both beginners and more experienced makers. It can be used with Arduino to prototype simple electronic projects, such as a light sensor.
Tutorial: How to Use FR4 Double Sided Prototyping Board
The double-sided prototyping board is an ideal support for the prototyping of electronic circuits on PCB (Printed Circuit Board). It is suitable for both beginners and more experienced makers, allowing for easy testing of electronic components before final production.
What you need
- multimeter
- soldering iron
- drill bit
- solderable components
Steps
- Ensure the board is clean and free of solder residue or other impurities.
- Use the drill bit to create the holes necessary for the components to be mounted.
- Solder the components onto the top side of the board, ensuring that the solder is sufficient and does not flow out of the holes.
- Check with a multimeter that all connections are correct and there are no short circuits.
- If necessary, repeat the process on the bottom side of the board to connect additional components or to create a double-sided connection.
- Once the assembly is complete, check the overall appearance of the circuit and ensure there are no soldering errors.
Mini project
Create a simple prototype of a light sensor to connect to an Arduino. Use the breadboard to mount the circuit and test the sensor’s functionality before final production.
Common mistakes
- Insufficient or excessive soldering causing short circuits.
- Mounting components in incorrect positions relative to the electrical schematic.
- Do not use the multimeter to check connections before the final test.
Recommended accessories
- Drill template
- Soldering kit
- Digital multimeter
Frequently asked questions
How can I clean the breadboard?
You can use a neutral detergent and warm water, or fine sandpaper.
Can I use both sides of the breadboard to mount components?
Yes, it is possible, but ensure there are no short circuits between the two surfaces.

Reviews
There are no reviews yet.