 EN
 IT Italiano
 ES Español
 FR Français
 DE Deutsch

Description
What it is
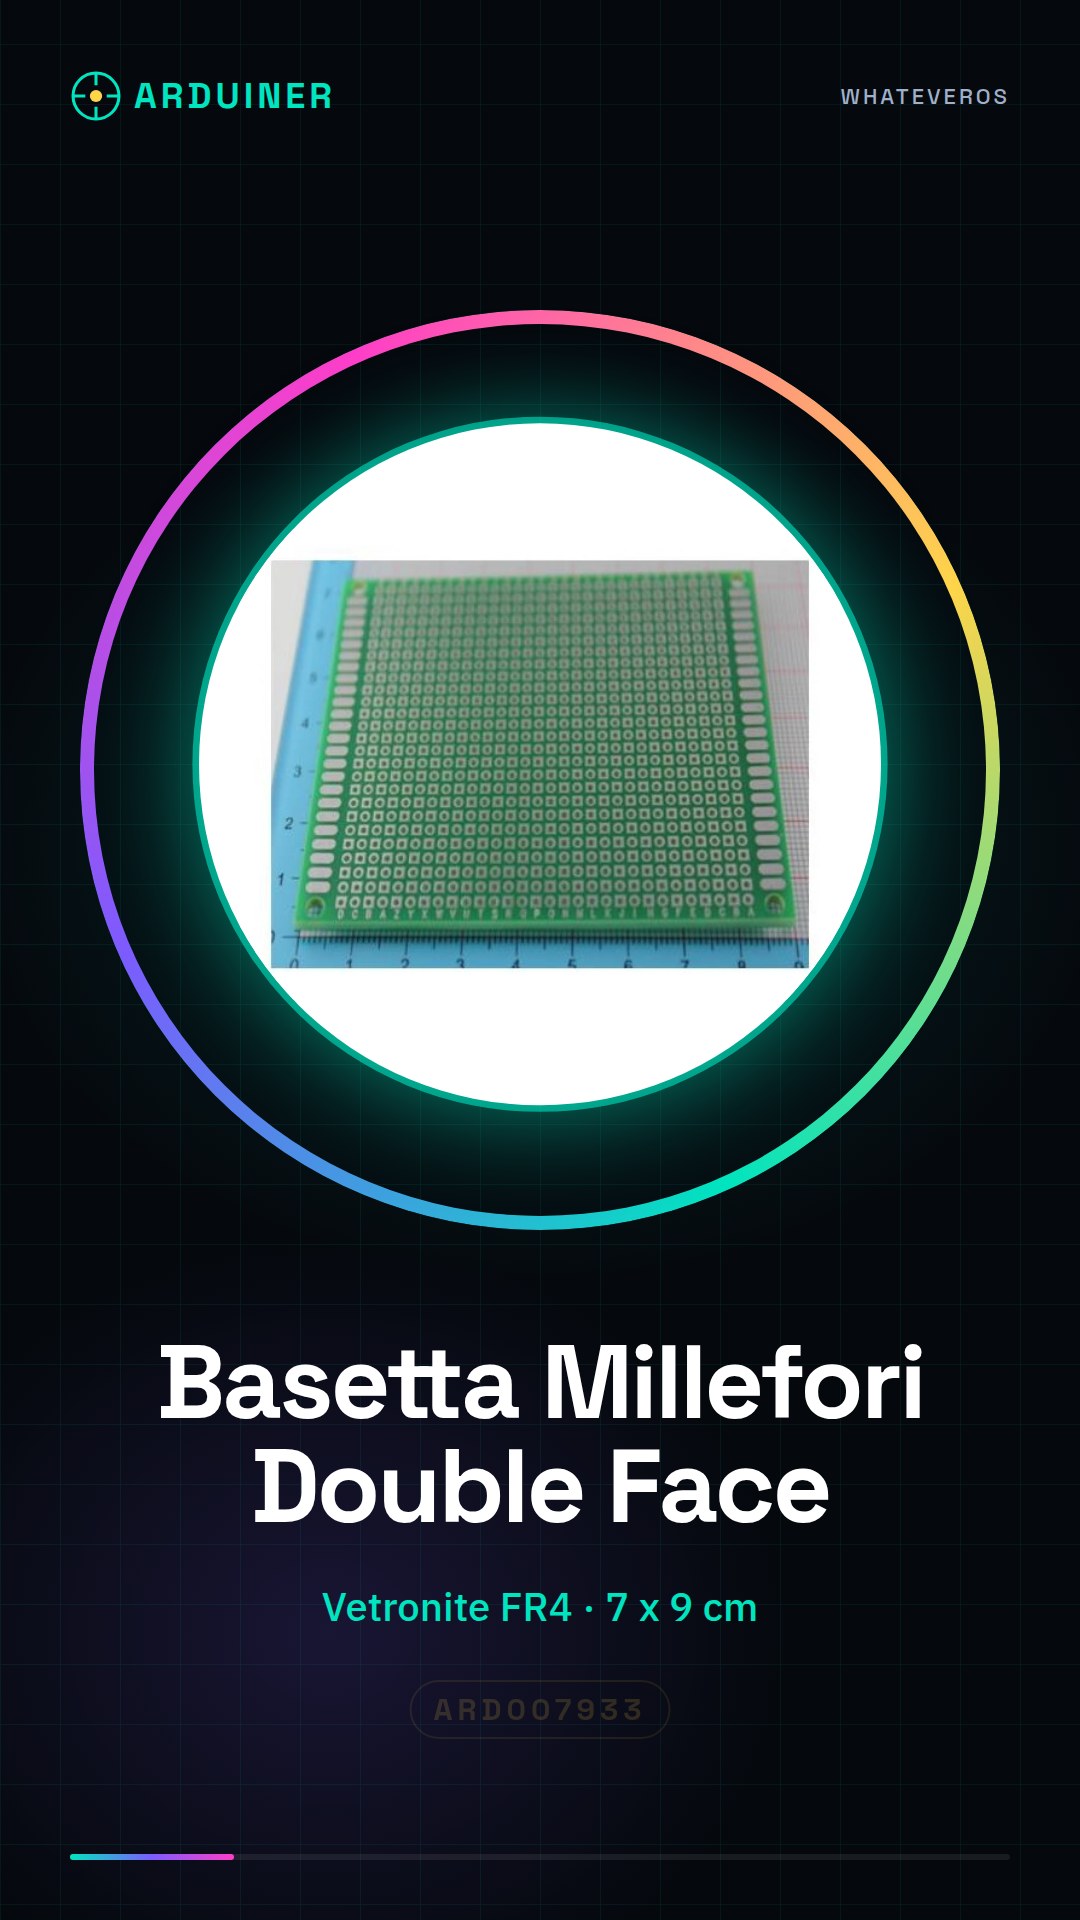
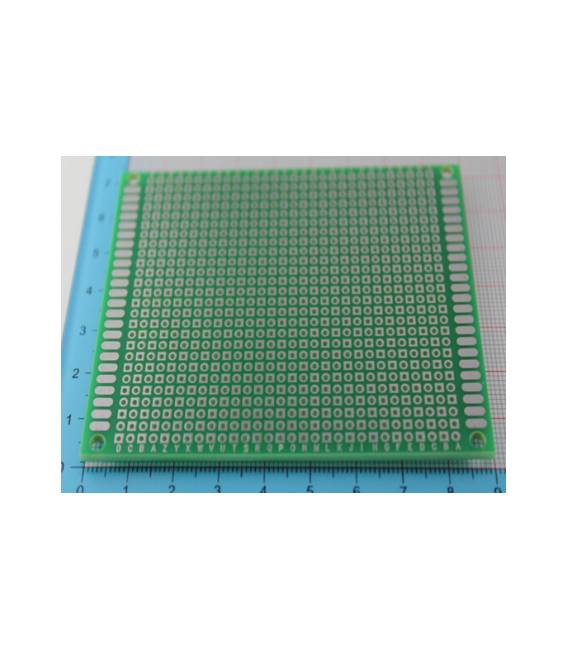
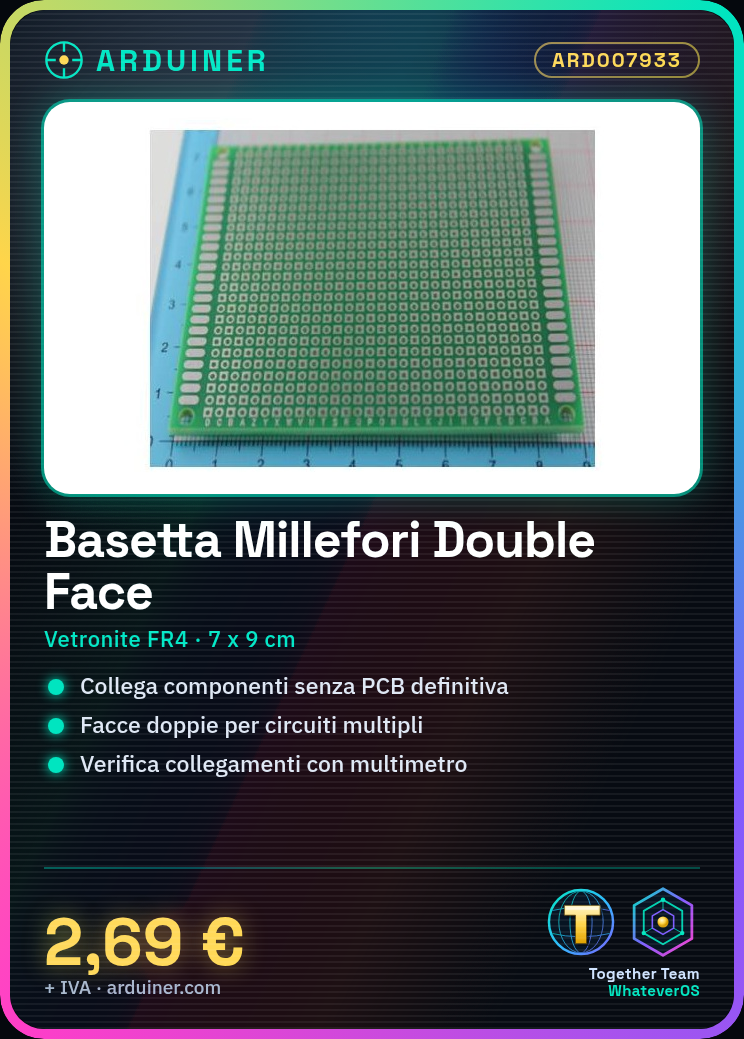
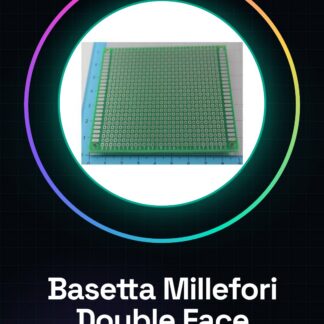
The double-sided through-hole perfboard measured in FR4 glass epoxy is an essential component for prototyping printed circuit boards (PCB). This tool allows makers and electronics enthusiasts to quickly connect components without having to create a final PCB.
Features
- Type: Double-sided through-hole perfboard
- Material: FR4 glass epoxy
- Dimensions: 7 x 9 cm
What it is for
The double-sided through-hole perfboard is ideal for creating prototypes of Arduino projects and other electronic devices. It can be used to quickly connect various components, such as DHT sensors or other types of temperature and humidity sensors.
Tutorial: How to Use the Double-sided Through-hole Perfboard
The double-sided breadboard is a fundamental component for makers and electronics enthusiasts working on printed circuit board (PCB) prototypes. This tool allows for quick connection of electronic components without the need to create a final PCB, making the development process more flexible and faster.
What you need
- electronic components
- soldered connections
- multimeter
Steps
- Check the compatibility of electronic components with the ruler lines of the double-sided breadboard.
- Position the components on one side of the breadboard, ensuring they are properly aligned with the ruler lines.
- Connect the pins of the components to the lines of the breadboard using soldered wire or direct connections.
- Verify the correct connection of all components with a multimeter.
- If necessary, repeat the same process on the other side of the breadboard to manage multiple circuits or additional connectors.
- Use the opposite side of the breadboard to connect other components or to create a sort of ‘bridge’ between two separate circuits.
Mini project
Create a temperature and humidity sensor prototype with Arduino, using the double-sided breadboard to connect the DHT11 sensor to an Arduino board.
Common mistakes
- Insert components not aligned with the grid lines of the breadboard.
- Skip checking the connections before testing the circuit.
- Use too much solder, which can obstruct other connections or make it difficult to remove the component.
Recommended accessories
- DHT11 sensors
- Arduino Uno R3
- Various electronic wire
- Soldering kit
Frequently asked questions
What is the difference between a double-sided breadboard and a standard one?
The double-sided breadboard has two sides with grid lines, allowing to connect multiple circuits or create connectors between different areas.
Can I use solder for connections on a breadboard?
Yes, but use little wire and make sure it does not obstruct other pins or connections.
Reviews
There are no reviews yet.