 EN
 IT Italiano
 ES Español
 FR Français
 DE Deutsch
Description
What it is
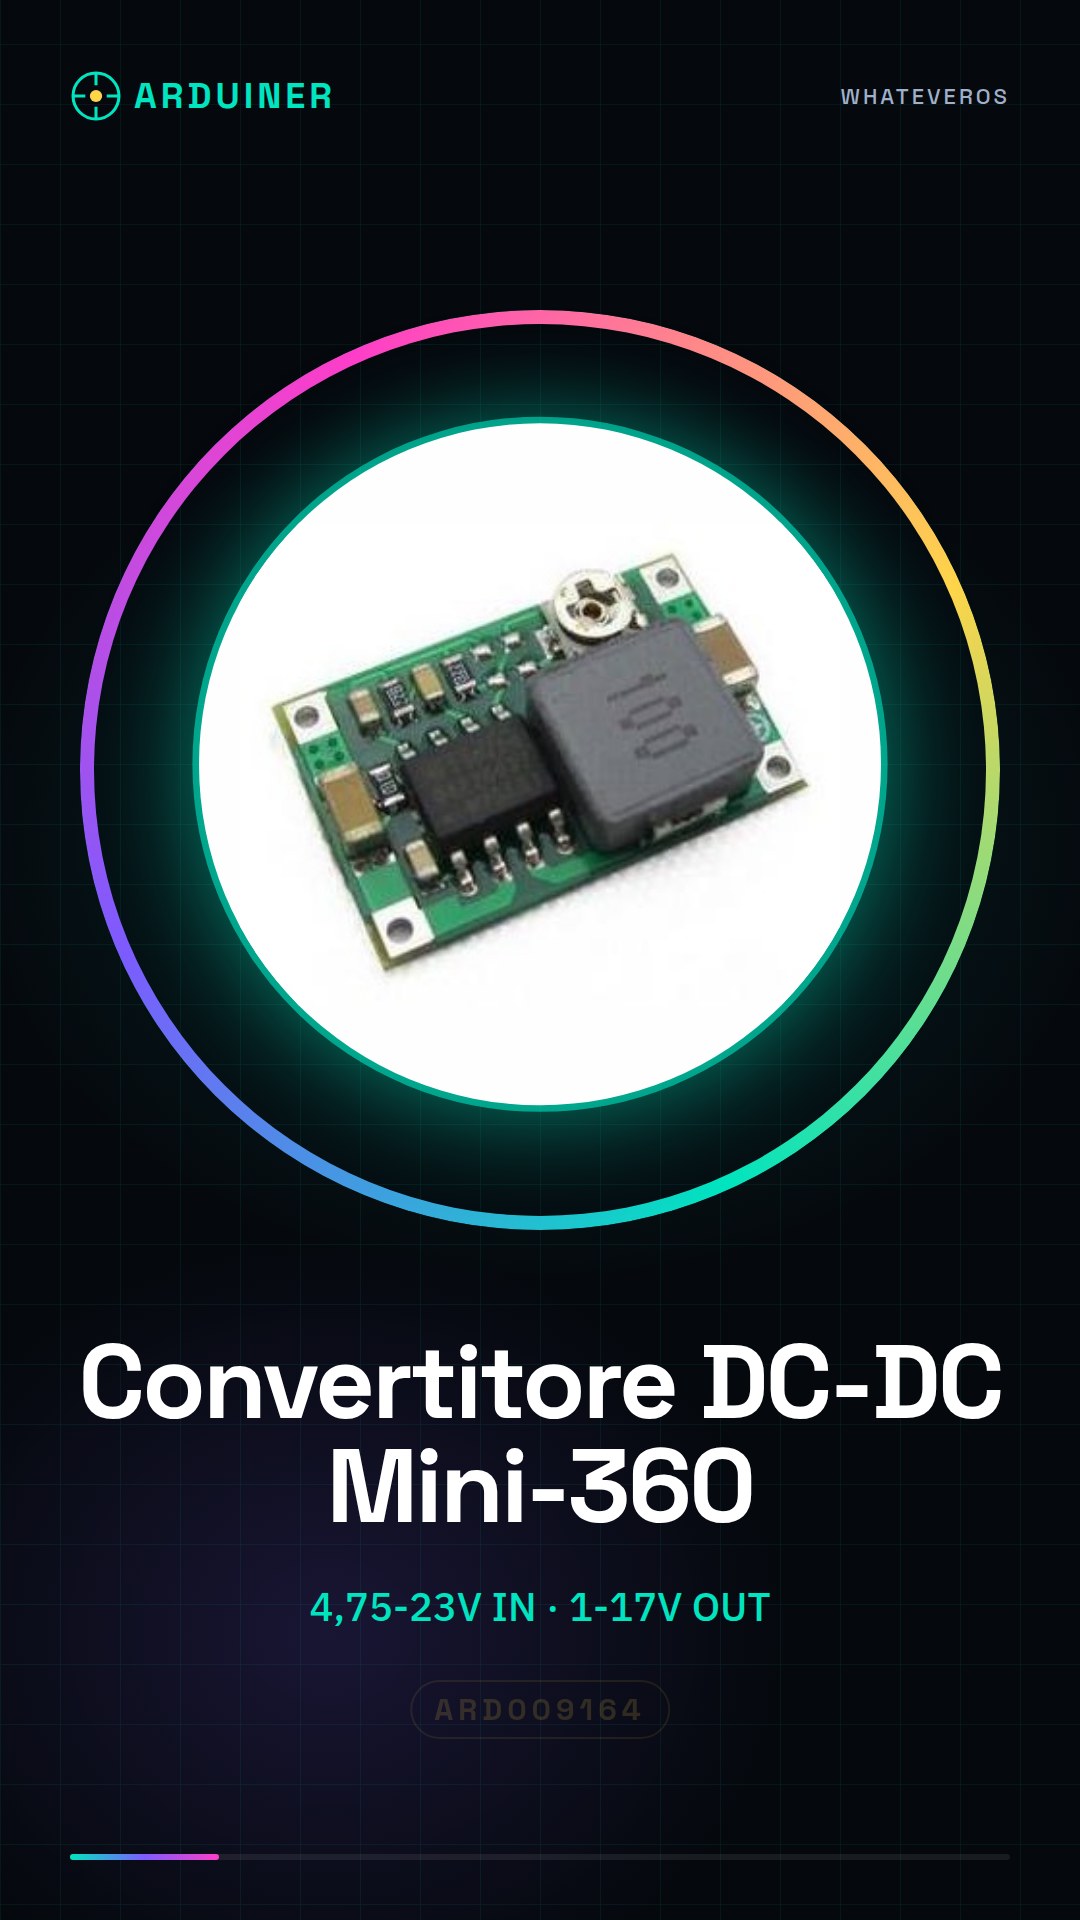
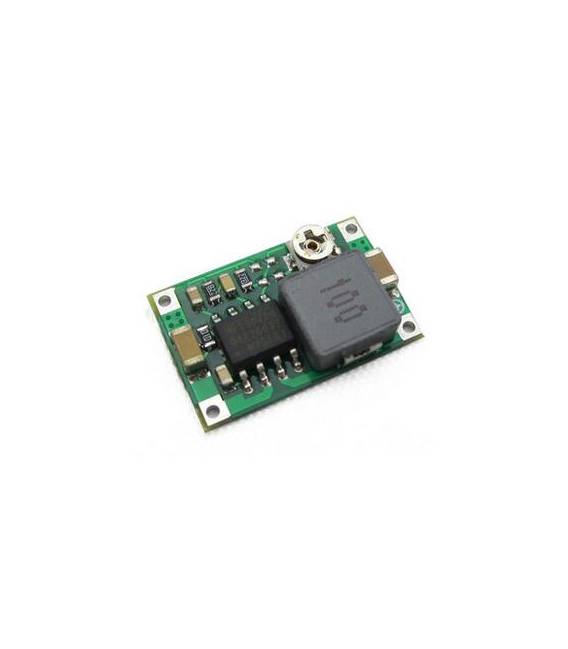
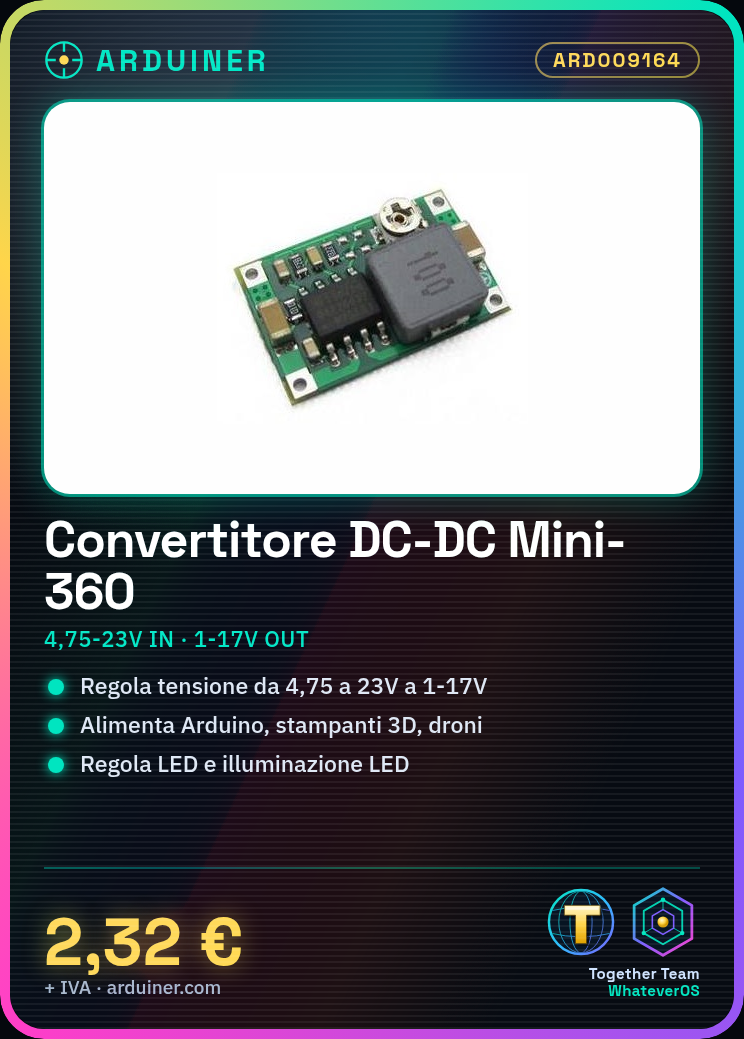
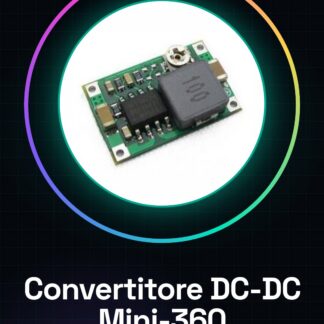
The DC-DC Buck-Mini Mini-360 Converter is an electronic component that allows the conversion of input voltage from a power supply to a regulated output voltage. It is ideal for projects that require precise voltage control for Arduino, 3D printers, or drones.
Features
- Input Voltage: 4.75-23V
- Regulated Output Voltage: 1-17V
What it is for
This converter is useful for projects that require a variable and controlled voltage, such as LED lighting systems or custom power supplies. It is compatible with Arduino and other microcontrollers.
Tutorial: How to Use DC-DC Buck-Mini Mini-360 Converter
The DC-DC Buck-Mini Mini-360 is an essential component for anyone working with Arduino or other microcontrollers. It allows you to adjust the voltage level from 4.75V to 23V at the output between 1V and 17V, perfectly adapting to the energy requirements of your projects.
What you need
- Arduino or microcontroller
- Power connections
- Sensors or actuators to power
Steps
- Connect the input of the converter (VIN) to the power source. Check the datasheet for the maximum current allowed.
- Connect the control signal (EN/ADJ) to an output pin of the Arduino if you want to manually adjust the power supply.
- Connect the GND, IN and OUT pins of the converter to the corresponding connections on your board.
- If necessary, add a ceramic capacitor near the output to filter out any noise.
- Check that the output voltage meets your requirements using a multimeter.
- Connect the devices to be powered to the output plug of the converter.
- If you want to regulate the power supply in automatic mode, connect the EN pin to GND to activate the function.
- Test your project with various voltage levels.
Mini project
Create an led lighting system controlled by Arduino. Use the DC-DC Mini Buck 360 converter to adjust the light intensity based on data collected from sensors.
Common mistakes
- Do not verify the maximum current allowed by the converter before connecting it to the power supply.
- Omitting the ceramic capacitor near the output, causing unwanted electronic noise.
- Connecting the power supply incorrectly relative to the EN/ADJ signal, preventing proper voltage regulation.
- Do not test the converter with a multimeter before connecting it to the devices to be powered.
Recommended accessories
- Ceramic capacitors
- Digital multimeter
- Light or temperature sensors
Frequently asked questions
How can I adjust the output voltage?
Connect the EN/ADJ pin to an output pin of the Arduino and use the digitalWrite command to activate/deactivate.
Can it be used with devices sensitive to electronic noise?
Yes, add a ceramic capacitor near the output to filter out noise.
How much current can the converter provide?
Check the datasheet for the maximum current allowed by the specific model.
Reviews
There are no reviews yet.