 EN
 IT Italiano
 ES Español
 FR Français
 DE Deutsch
Description
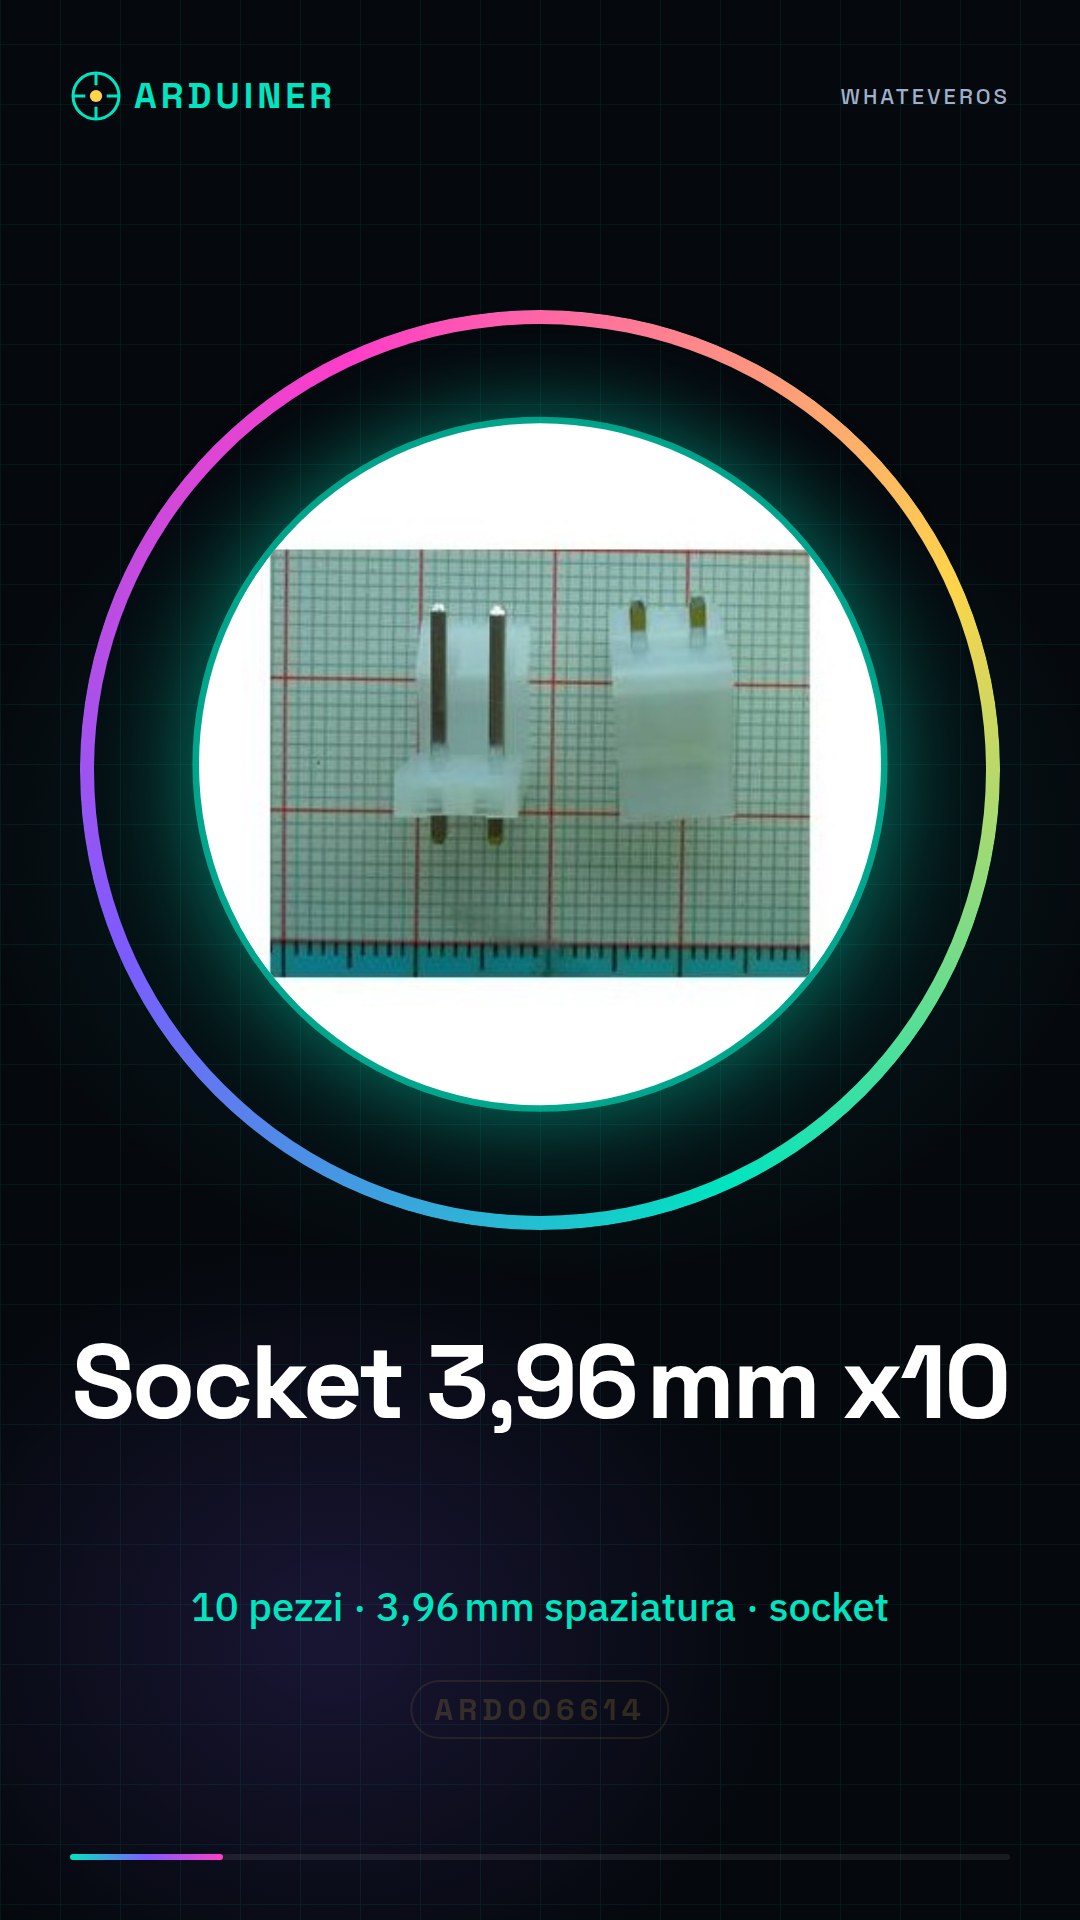
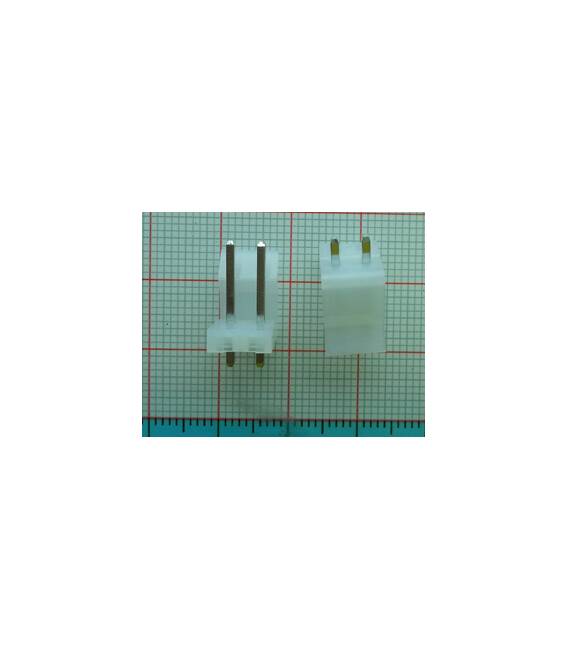
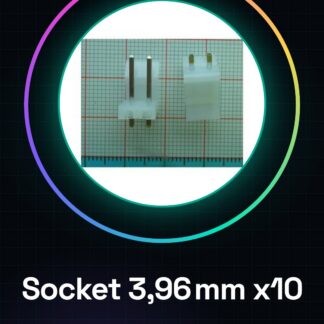
10 PCS CH3.96-2P 3.96 Pitch Socket
Tutorial: How to Use 10 Pieces CH3.96-2P 3.96 Pitch Socket
These sockets are ideal for connecting electronic wires. Useful for beginners and intermediates in Arduino projects.
What you need
- 10 pieces CH3.96-2P 3.96 Pitch Socket
- Compatible electronic wires
- Tools for cutting and breaking wires
- Wire stripper
Steps
- 1. Check the 3.96mm pitch of the wires.
- 2. Cut the wires using a clean cut.
- 3. Insert the wires into the socket.
- 4. Check the fit and contact.
- 5. Repeat for all wires.
- 6. Connect them to a circuit or Arduino.
- 7. Verify the correct power supply from the datasheet.
- 8. Test the connection.
Mini project
Build a simple power circuit with an Arduino and an LED. Connect the socket to a power pin.
Common mistakes
- Insert wires of different pitch.
- Do not check the contact before testing.
- Do not use tools unsuitable for cutting wires.
- Power the circuit with unsupported voltages.
Recommended accessories
- Test leads
- Electronic cutter
- Multimeter
- Wire stripper
Frequently asked questions
How can I check if the wires are properly connected?
Check the physical contact and use a multimeter to measure the resistance between the wire and the socket.
Can I use these sockets with Arduino?
Yes, but check the spacing and power requirements on the datasheet.
How many wires can I connect to a single socket?
The datasheet specifies the maximum capacity.
Can I use these sockets with wires of different spacing?
Check compatibility on the datasheet. Otherwise, they may cause contact issues.
Reviews
There are no reviews yet.