 EN
 IT Italiano
 ES Español
 FR Français
 DE Deutsch
Description
What it is
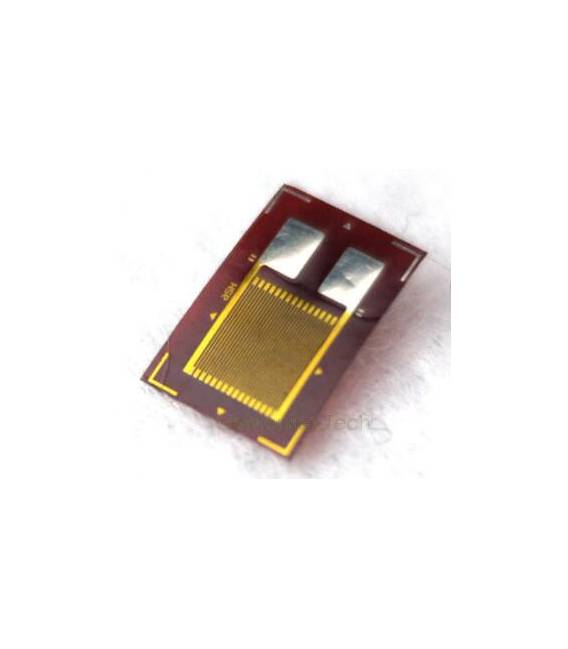
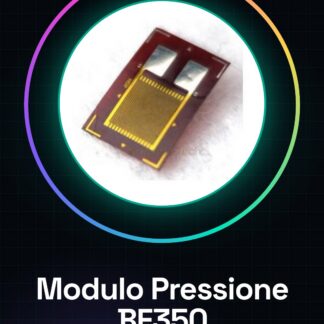
The resistive pressure sensor BF350 350ohm is a high precision sensor designed to measure pressure in various applications. This component is ideal for beginner makers who wish to explore applications such as climate control or atmospheric pressure monitoring.
Features
- Resistive Pressure Sensor BF350 350ohm
- High precision for accurate measurements
What it is for
Ideal for Arduino and ESP8266 projects, this module can be used to create atmospheric pressure monitoring systems that send data over the internet. It is compatible with various electronic devices and fits well into climate control applications.
Tutorial: How to use Resistive Pressure Sensor BF350
The resistive pressure module BF350 is an essential component for measuring pressure in various devices and projects. Ideal for beginner makers who want to explore applications such as climate control or atmospheric pressure monitoring.
What you need
- Arduino Uno
- USB A-MicroB cable
- Soldering pliers (if necessary)
- 10kΩ resistor
Steps
- Connect the BF350 module to the Arduino using cables connected to the VCC, GND, and SIG pins.
- Check that the 10kΩ resistor is connected between VCC and SIG of the module to form a voltage divider.
- Download the Arduino IDE software and install necessary libraries such as Adafruit_BMP280 or similar (check the datasheet).
- Compile a simple sketch that reads values from the SIG pin of the module.
- Upload the sketch to the Arduino using the USB cable.
- Open the Serial Monitor section of the Arduino IDE to view the received pressure data.
- Verify data integrity by comparing it with a reference barometer or weather station.
- Adapt the sketch and connections based on the project requirements.
Example code
void setup() {
  Serial.begin(9600);
}

void loop() {
  int val = analogRead(A0); // Leggi dal pin SIG
  float voltage = val * (5.0 / 1023.0); // Converte in tensione
  Serial.println(voltage);
}
Mini project
Create an atmospheric pressure monitoring system that sends data over the internet using ESP8266.
Common mistakes
- Do not connect the resistor between VCC and SIG.
- Use an input voltage different from 5V without proper adjustment.
- Ignore the importance of verifying obtained values with a reference device.
- Forget to install the necessary libraries to read the module data.
Recommended accessories
- 10kΩ resistor
- ESP8266 NodeMCU
- OLED Display
- LiPo Battery
Frequently asked questions
Which libraries are needed?
Adafruit_BMP280 or similar (check the datasheet).
How to connect the module to an OLED display?
Use an I2C interface between Arduino and display.
Can this module be used with ESP32?
Yes, but make sure to adapt the sketch for ESP32.
Reviews
There are no reviews yet.