 EN
 IT Italiano
 ES Español
 FR Français
 DE Deutsch
Description
What it is
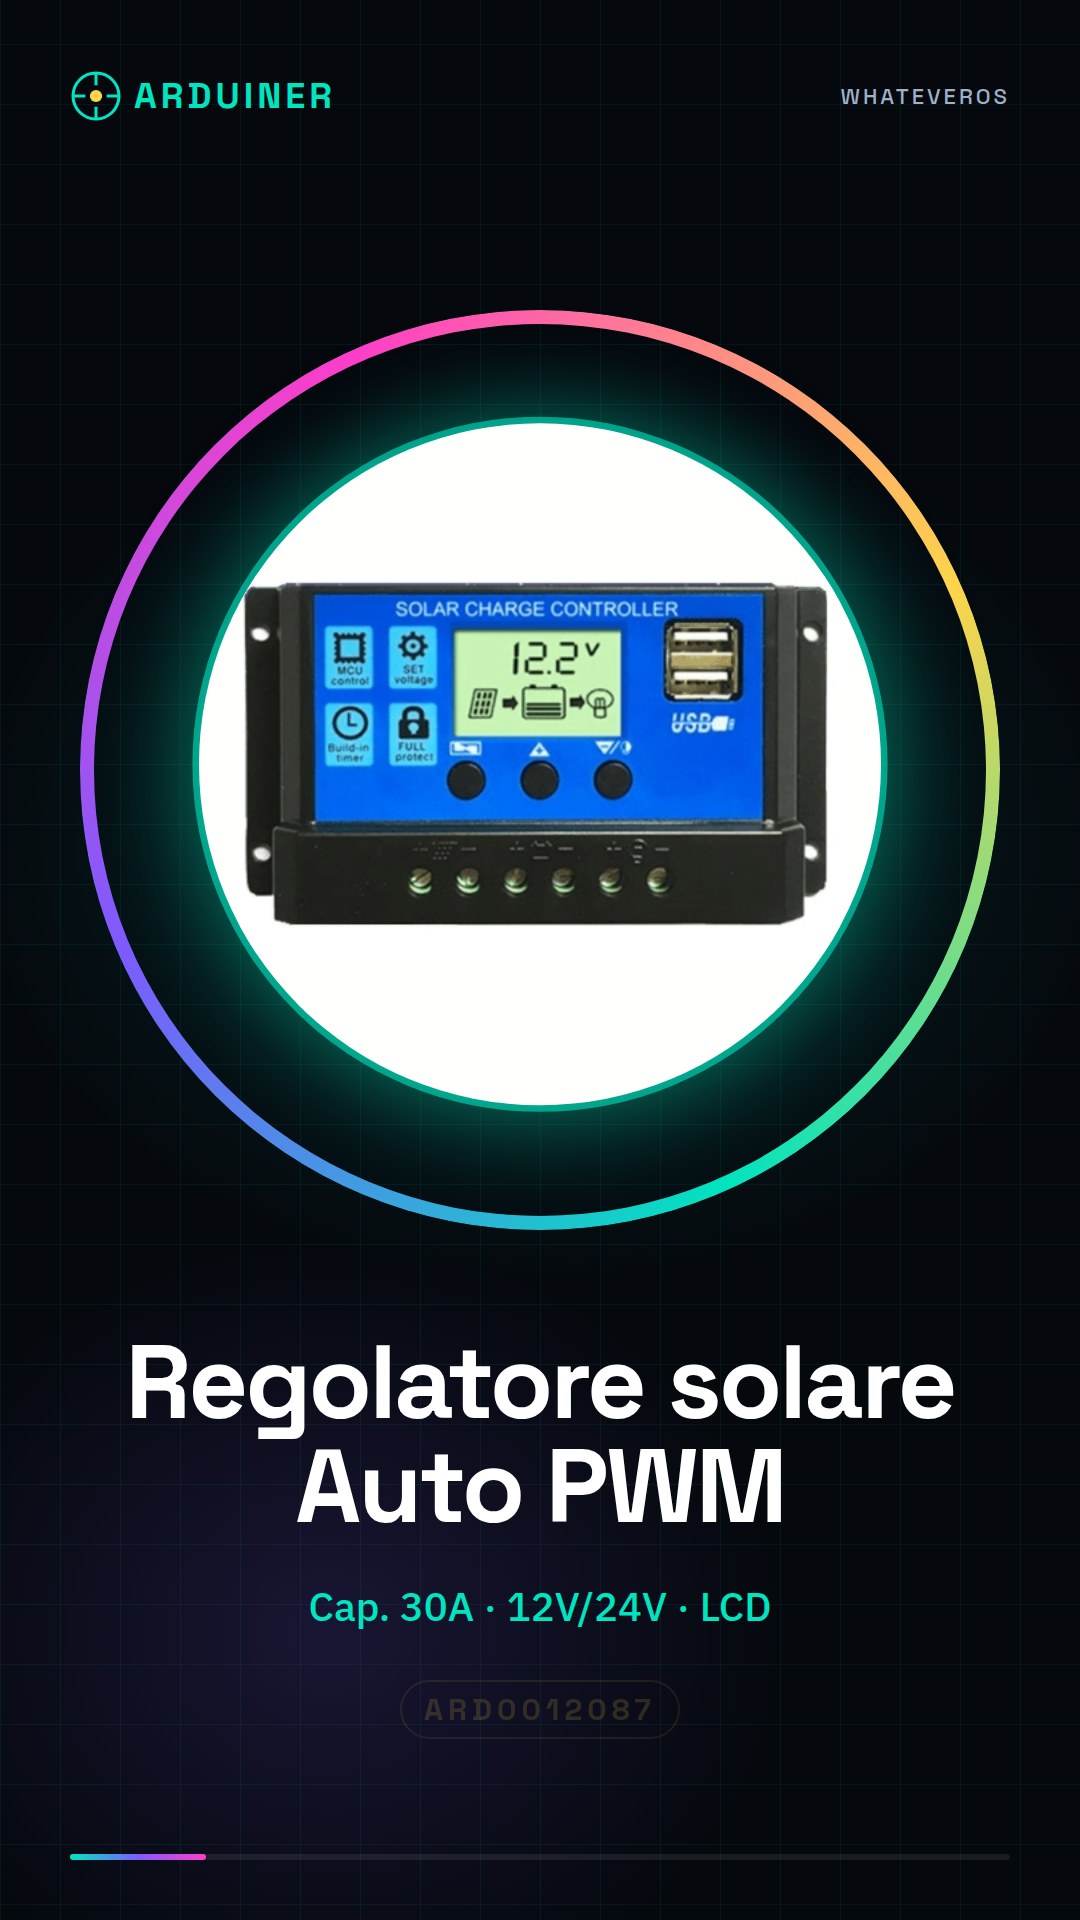
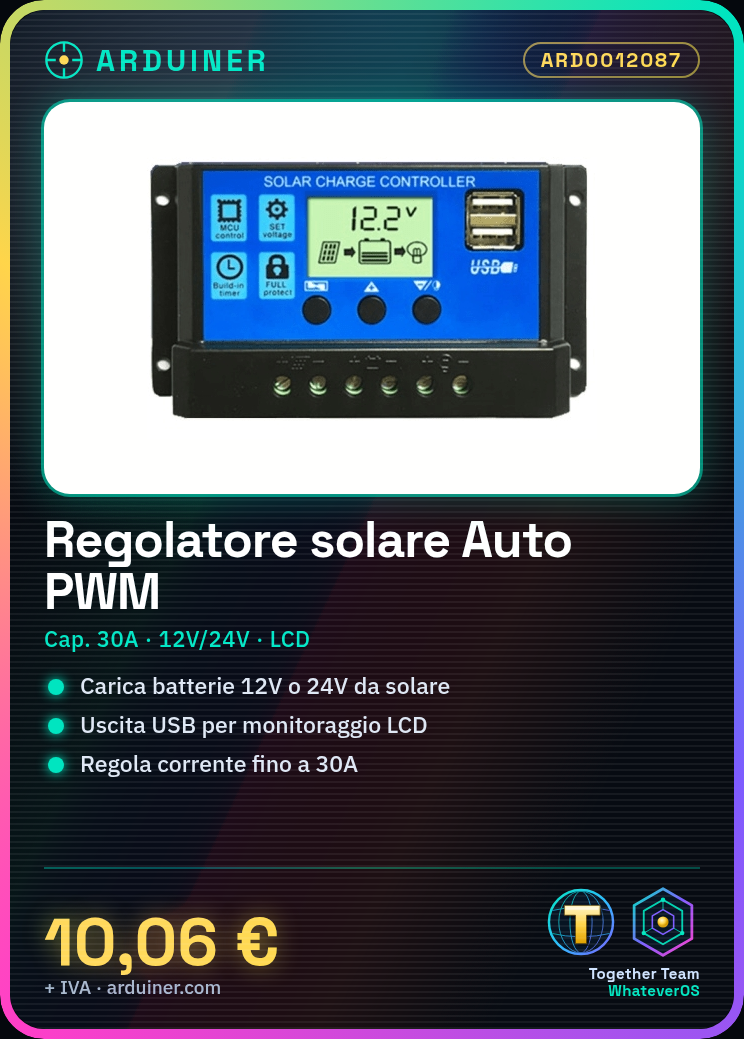
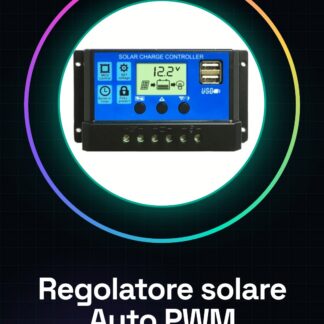
The Auto PWM Solar Charge Controller with Dual USB LCD Output is a device designed for efficient battery charging from solar energy sources. With a maximum capacity of 30A, it supports both 12V and 24V voltages.
Features
- Output Voltage: 12V / 24V
- Maximum Capacity: 30A
- Dual USB LCD Output
What it is for
Ideally suited for projects requiring efficient battery charging management, this regulator is particularly useful in applications such as autonomous solar energy systems and drones. It can be easily integrated with Arduino or other microcontrollers for advanced monitoring and control.
Tutorial: How to Use Auto PWM Solar Charge Controller
This Auto PWM Solar Charge Controller is ideal for charging high-capacity batteries from solar sources. Useful for beginners and makers working with batteries and charging circuits.
What you need
- Solar Auto PWM Charger Regulator
- Batteries to charge (12V or 24V)
- Solar Panel
- Electrical Leads
Steps
- 1. Check the battery specifications (capacity and voltage). Verify from the datasheet.
- 2. Connect the battery leads to the positive and negative terminals of the regulator.
- 3. Connect the solar panel to the solar terminal of the regulator.
- 4. Plug in a USB cable to the regulator to monitor the status via LCD.
- 5. Turn on the solar panel and check the charging status on the LCD.
- 6. Configure the regulator for the desired voltage (12V or 24V) through the LCD settings.
- 7. Check that the regulator is functioning correctly (status LEDs).
- 8. Verify the charging current (30A) with a multimeter.
Mini project
Build a solar charging system for a drone. Use a Solar Auto PWM Charge Controller to power the drone’s batteries from a solar source. In 30 minutes, connect the solar source, battery, and controller, and monitor the charge.
Common mistakes
- Connect the battery terminals correctly.
- Check the voltage of the solar source.
- Verify that the controller’s voltage setting is correct.
- Ensure that the charging current does not exceed the controller’s maximum capacity (30A).
Recommended accessories
- Drone batteries (12V or 24V)
- High-power solar source
- Multimeter
- Heavy-duty electrical cords
Frequently asked questions
How to set the controller’s voltage?
Use the LCD settings to set the voltage to 12V or 24V.
Does the controller work with batteries of all capacities?
Check the datasheet for compatibility with your battery’s capacity.
What are the current limits?
The regulator supports a maximum current of 30A.
Can I use this regulator with non-standard batteries (e.g., 18650)?
Check the datasheet for battery compatibility.
Reviews
There are no reviews yet.