 EN
 IT Italiano
 ES Español
 FR Français
 DE Deutsch
Description
What it is
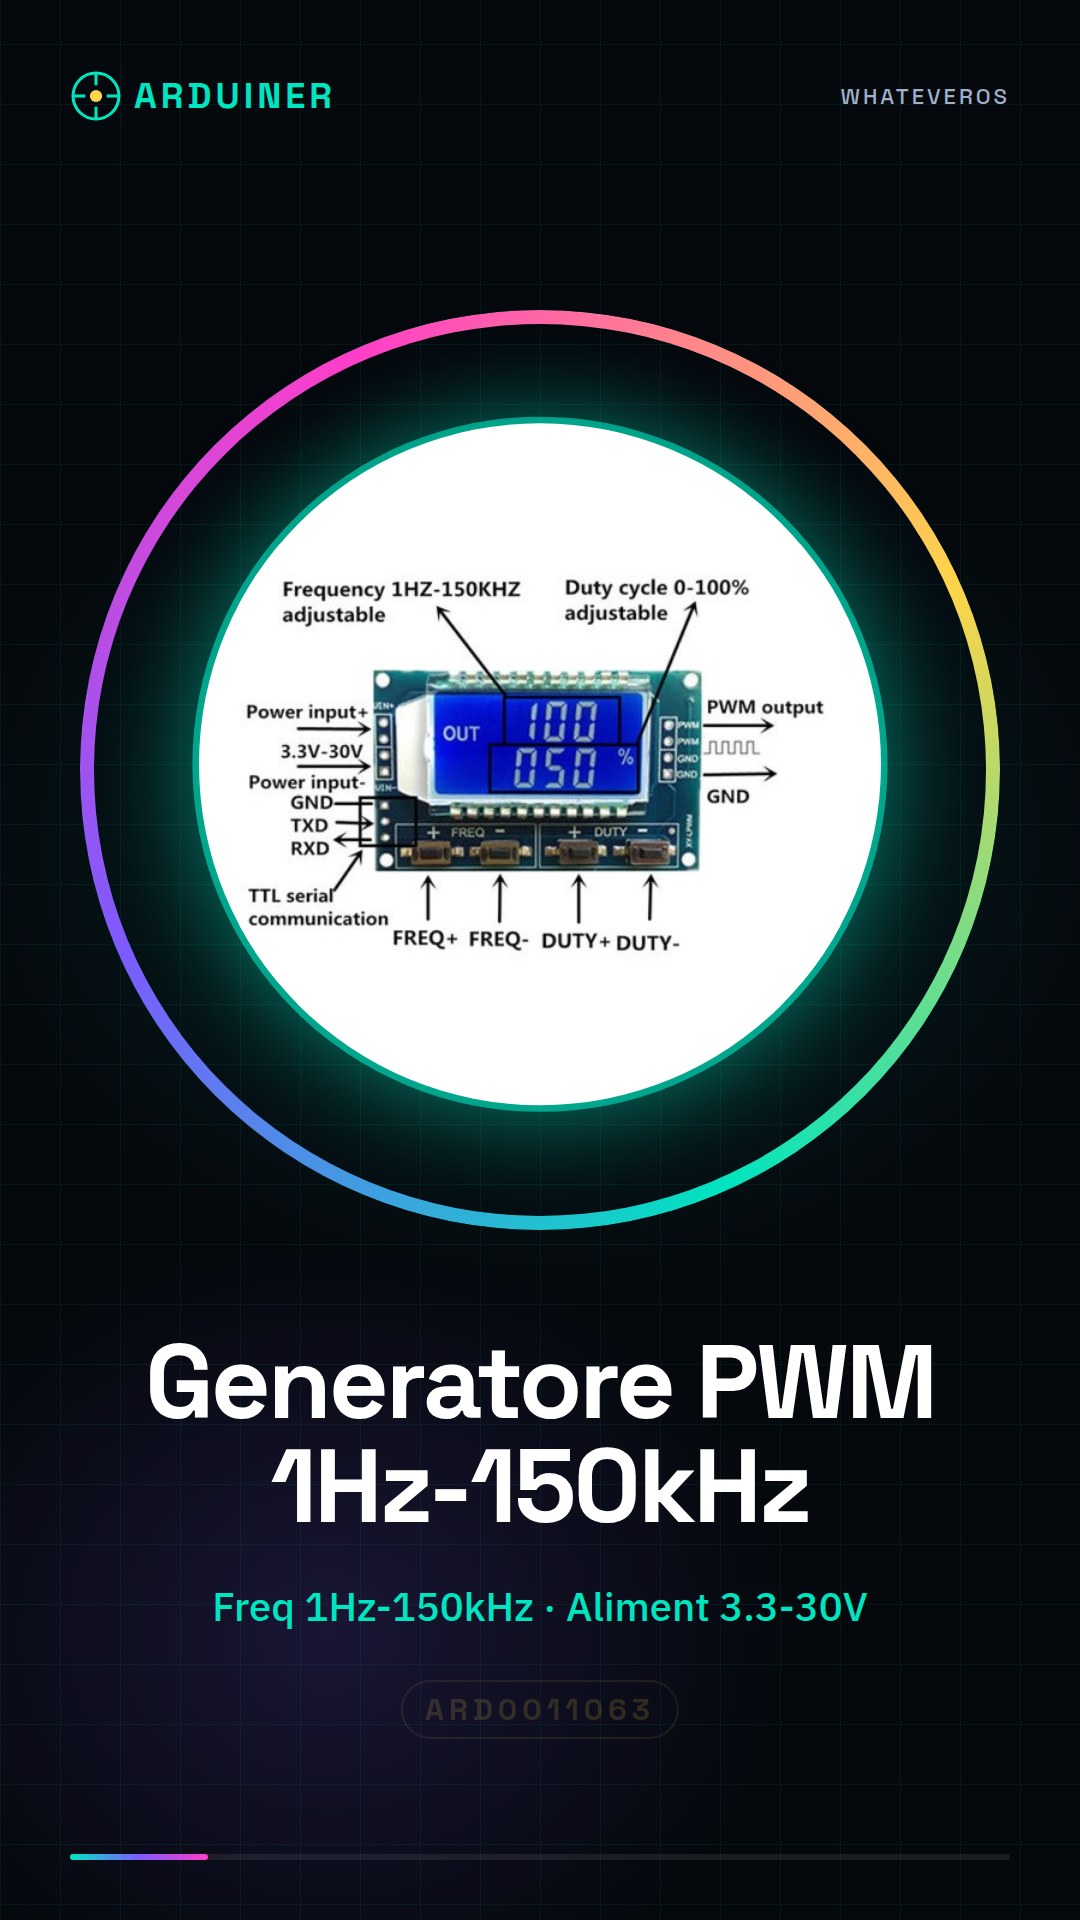
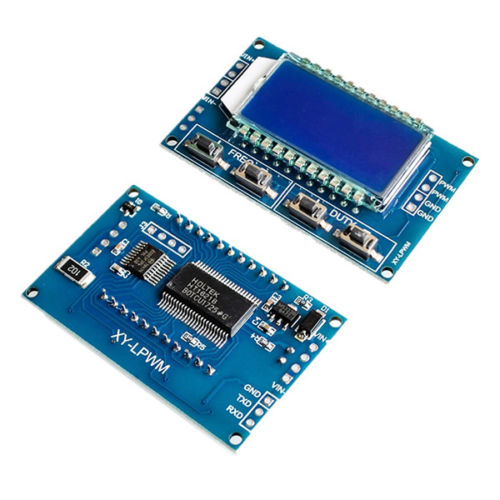
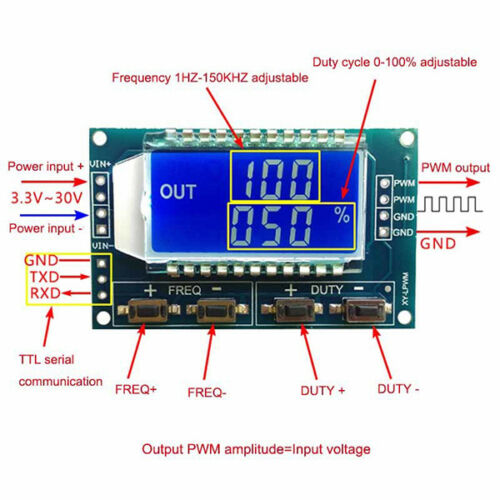
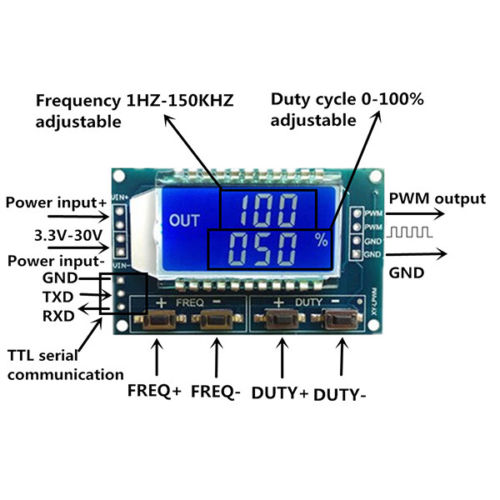
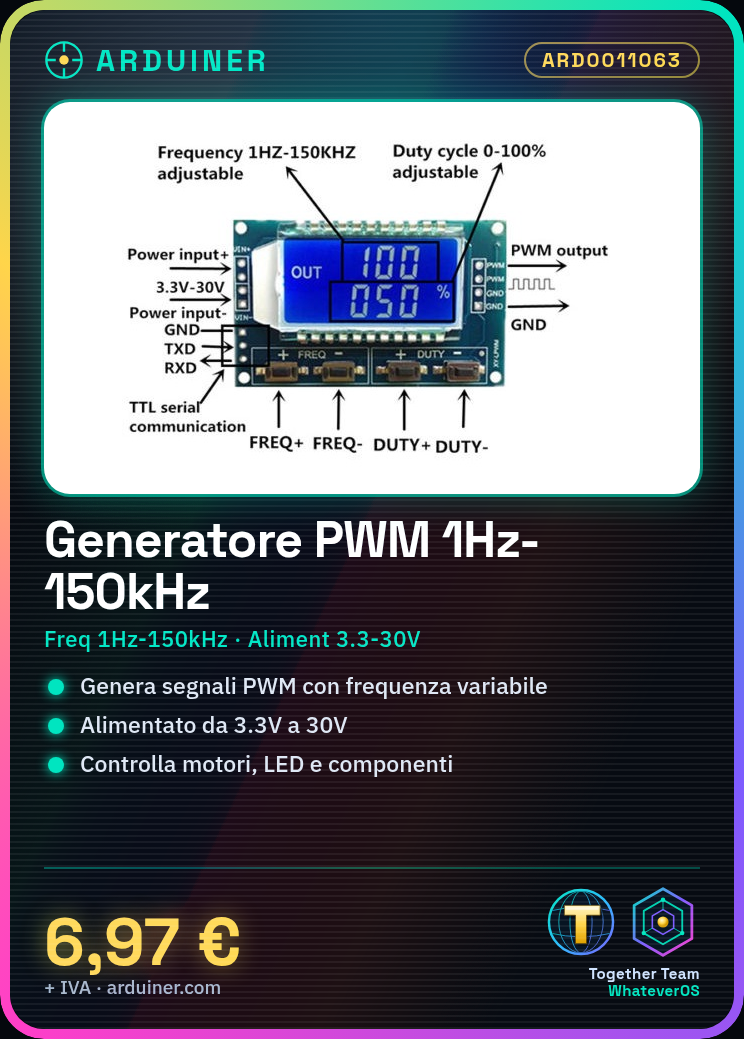
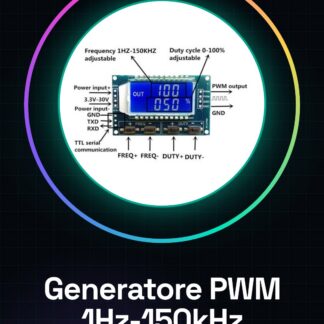
The 1Hz to 150kHz DC 3.3V-30V Arduino signal generator PWM module is an electronic component that allows the generation of PWM (Pulse Width Modulation) signals with variable frequency.
Features
- PWM Frequency: 1Hz to 150kHz
- Power Supply: 3.3V to 30V
- SKU: ARD0011063
- Price: 6.97 €
What it is for
This module is useful for controlling devices such as motors, LEDs, and other electronic components that require precise power control. It can be used in Arduino and similar projects to create dimmers, generate audio signals, or control motor speed.
Tutorial: How to Use PWM Generator Module
The 1Hz to 150kHz PWM generator module is a useful device for electronic and Arduino projects that require precise control signals. It is ideal for beginners and intermediate makers who want to control motors, LEDs, or other devices.
What you need
- Arduino Uno or compatible
- USB cable for Arduino
- Test connections
Steps
- Connect the module to the Arduino USB port
- Download the source code
- Configure the frequency and amplitude of the PWM signal
- Verify the PWM output with an oscilloscope or multimeter
- Re-calibrate if necessary
- Test with various loads
Example code
void setup() {
  pinMode(3, OUTPUT);
}

void loop() {
  analogWrite(3, 128); // Imposta un duty cycle del 50%
}
Mini project
Create a dimmer for LEDs by controlling the brightness with a potentiometer and the PWM module. Set the frequency to 1kHz and modulate the duty cycle to vary the LED brightness.
Common mistakes
- Setting the frequency too high for the load
- Not verifying the PWM output
- Using a duty cycle that is too low or too high
- Not correctly configuring the output pins
Recommended accessories
- 10kΩ potentiometer
- Various LEDs
- Resistor to limit the LED current
- Oscilloscope
Frequently asked questions
What is the minimum and maximum frequency?
The minimum frequency is 1Hz and the maximum is 150kHz. Check the datasheet for precise specifications.
Can it be used with other microcontrollers?
Yes, but it may be necessary to modify the source code based on the microcontroller.
How can I control the duty cycle?
Use the analogWrite() function of the Arduino to change the duty cycle of the PWM signal.

Reviews
There are no reviews yet.