 EN
 IT Italiano
 ES Español
 FR Français
 DE Deutsch
Description
What it is
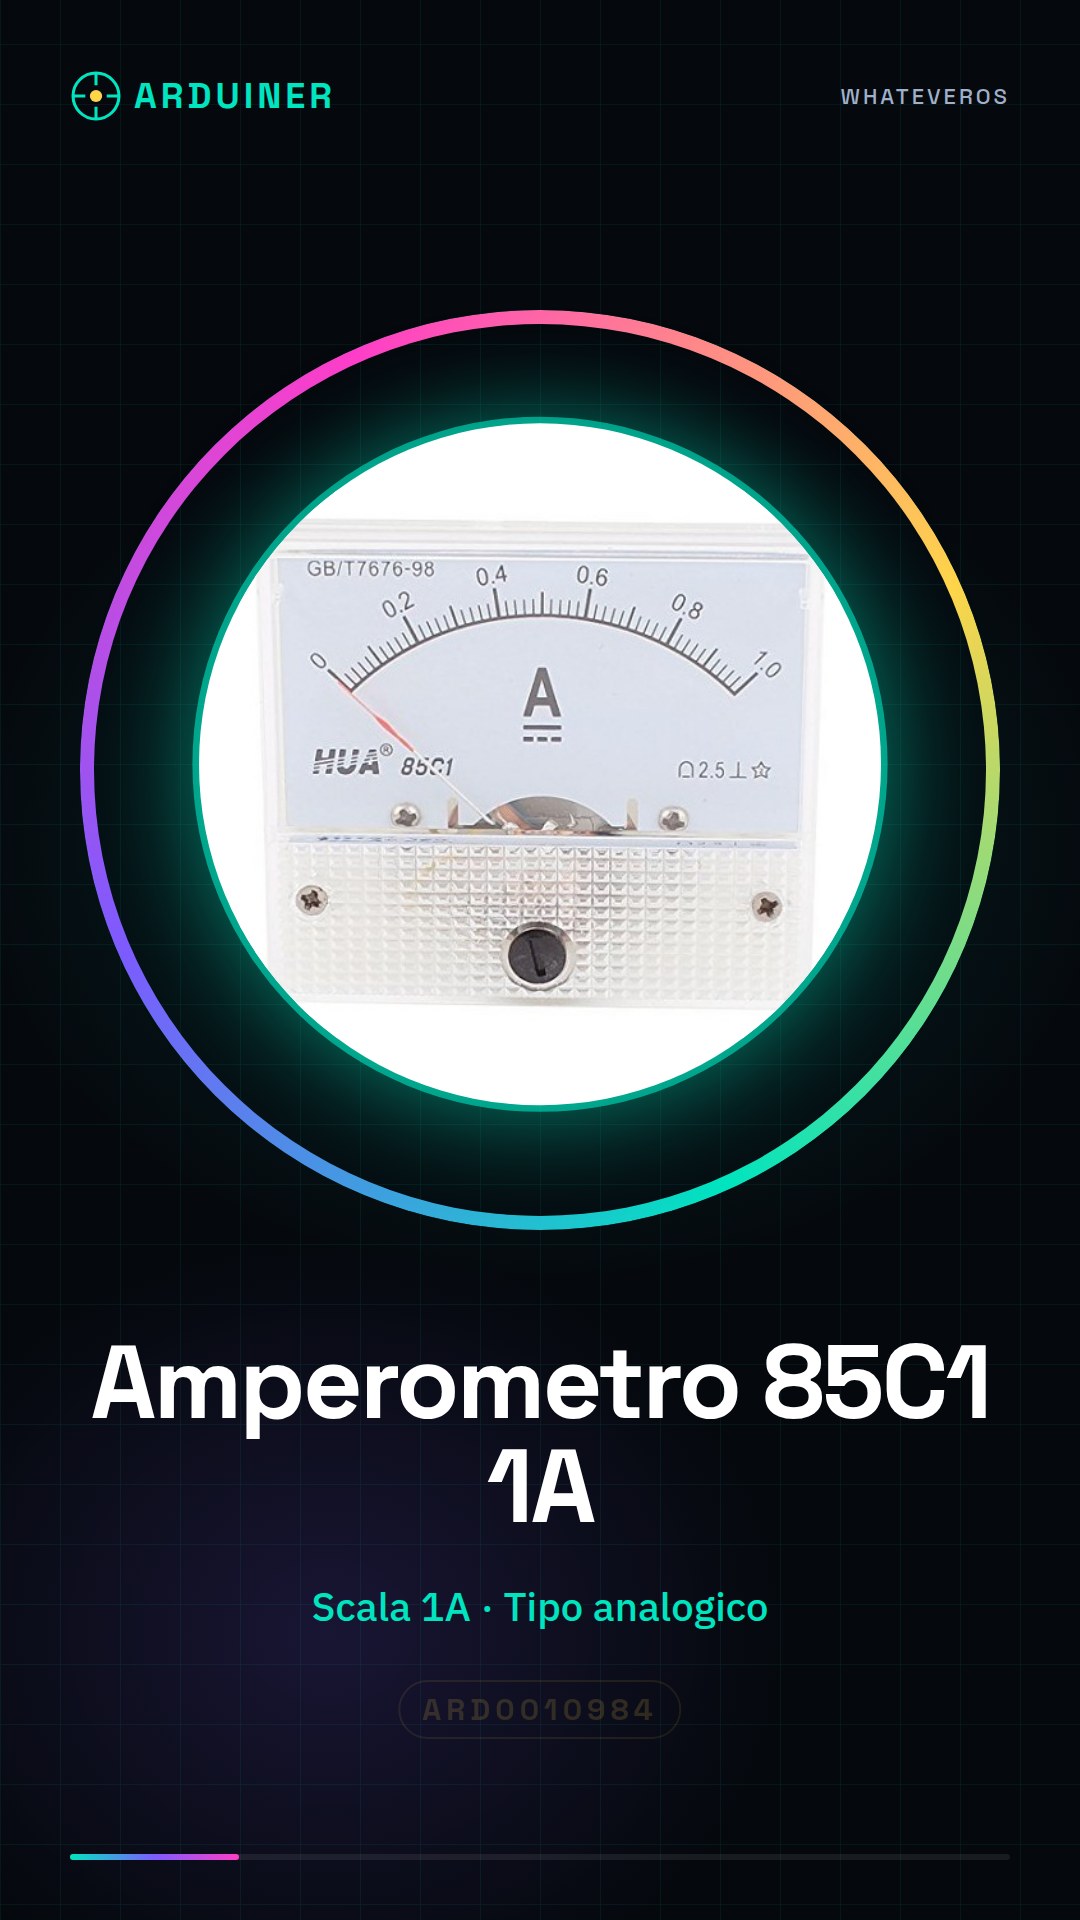
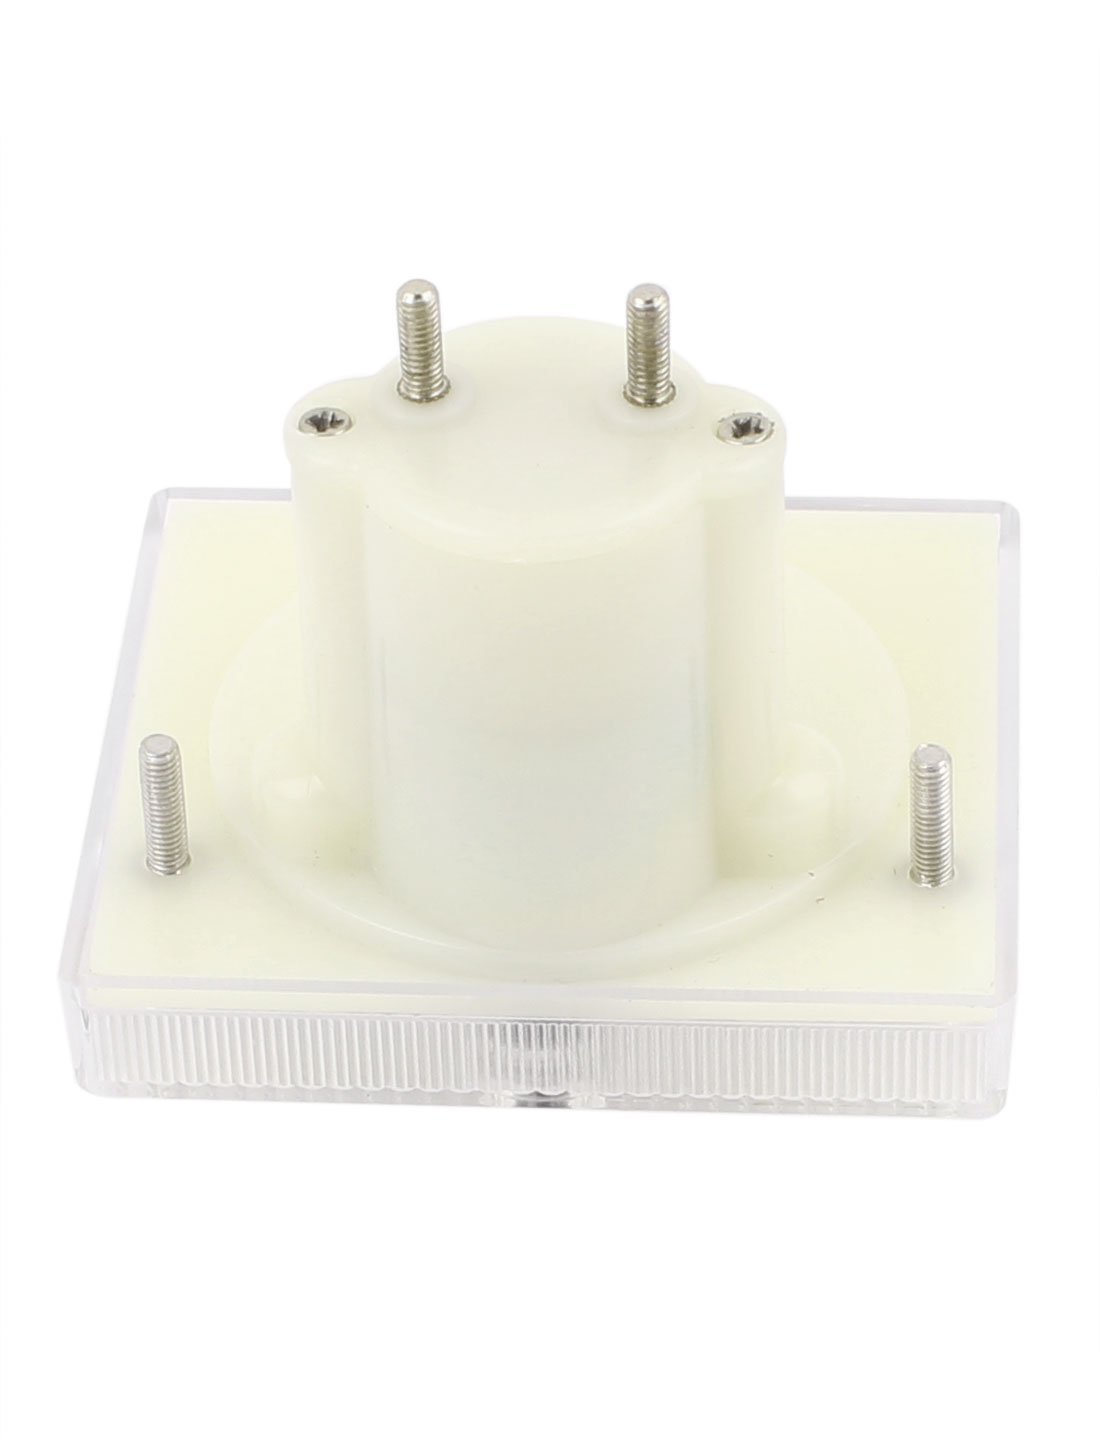
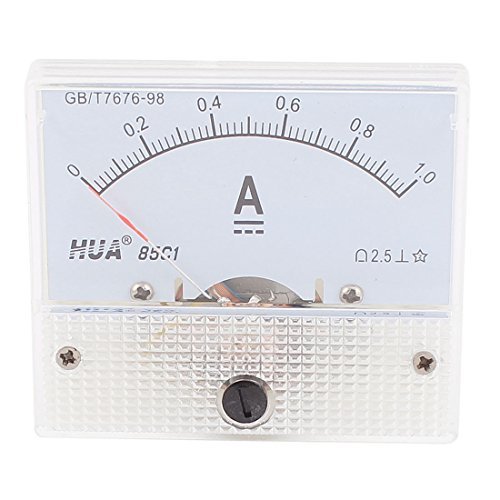
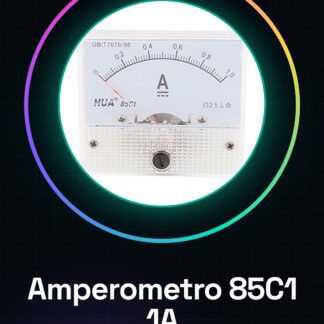
The 85C1 analog ammeter 1A scale is a device used to measure electrical current in electronic circuits. This tool is particularly useful for makers, electronics students, and anyone who wishes to monitor the flow of current in their creations.
Features
- Measurement scale: 1A
What it is for
The 85C1 analog ammeter 1A is ideal for monitoring current in Arduino projects, 3D printers, and CNC systems. It can be used to protect devices from current overloads and to optimize circuit design.
Tutorial: How to use Analog Ammeter 85C1 Scale 1A
The 85C1 analog ammeter 1A is an essential device for monitoring current flow in electronic circuits. Ideal for beginner and intermediate makers, this tool helps protect your devices from overloads and optimize your design.
What you need
- Arduino Uno
- USB A-Micro B cable
- 9V battery with clip
Steps
- Connect the ammeter to the circuit between the power supply and the device you want to monitor.
- Connect the Arduino to your computer via USB cable.
- Write the provided sketch to read the ammeter data.
- Upload the sketch to the Arduino.
- Monitor the current values through the serial monitor of the Arduino software.
Example code
void setup() {
  Serial.begin(9600);
}

void loop() {
  int valore = analogRead(A0); // Verifica sul datasheet il pin corretto
  float tensione = (valore * 5.0) / 1024.0; // Verifica sul datasheet la scala di misura
  float amperaggio = tensione / verifica sul datasheet resistenza; // Verifica sul datasheet la resistenza utilizzata
  Serial.print("Corrente:");
  Serial.println(amperaggio);
  delay(1000); // Attendi un secondo prima di rilevare nuovamente
}
Mini project
Design a small solar power station with Arduino and monitor the current generated by the photovoltaics.
Common mistakes
- Do not connect the ammeter correctly in the circuit.
- Use a high resistance that is not specified in the datasheet.
- Omit to upload the sketch to Arduino.
- Ignore the maximum limits of the ammeter scale.
Recommended accessories
- 9V battery
- Arduino Uno R3
- USB A-Micro B cable for Arduino
- 16×2 LCD with potentiometer
Frequently asked questions
How can I verify that the ammeter is functioning correctly?
Check the current reading through the Arduino serial monitor software.
What resistance should be used to measure the current?
Consult the 85C1 ammeter datasheet to obtain accurate specifications.


Reviews
There are no reviews yet.