 EN
 IT Italiano
 ES Español
 FR Français
 DE Deutsch
Description
What it is
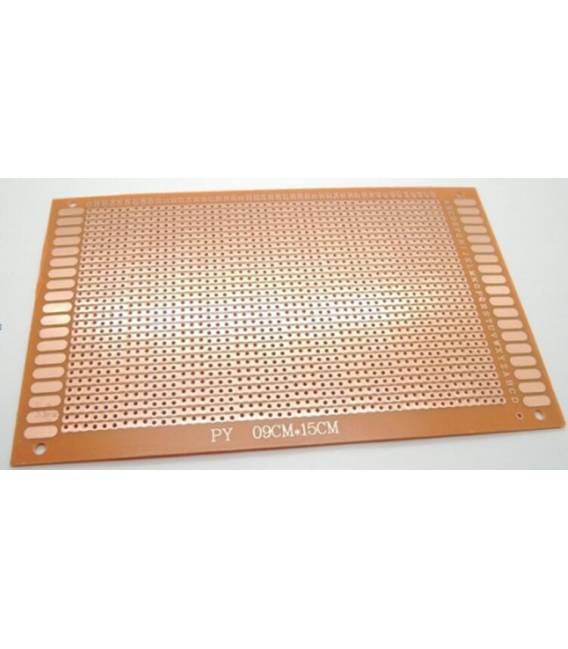
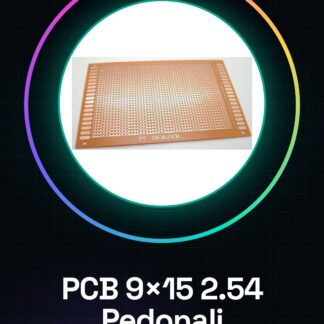
The 9×15 2.54 strip board PCB is a printed circuit board with a 2.54 mm pitch strip layout, ideal for simple electronic prototype projects.
Features
- Dimensions: 9×15 mm
- Pitch between tracks: 2.54 mm
- Type of circuit: strip board
What it is for
This PCB is perfect for simple circuits and quick tests. The precise layout of the tracks makes it ideal for projects requiring accurate connector placement. It can be used to create simple pedestrian lighting circuits with LEDs and resistors.
Tutorial: How to use 9×15 PCB Strip Board
This PCB is ideal for projects that require precise connector placement. Useful for beginners and intermediates.
What you need
- 9×15 PCB strip board
- Through-hole connector
- Electronic components
- Connection with Arduino (optional)
Steps
- 1. Check the datasheet for the PCB dimensions.
- 2. Place the PCB on the through-hole connector.
- 3. Identify the connection points for the components.
- 4. Connect the components using connecting wires.
- 5. Verify the stability of the connections.
- 6. If necessary, connect the PCB to an Arduino for testing.
- 7. Verify the functionality of the connected components.
- 8. Ensure everything works correctly.
Mini project
Create a simple pedestrian lighting circuit with LEDs and resistors.
Common mistakes
- Connect the components without verifying first.
- Ignore the stabilization of the connections.
- Omit the circuit test before using the Arduino.
Recommended accessories
- LED
- Resistors
- Connecting filament
- Arduino (optional)
Frequently asked questions
How can I verify the stability of the connections?
Use a tweezers to check the grip of the filament.
Can I use this PCB with any component?
Yes, but verify compatibility of dimensions and voltages.
Is it necessary to connect the PCB to an Arduino?
No, but it is useful for testing the components’ functionality.
Reviews
There are no reviews yet.