 EN
 IT Italiano
 ES Español
 FR Français
 DE Deutsch
Description
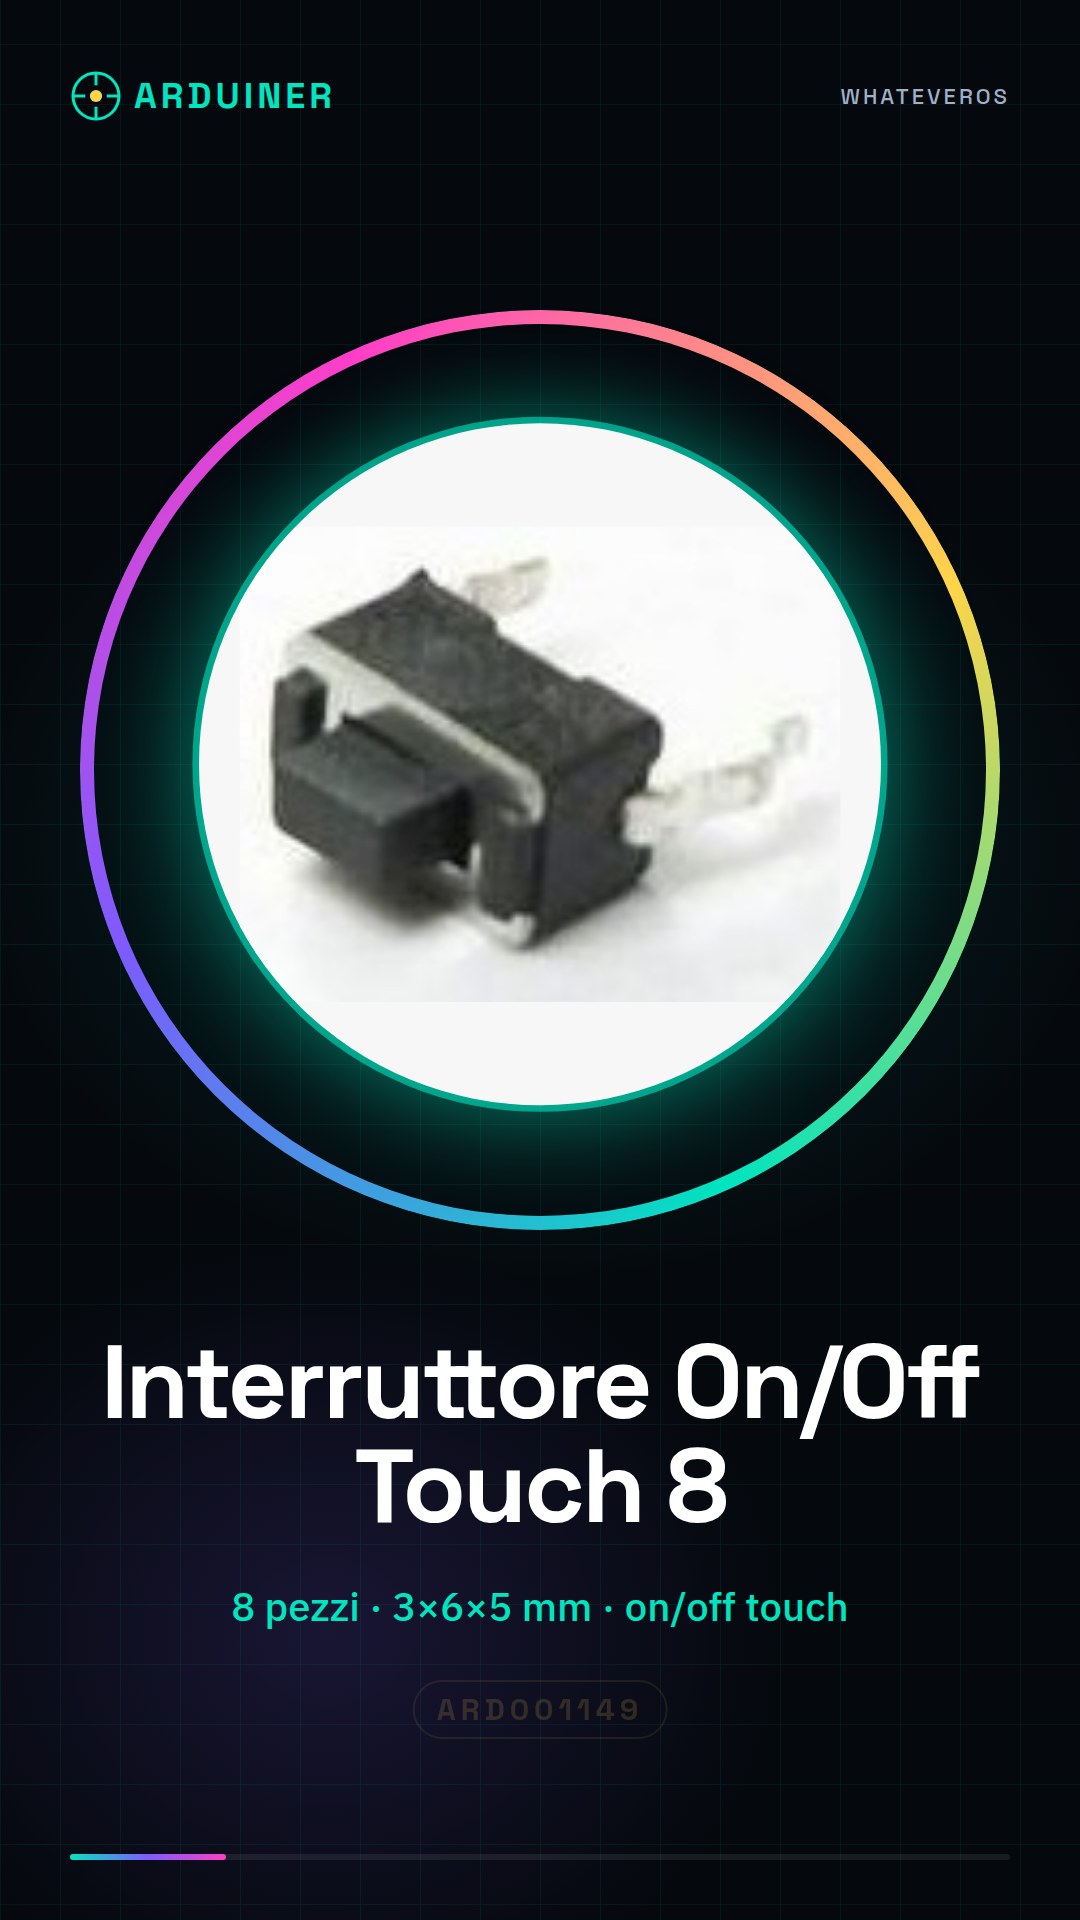
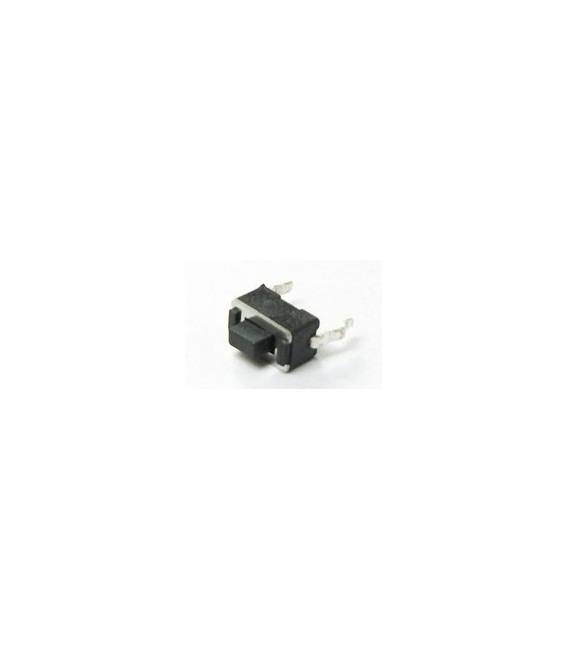
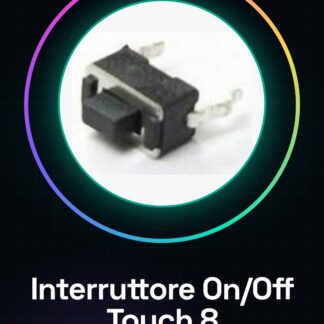
Micro switch 8 * 3 * 6 * 5, on/off touch switch, vertical switch, two pedal switches
Tutorial: How to Use Vertical ON/OFF Touch Switch
This vertical ON/OFF touch switch is ideal for controlling the flow of electricity in electronic projects such as turning lights, motors, or any other device that requires a simple on/off command. It is suitable for both beginners and more experienced makers.
What you need
- Arduino Uno
- Prototype board
- Jumper wires
Steps
- Install the switch on the prototype board using the jumper wires.
- Connect the first leg of the switch to pin 2 of Arduino (check the datasheet for precise specifications).
- Connect the second leg of the switch to the ground (GND) of Arduino.
- Write and upload the Arduino sketch to the Arduino Uno.
- Check that the switch functions correctly by pressing the touch to turn on or off an LED connected to another pin of the Arduino.
Example code
const int ledPin = 13;
const int switchPin = 2;

void setup() {
pinMode(ledPin, OUTPUT);
pinMode(switchPin, INPUT_PULLUP);}

void loop() {
if (digitalRead(switchPin) == LOW)
{
digitalWrite(ledPin, HIGH);}
else
{digitalWrite(ledPin, LOW);}}
Mini project
Create a touch-controlled lighting system. Connect the switch to an LED and use Arduino to turn the LED on or off.
Common mistakes
- Incorrect connection between the switch legs and ground.
- Incorrect pinMode settings on Arduino.
- The touch of the switch is too sensitive or not reactive enough.
- Insufficient power supply for the Arduino.
Recommended accessories
- LED
- 220Ω resistor
- Prototype board
- Jumper wires
Frequently asked questions
How can I adjust the sensitivity of the touch?
Check the switch datasheet for any configuration options.
Can it be used with Raspberry Pi?
Yes, but make sure to adapt the sketch in Python or C++ to the Raspberry Pi GPIO protocol.


Reviews
There are no reviews yet.