Description
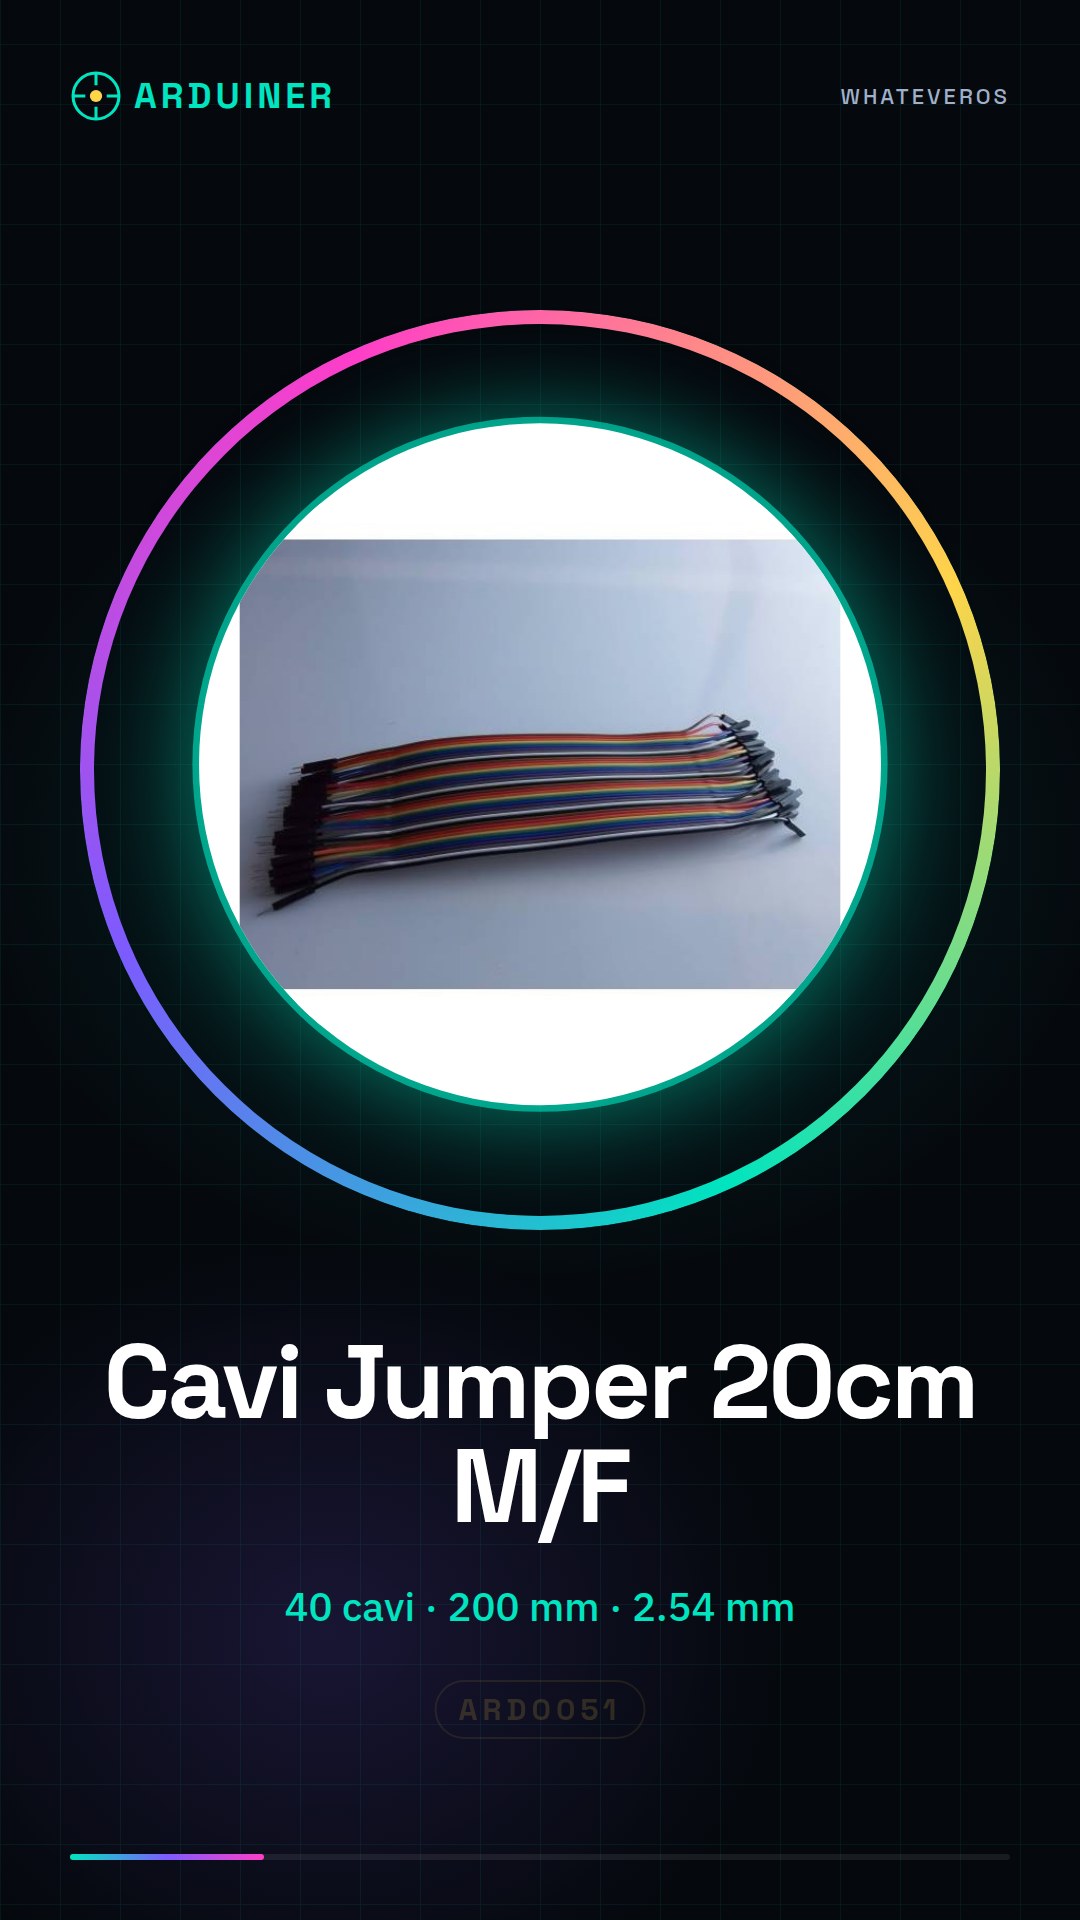
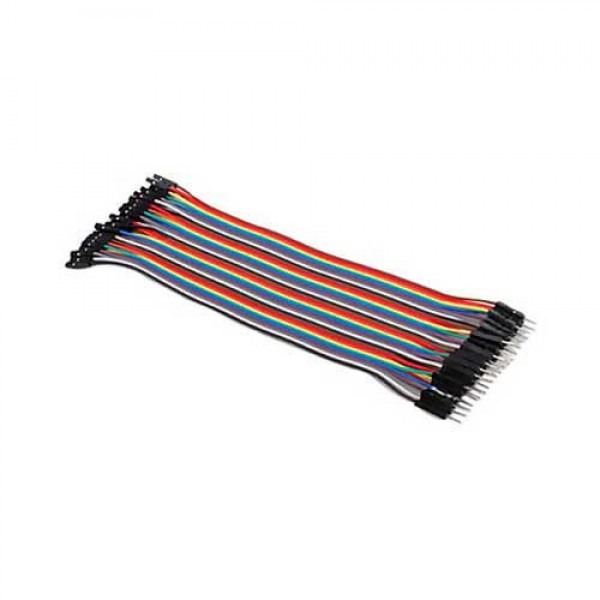
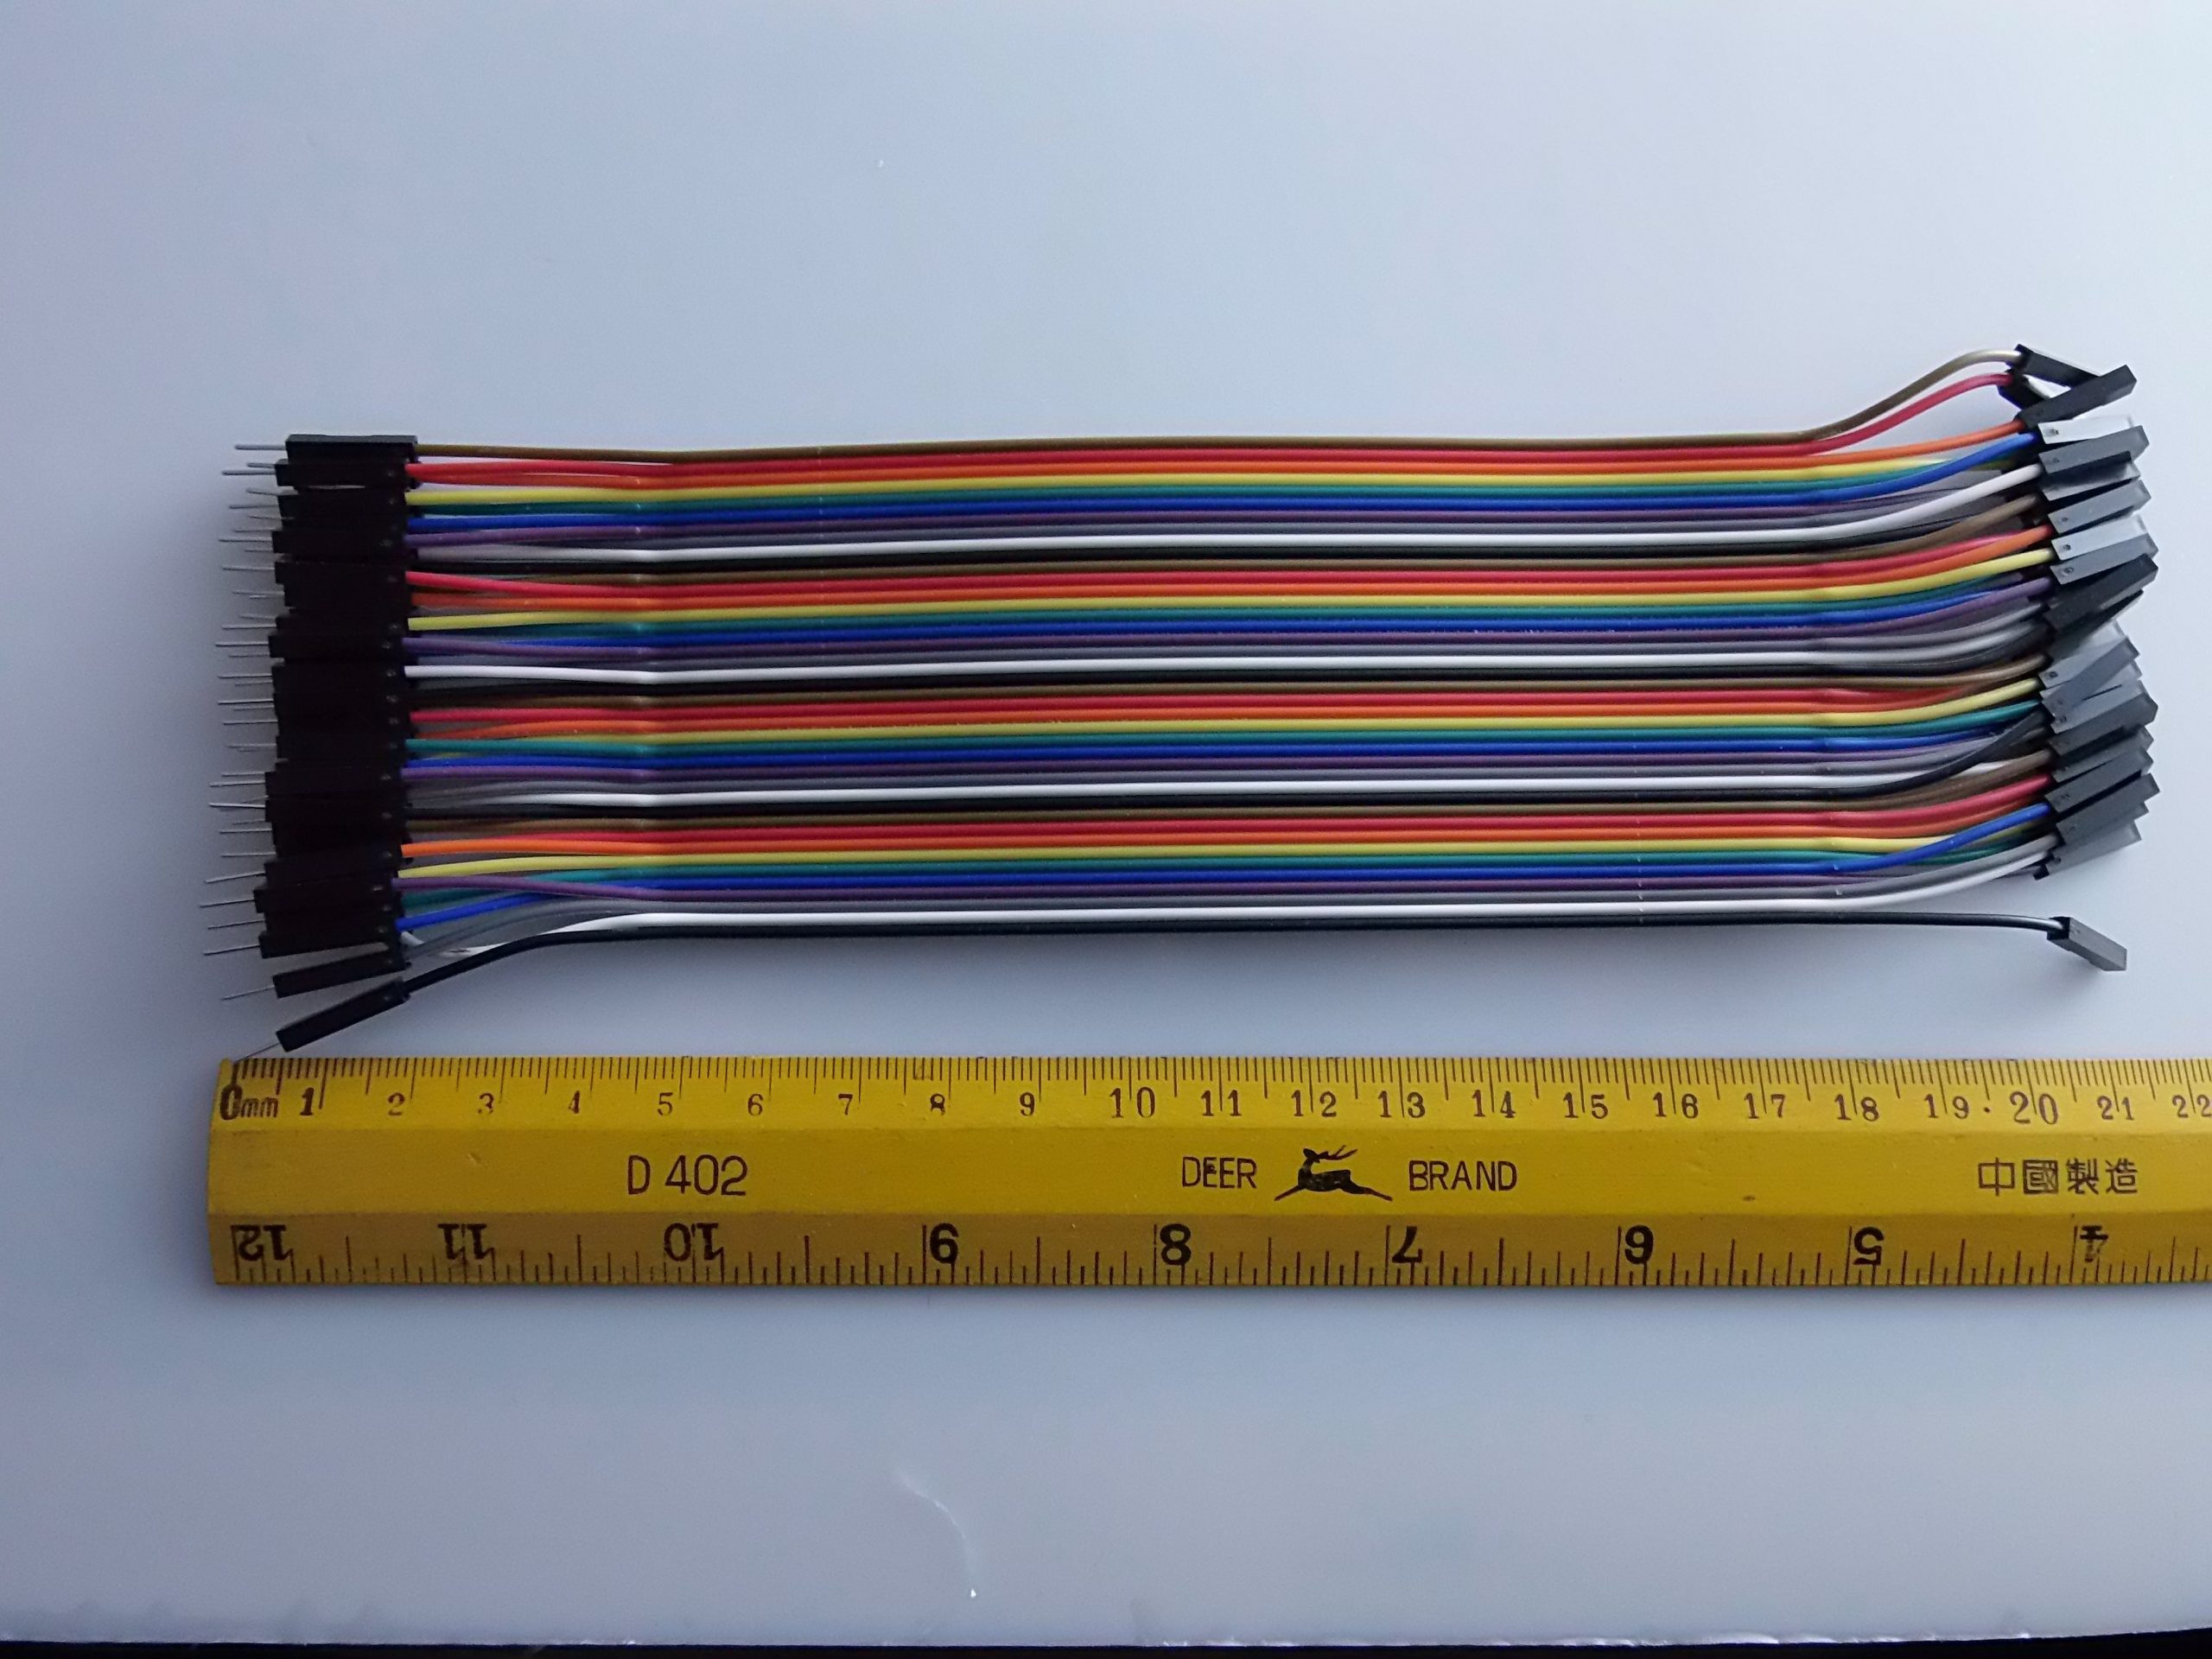
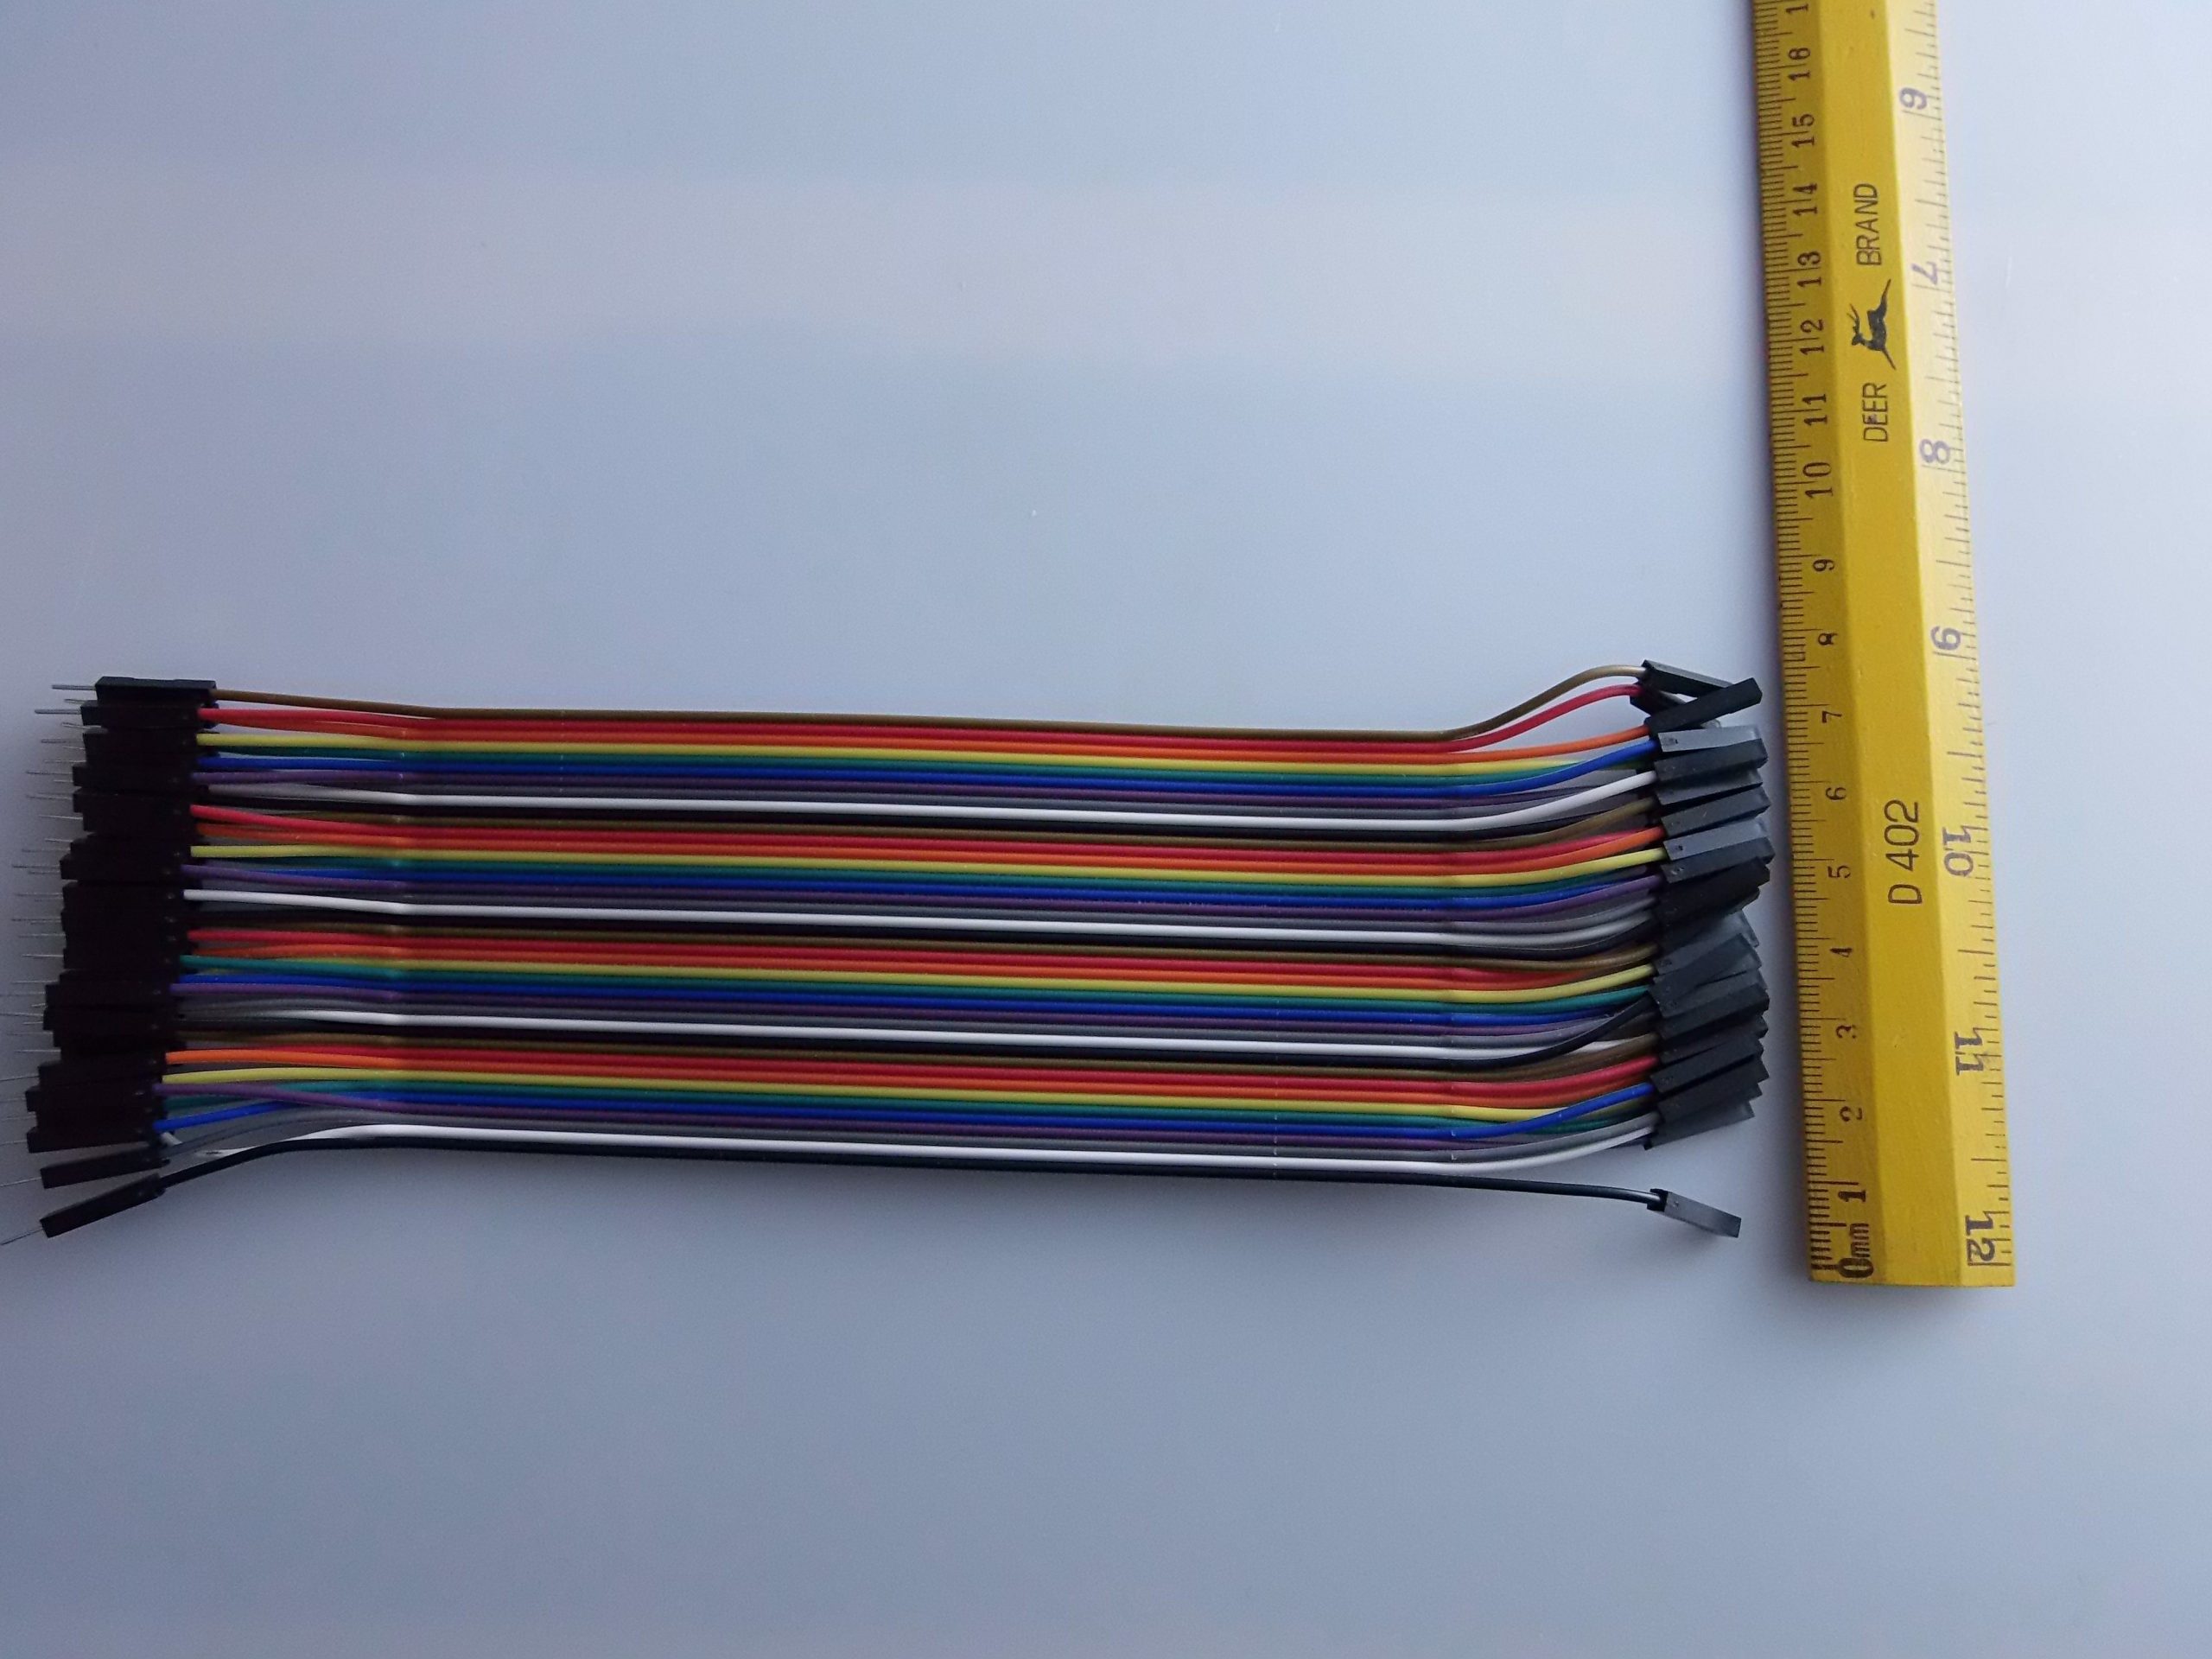
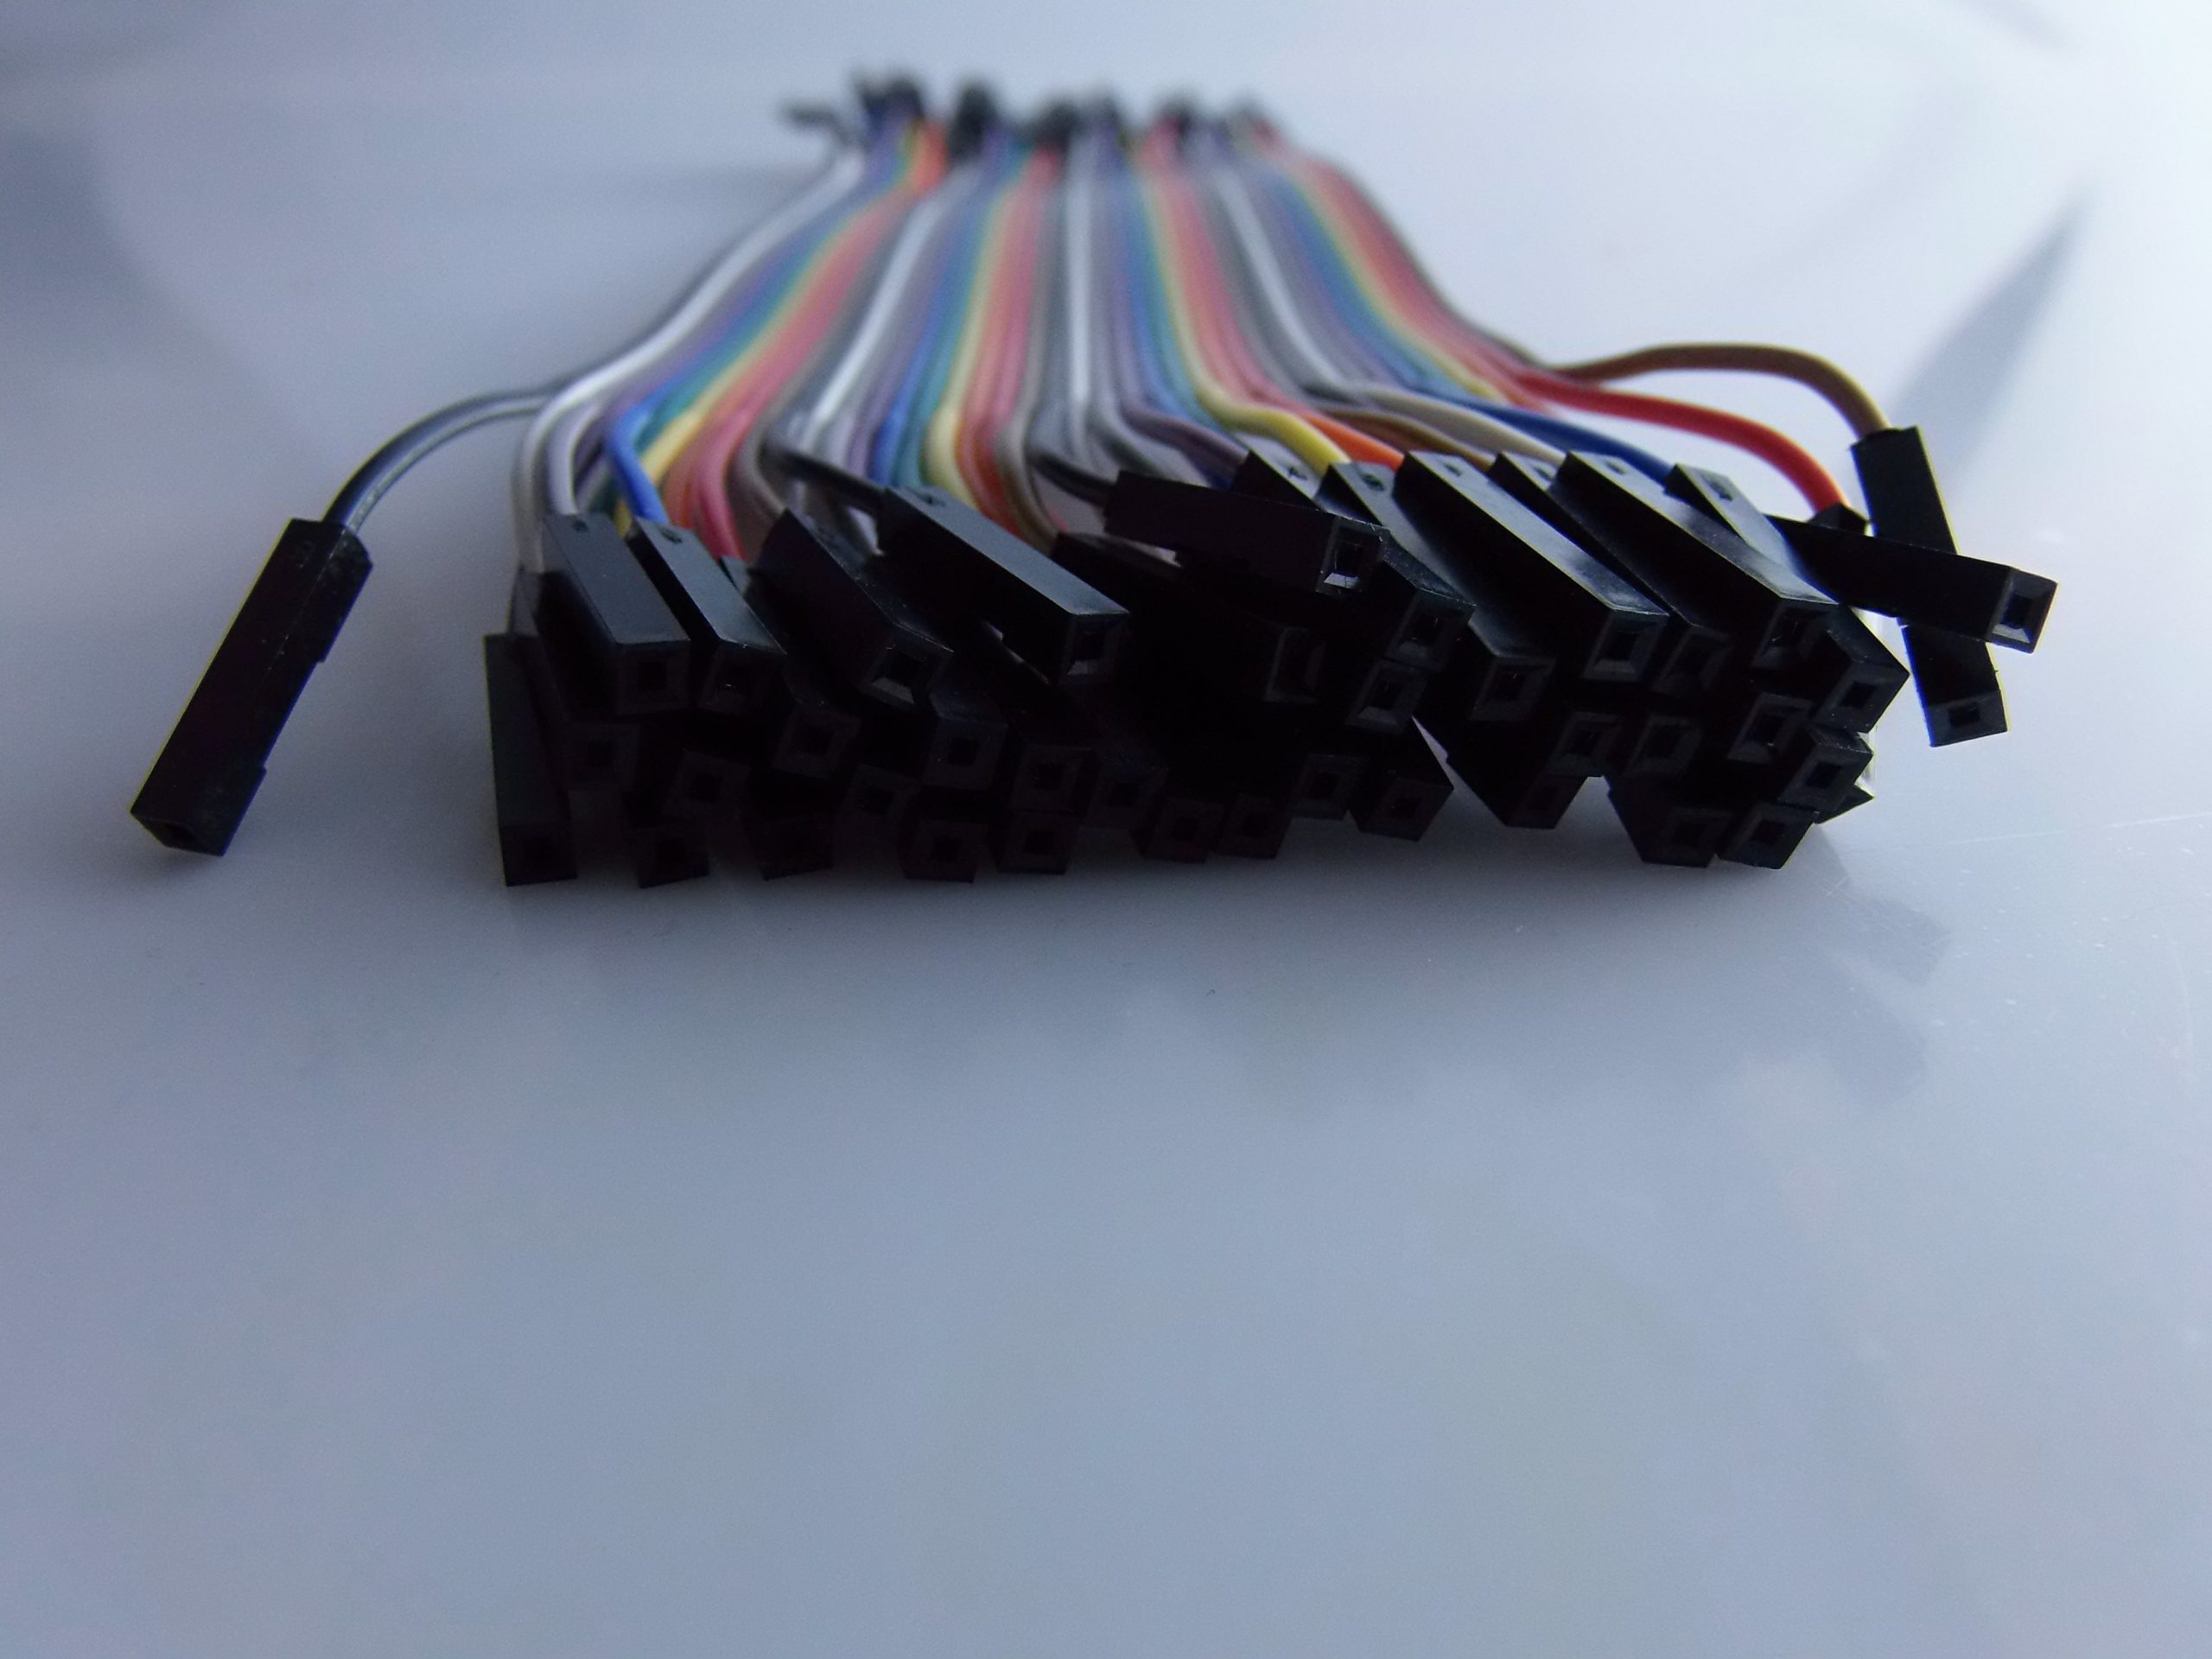
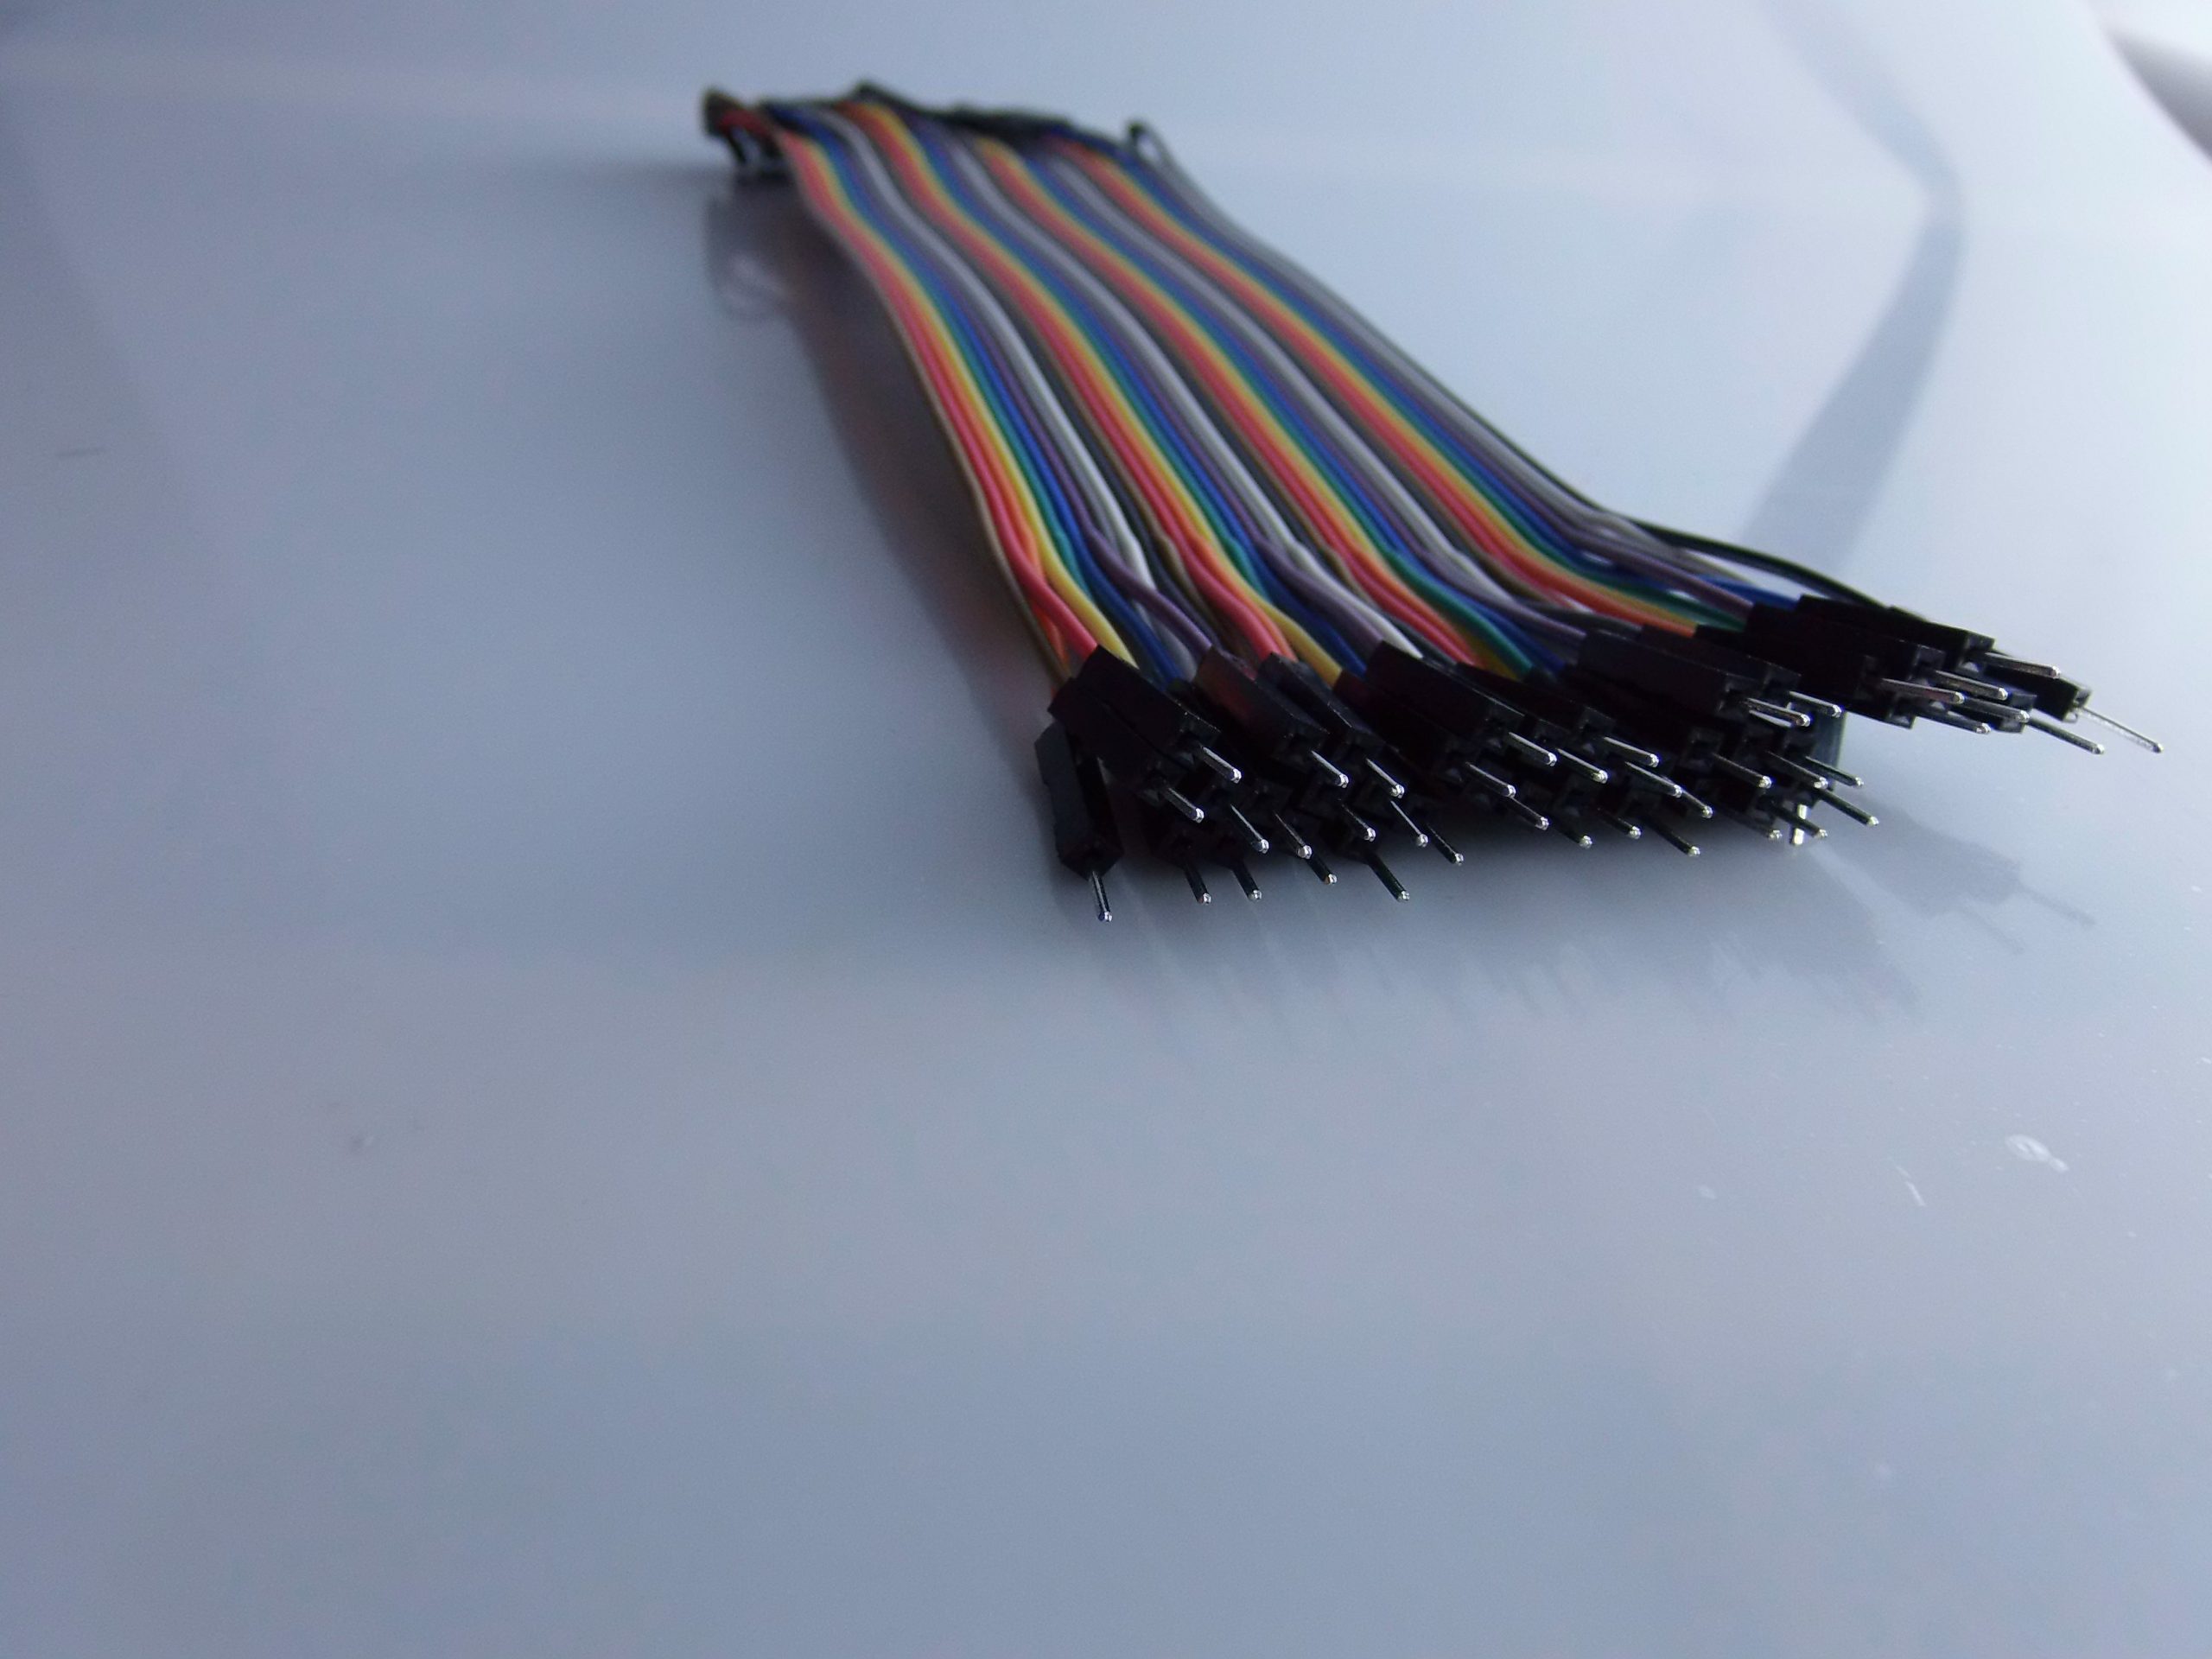
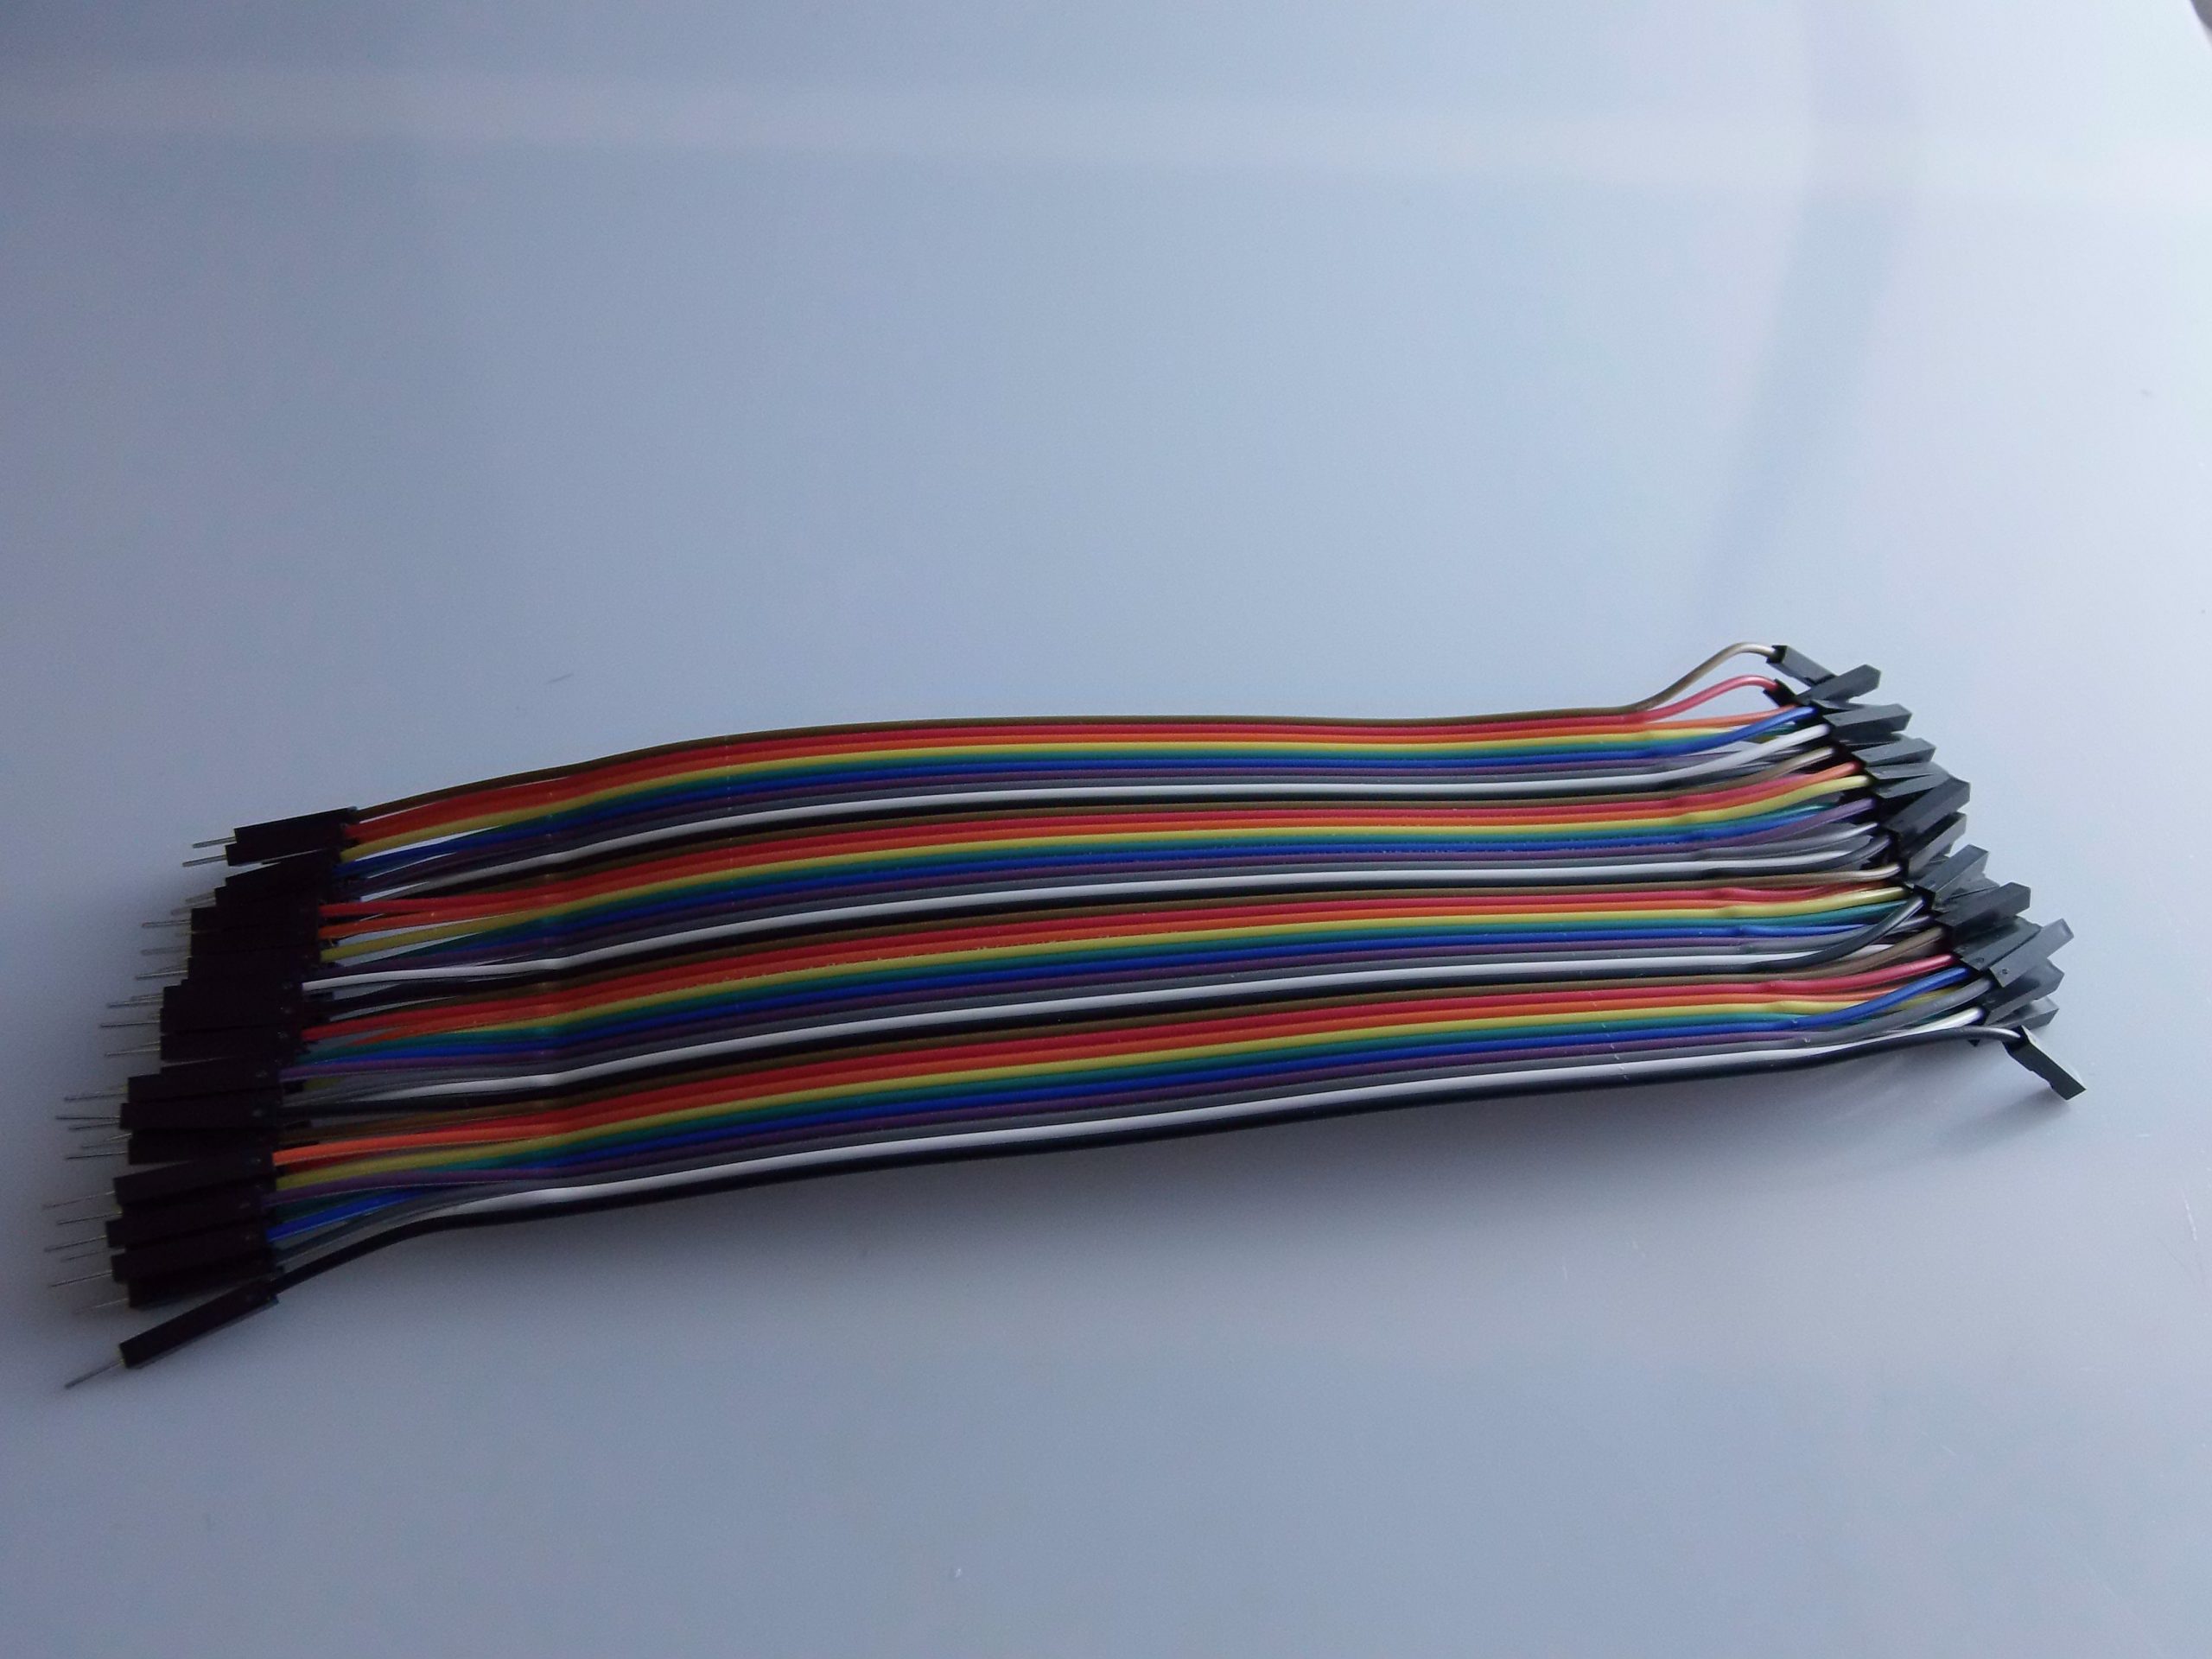
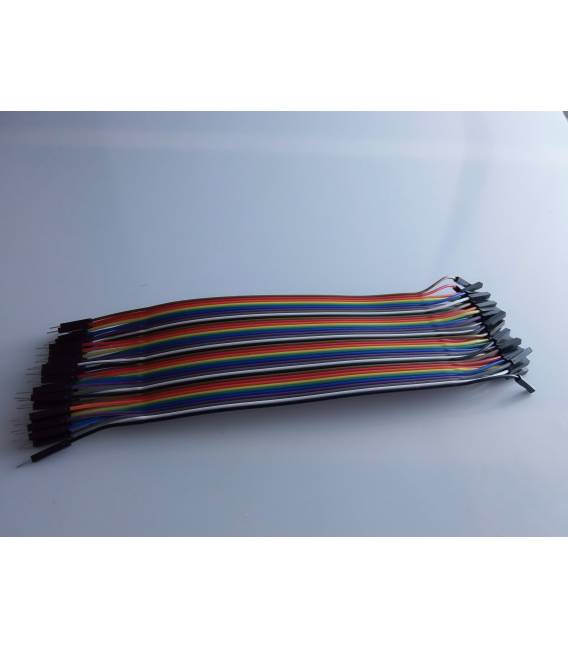
40 20cm Male-Female Jumper Wires for Arduino This set includes 40 jumper wires, each 200mm long, with female-male connectors compatible with 2.54mm pitch strip-line and breadboard. They are very flexible and can be used on breadboards or to connect other devices, shields, sensors, and modules. FEATURES: High-quality jumper wires 1p-1p female-male connector Compatible with 0.1 inch male connectors Compatible with 2.54mm pitch pin headers Random colour (black, yellow, green, blue, orange, etc.) Quantity: 40 wires per pack Easy to connect without soldering Flexible pins that can be used and bent GENERAL MATERIALS Copper + insulation COMPATIBILITY ARDUINO PRODUCT WEIGHT AND DIMENSIONS PRODUCT WEIGHT 14g PACKAGE WEIGHT 0.185 kg PRODUCT DIMENSIONS (L x W x H) 6 x 22 x 0.3 cm PACKAGE DIMENSIONS (L x W x H) 10 x 15 x 2 cm CONTENTS 1 x 40-wire pack We have datasheets for all components; if not available in the product download sheet, send us a message via the contact form and we will publish it as soon as possible on our website. Tutorial: How to use Male-Female Jumper Wires Male-female jumper wires are essential for connecting various electronic components, creating temporary circuits on a breadboard. Ideal for beginners exploring the world of electronics with Arduino. What you need Arduino Breadboard Electronic components (resistors, LEDs, sensors) Steps Lay out the necessary components on the workbench. Identify the male pin sign in the jumper wire to avoid installation errors. Connect one end of the female jumper wire to the breadboard or other electronic components. Connect the other end of the male jumper wire to the Arduino or additional components. Ensure that the connections are stable to avoid short circuits. Check the connectivity between Arduino and the circuit using a debugging software or by running a simple sketch. Mini-project Create a remote-controlled lamp with an LED, resistor, and button connected via jumper wires to the breadboard and Arduino. Common mistakes Connecting jumper wires incorrectly (male to male or female to female). Not checking the stability of the connectors before powering the circuit. Using jumper wires from


Reviews
There are no reviews yet.