 EN
 IT Italiano
 ES Español
 FR Français
 DE Deutsch
Description
What it is
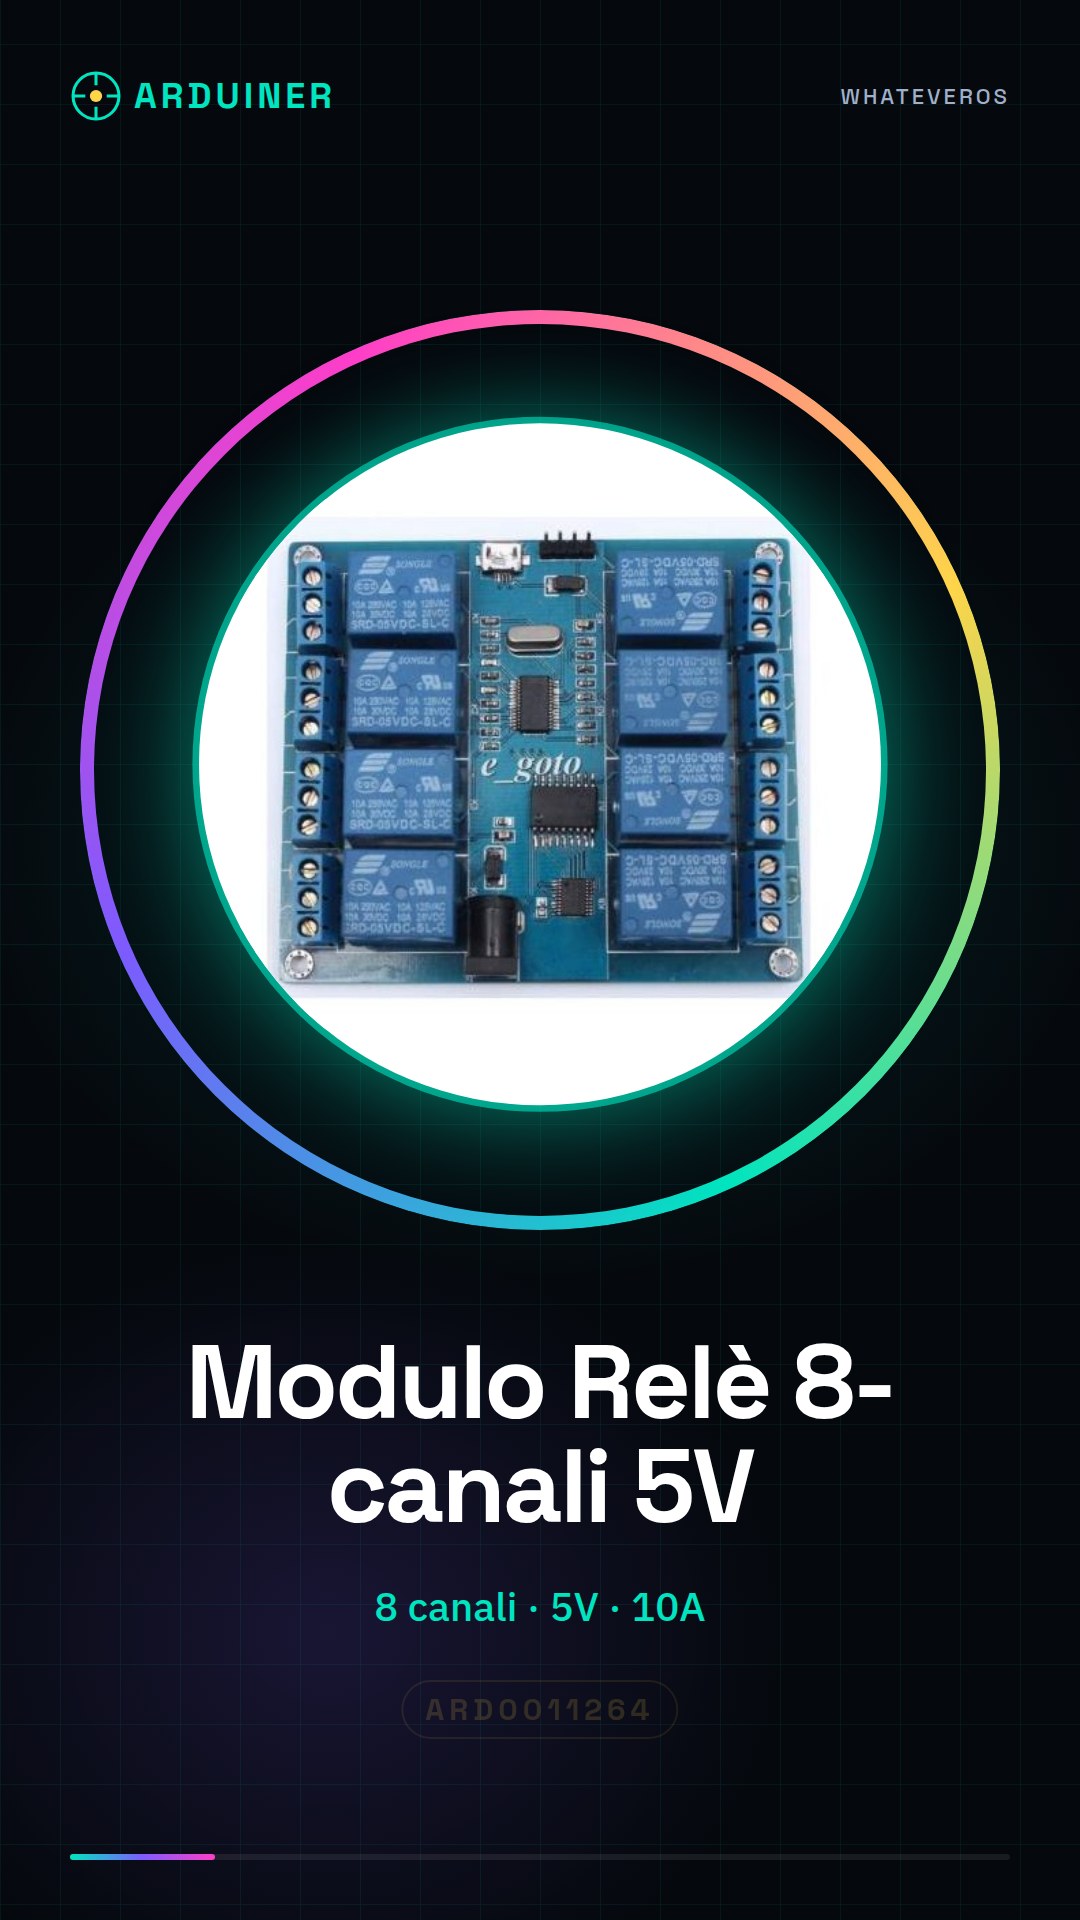
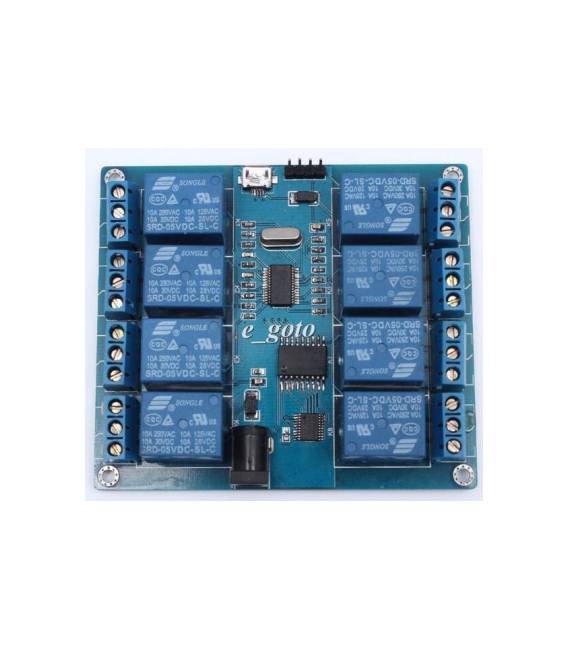
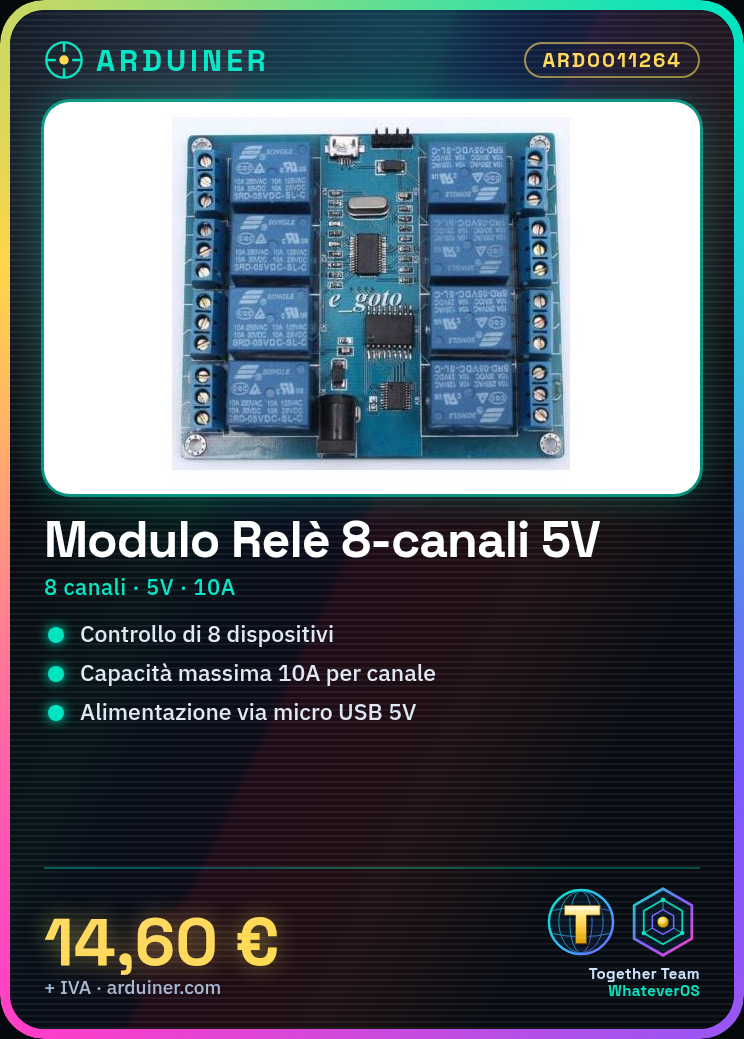
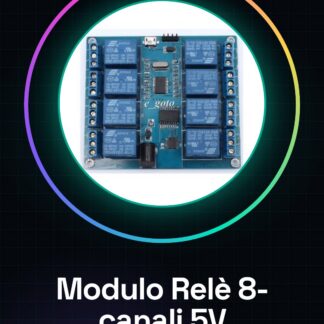
The 8-channel relay module with micro USB connector is an electronic component designed to control electrical devices from Arduino or other microcontrollers. This module allows managing loads up to 10A on each of its eight channels.
Features
- Number of channels: 8
- Power supply: 5V
- Maximum capacity per channel: 10A
- Micro USB connector
What it is for
Relay modules are useful for home or industrial automation projects. For example, they can be used to control an automatic lighting system that turns lights on and off based on sunlight. They are compatible with Arduino and other microcontrollers.
Tutorial: How to use 8-Channel Relay Module
The 8-channel relay module is a fundamental component to control electrical devices from Arduino or other microcontrollers. Ideal for beginners and makers who want to automate home or industrial processes.
What you need
- Arduino Uno
- USB A-B cable
- 5V power adapter
Steps
- Connect the relay module to the Arduino using the USB A-B cable and the 5V power adapter.
- Install the ‘Relay.h’ library in the Arduino IDE from the library manager.
- Write a simple sketch to control the relays, using pinMode() to set the control pins as digital outputs.
- Upload the sketch to the microcontroller and test the relay operation with the serial console.
- Verify that each relay responds correctly to commands sent from the microcontroller, using digitalWrite() to activate or deactivate the relays.
- Configure a software or hardware timer to automatically control devices connected to the relays.
- If necessary, add temperature or light sensors to manage relay control based on environmental conditions.
- Design a protective enclosure for the module and connected elements.
Example code
//Esempio di codice
#include <Relay.h>
Relay r1(2);
void setup() {
  Serial.begin(9600);
}
void loop() {
  r1.Toggle();
  delay(500);
}
Mini project
Design an automatic lighting system that turns the lights on and off based on sunlight.
Common mistakes
- Relay pins are not set up correctly as digital outputs.
- Insufficient power supply for the module or devices connected to the relays.
- Electrical devices with power higher than what the relays can handle.
- Relay module not recognized by the Arduino IDE, check the installed library.
Recommended accessories
- Light sensors
- Software timer for Arduino
- Relay Shield for Arduino
- Solderable rings
Frequently asked questions
How can I control multiple devices with a single relay?
Use a digital multiplexer or a multi-channel relay module.
What is the difference between a relay and a MOSFET?
A relay can handle high currents, while a MOSFET has lower power losses but limits maximum currents.
Reviews
There are no reviews yet.