 EN
 IT Italiano
 ES Español
 FR Français
 DE Deutsch
Description
Technical Specifications
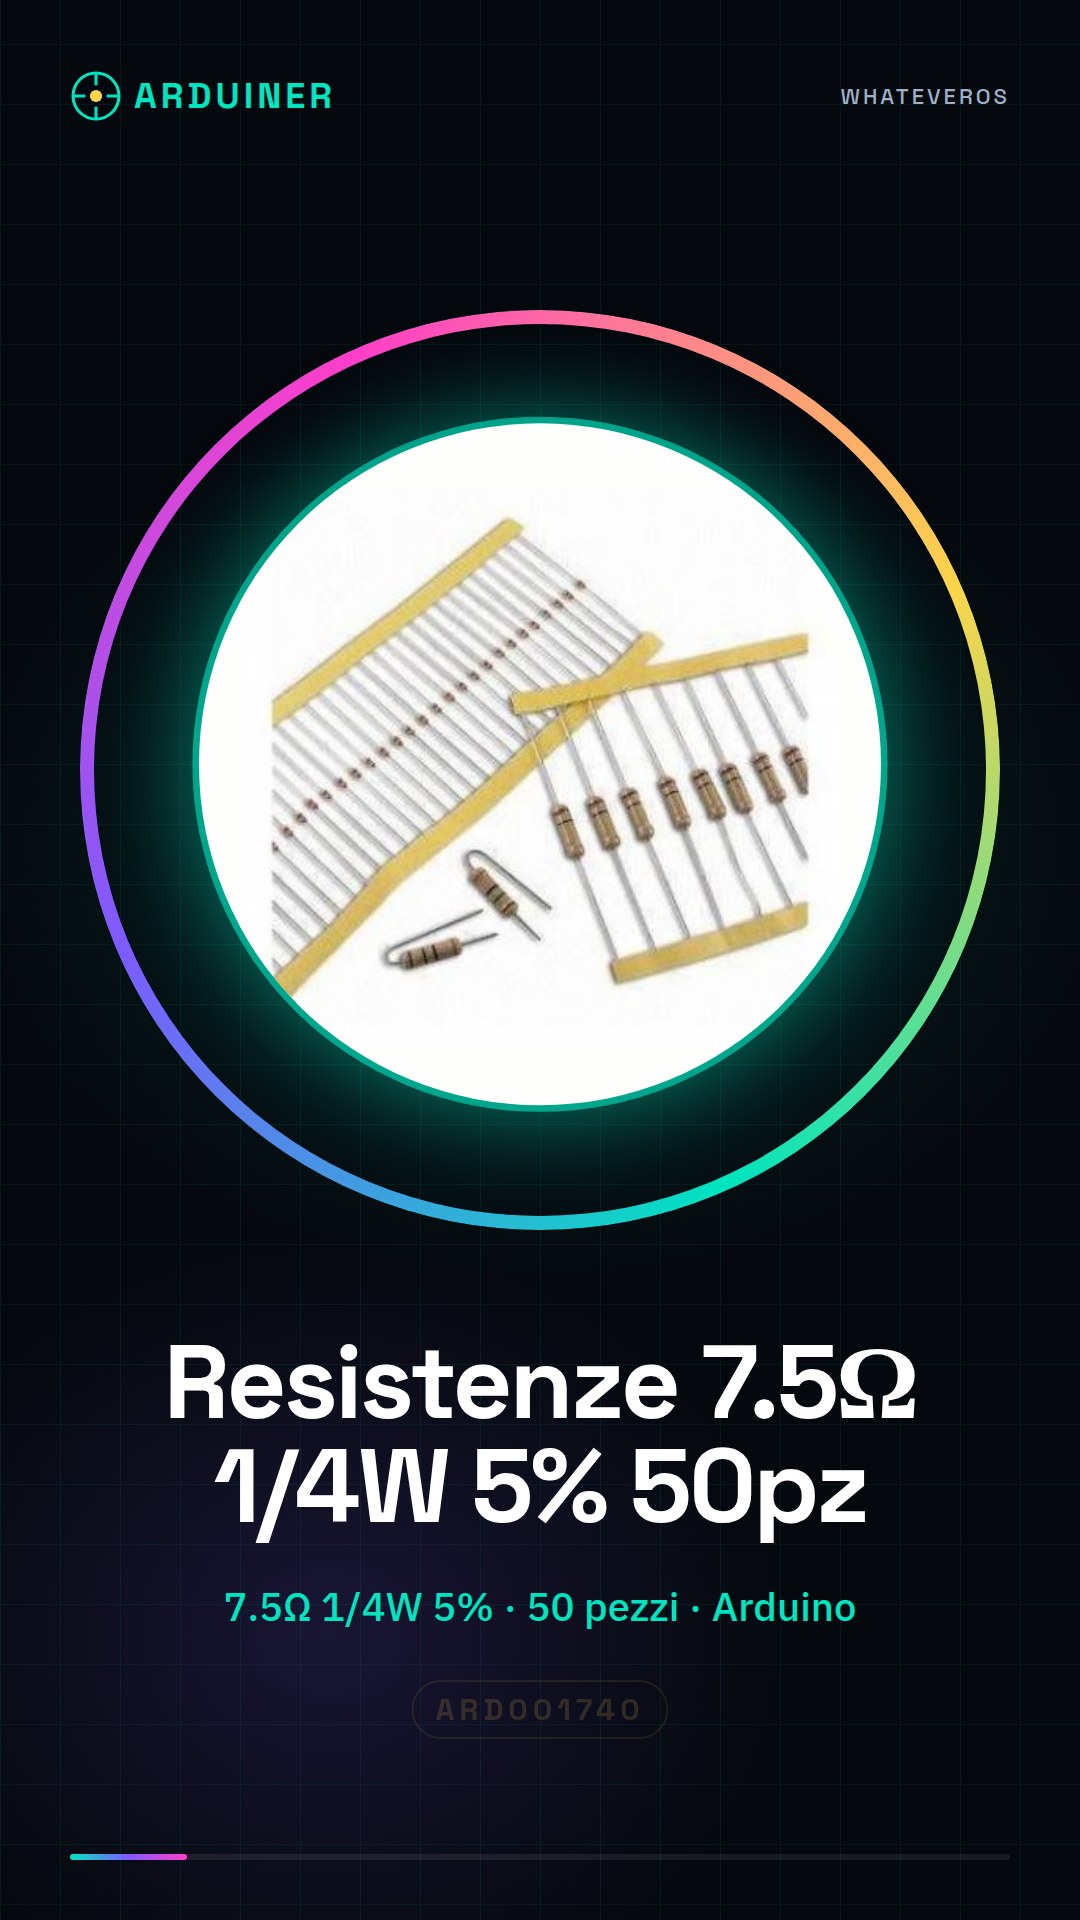
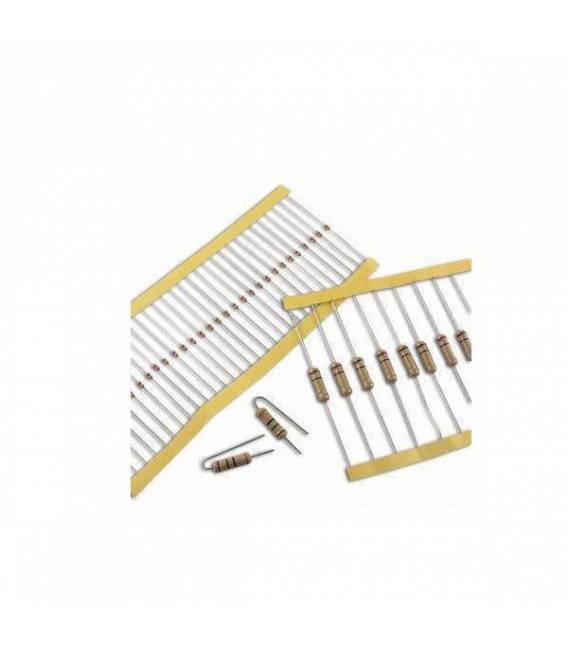
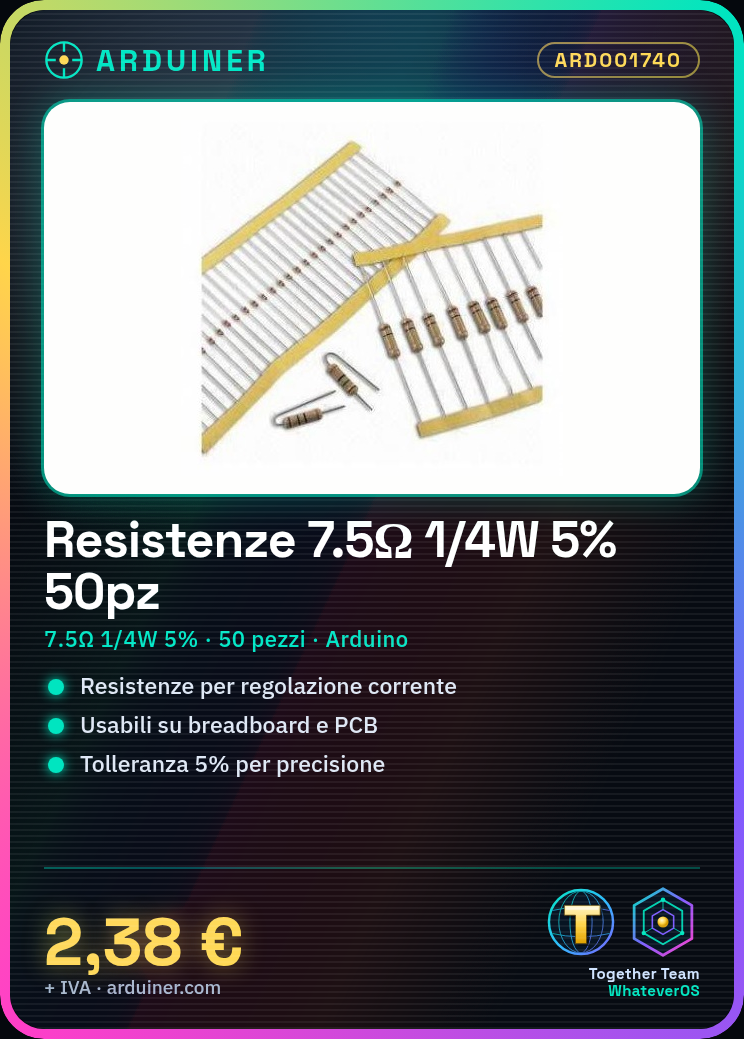
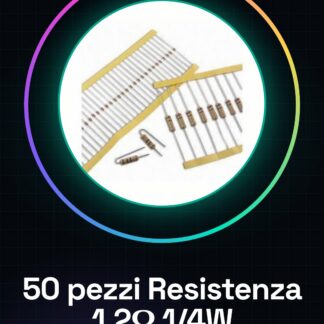
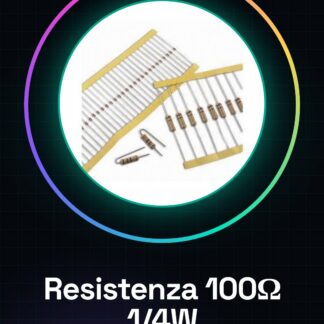
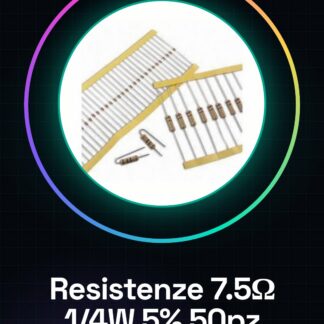
The 7.5 Ohm 1/4W 5% Resistor Kit contains 50 pieces of resistors with a value of 7.5 Ohm and a tolerance of 5%. These components are suitable for current regulation and signal splitting in electronic projects. The 1/4W resistor is suitable for applications that do not require high current intensity.
Resistors are used to protect sensitive electronic components from overloading, ensuring that the current flow through the circuit is adequate. Their application is widely spread in prototypes and PCB circuits.
For safe and correct use, it is important to verify the value of the resistor and its compatibility with the circuit before connecting it.
Key Specifications
| Parameter | Value |
| Model | 7.5 Ohm 1/4W 5% Resistor Kit |
| Quantity | 50 pieces |
| Resistor Value | 7.5 Ohm |
| Tolerance | 5% |
| Maximum Power | 1/4W |
| Dimensions | N/A (see manufacturer’s technical sheet) |
| Container | Pack of 50 pieces |
Installation and Usage
- Check the resistance value on the body of the resistor (7.5 Ohm).
- Install the resistor in a breadboard or on a printed circuit board.
- Connect the terminals of the resistor to electronic components such as LEDs, transistors, etc., following the circuit diagram.
- Check for short circuits or overloads on the component.
- If necessary, use a multimeter to check the actual resistance.
Compatibility and Requirements
- This resistor kit is compatible with Arduino projects and PCB circuits.
- It is used to regulate the current flow and divide the signal in electronic circuits.
- To use it, a basic circuit or electronic prototype is required.
Limitations and Important Notes
- These resistors are not suitable for circuits requiring high current intensity.
- The maximum power of 1/4W limits its use in applications with high thermal dissipation.
- It is important to verify the actual value of the resistance before use.
Troubleshooting
The LED does not light up.
Probable cause: Incorrect resistance value.
Solution: Check the resistance value and replace it if necessary.
Short circuit in the circuit.
Probable cause: Incorrect connection of the resistance.
Solution: Recalculate the connection following the circuit diagram.
Overloaded electronic components.
Probable cause: Incorrect resistance value.
Solution: Check the resistance value and replace it if necessary.
Incorrect resistance value.
Probable cause: Not verified before use.
Solution: Use a multimeter to verify the actual resistance value.
Use cases
Flashing light
Objective: Create a flashing light with an LED.
What’s needed: 7.5 Ohm 1/4W 5% Resistor Kit
Steps: 1) Check the value of the resistor. 2) Connect the resistor to an LED. 3) Connect the LED to an Arduino. 4) Write the code to make the LED blink.
Expected result: A functioning blinking light.
Current Regulation
Objective: Regulate the current flow in a circuit.
What’s needed: 7.5 Ohm 1/4W 5% Resistor Kit
Steps: 1) Check the value of the resistor. 2) Connect the resistor to an electronic component. 3) Check the current flow with a multimeter.
Expected result: The current flow is correctly regulated.
Signal Splitting
Objective: Split the signal in a circuit.
What’s needed: 7.5 Ohm 1/4W 5% Resistor Kit
Steps: 1) Check the value of the resistor. 2) Connect the resistor between two electronic components. 3) Check the signal splitting with an oscilloscope.
Expected result: The signal is correctly divided.
Electronic Prototype
Objective: Create an electronic prototype.
What’s needed: 7.5 Ohm 1/4W 5% Resistor Kit
Steps: 1) Check the value of the resistor. 2) Connect the resistor to an electronic prototype. 3) Check the functionality of the prototype.
Expected result: A functioning electronic prototype.
PCB Circuit
Objective: Integrate the resistor into a PCB circuit.
What’s needed: 7.5 Ohm 1/4W 5% Resistor Kit
Steps: 1) Check the value of the resistor. 2) Integrate the resistor into the PCB circuit. 3) Check the functionality of the PCB circuit.
Expected result: A functioning PCB circuit.
Arduino Project
Objective: Use the resistor in an Arduino project.
What’s needed: 7.5 Ohm 1/4W 5% Resistor Kit
Steps: 1) Check the value of the resistor. 2) Connect the resistor to an Arduino component. 3) Write the code for the Arduino project.
Expected result: A working Arduino project.
Voltage Regulation
Objective: Regulate the voltage in a circuit.
Kit Resistors 7.5 Ohm 1/4W 5%
Steps: 1) Check the value of the resistor. 2) Connect the resistor to an electronic component. 3) Check the voltage with a multimeter.
Expected result: The voltage is correctly regulated.
Component Test
Objective: Test an electronic component.
Kit Resistors 7.5 Ohm 1/4W 5%
Steps: 1) Check the value of the resistor. 2) Connect the resistor to the component. 3) Check the functionality of the component.
Expected result: The component is tested correctly.
In the package
- 50 pieces
Complete the project
- 50 Pieces Resistance, 10000 ohm, 10k, ohm 1/4w 1/4 w 5%, Arduino Compatible Resistors: For projects requiring resistors of different values.
- Kit Resistors 470 Ohm 1/4W 5% – 50 Pieces: To test compatibility with other resistance values.
- Kit Resistors 330 Ohm 1/4W 5% – 50 Pieces: To create more complex circuits with resistors of different values.
- Kit Resistors 150 Ohm 1/4W 5% – 50 Pieces: To test compatibility with other resistance values.
- Kit Resistors 120 Ohm 1/4W 5% – 50 Pieces: To create more complex circuits with resistors of different values.
Technical FAQs
What is the tolerance of this resistor kit?
The tolerance is 5%, check the datasheet for precise details.
Are these resistors suitable for projects with high current?
No, these resistors have a maximum power of 1/4W and are not suitable for circuits requiring high current intensity.
How do I check the value of the resistor?
Use a multimeter to verify the actual value of the resistor before use.
What are the usage limitations of these resistors?
These resistors are not suitable for circuits requiring high current intensity and the maximum power of 1/4W limits their use in applications with high thermal dissipation.
Tutorial: How to use 7.5 Ohm Resistor Kit
This resistor kit is ideal for electronic projects that require a specific resistance value, such as current regulation or signal division. Perfect for both beginners and more experienced makers.
What you need
- Projects with Arduino
- PCB Circuits
- Prototype Model
Steps
- Check the value of the resistor on the body of the resistor (in this case 7.5 Ohm).
- Install the resistor in a breadboard or on a printed circuit board.
- Connect the resistor terminals to electronic components such as LEDs, transistors, etc., following the circuit diagram.
- Check for short circuits or overloads on the component.
- If necessary, use a multimeter to verify the actual resistance.
Mini project
Create a simple blinking light with an LED and a 7.5 Ohm resistor connected to an Arduino.
Common mistakes
- Using a resistor of incorrect value that causes component overload.
- Incorrect connection of the resistor, causing short circuits or other operational problems.
- Not verifying the actual value of the resistor before use.
Recommended accessories
- Various LED kits
- Arduino Uno R3
- Prototype breadboard
- Digital multimeter
Frequently asked questions
What is the tolerance of this resistor kit?
The tolerance is 5%, check the datasheet for precise details.
Are these resistors suitable for high current projects?
No, these resistors have a maximum power rating of 1/4W and are not suitable for circuits that require high current intensity.
Reviews
There are no reviews yet.