 EN
 IT Italiano
 ES Español
 FR Français
 DE Deutsch
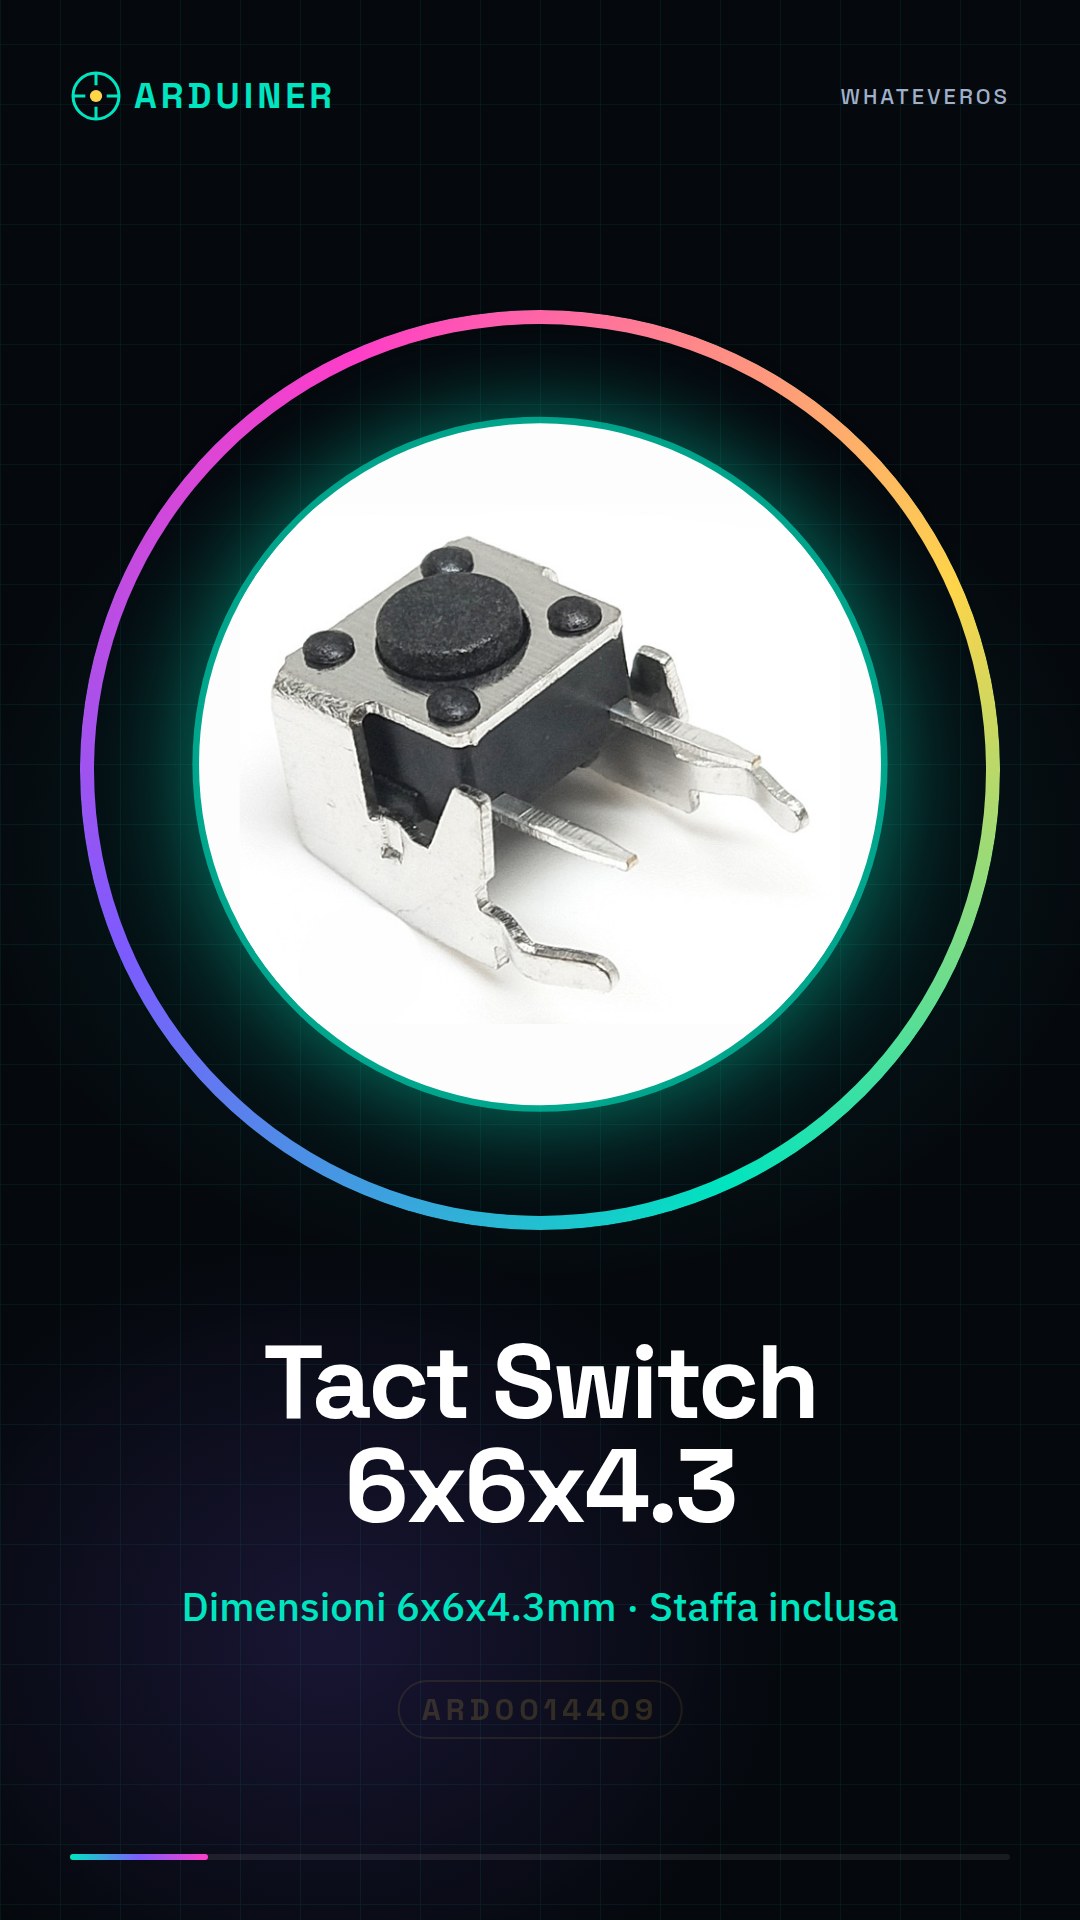
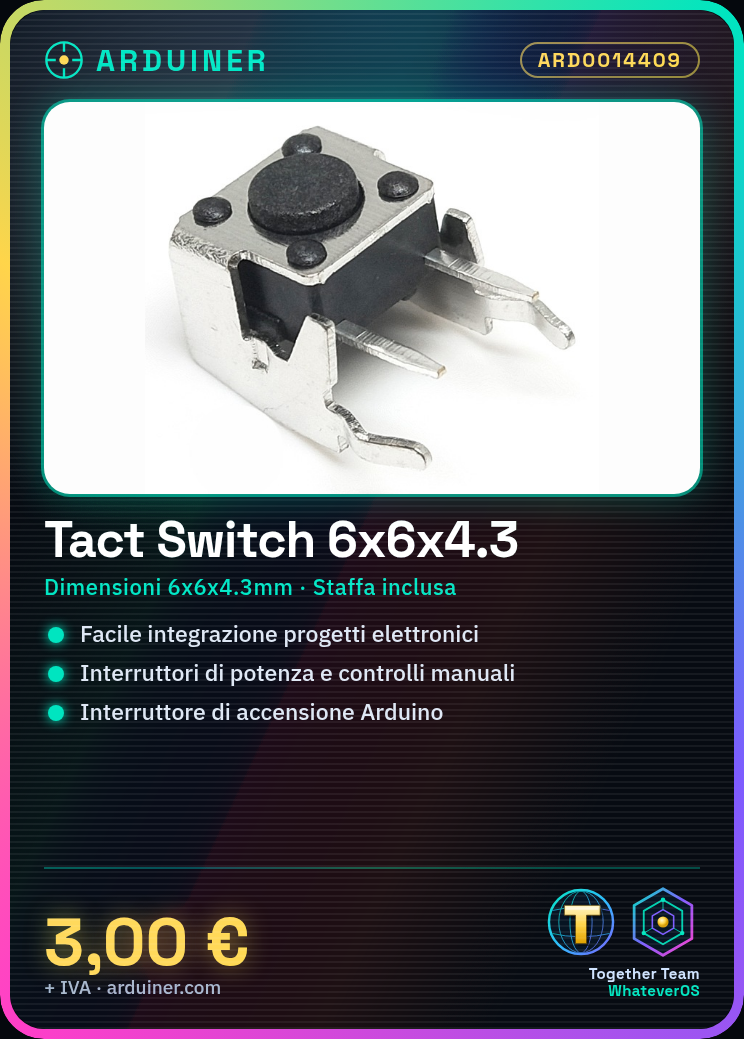
Description
What it is
The 6x6x4.3 Horizontal Tact Switch with Mounting Tab is an electronic component used to create simple and intuitive user interfaces. This button is designed to be easily integrated into various electronic projects, such as those based on Arduino, 3d printers, and drones.
Features
- Dimensions: 6x6x4.3 mm
- Type: Horizontal Tactile Button
- Mounting tab included
- Compatible with Arduino and ESP projects
What it is for
This Tact Switch is ideal for creating power switches and manual controls in various electronic projects. You can use it to create a simple on/off switch for an Arduino project or connect it to an LED and write a sketch that turns the LED on when the button is pressed.
Tutorial: How to Use Horizontal Tactile Button
The Horizontal Tactile Button is a fundamental component for creating simple and intuitive user interfaces. Ideal for Arduino projects, 3d printers, and drones, this button is easy to install and program.
What you need
- Arduino Uno or compatible
- Jumper wire
- 3d printing (optional)
Steps
- Identify the button contacts (check the datasheet).
- Connect the button contacts to the Arduino digital port using jumper wires.
- Write an Arduino sketch to read the button state.
- Verify that the button works correctly by pressing it.
- If necessary, integrate the button into a 3d printed project for a more professional look.
Example code
const int tactPin = 2; // collega il pulsante al pin 2
digitalWrite(tactPin, HIGH); // imposta il pin come input
int tactState = digitalRead(tactPin); // leggi lo stato del pulsante
Mini project
Create a simple on/off switch for an Arduino project. Connect the Horizontal Tactile Button to an LED and write a sketch that turns the LED on when the button is pressed.
Common mistakes
- Connect the button to the wrong pin.
- Do not verify the button state.
- Do not handle button debounce correctly.
- Do not integrate the button properly into a 3d printer project.
Recommended accessories
- Jumper wire
- LED
- 220 ohm resistor
- Arduino Uno
Frequently asked questions
How can I integrate the button into a 3d printer project?
Design a 3d printer base for the button and connect it to your Arduino circuit.
What is the difference between a vertical and horizontal button?
The horizontal button has a flatter layout compared to the vertical one.
Reviews
There are no reviews yet.