 EN
 IT Italiano
 ES Español
 FR Français
 DE Deutsch
Description
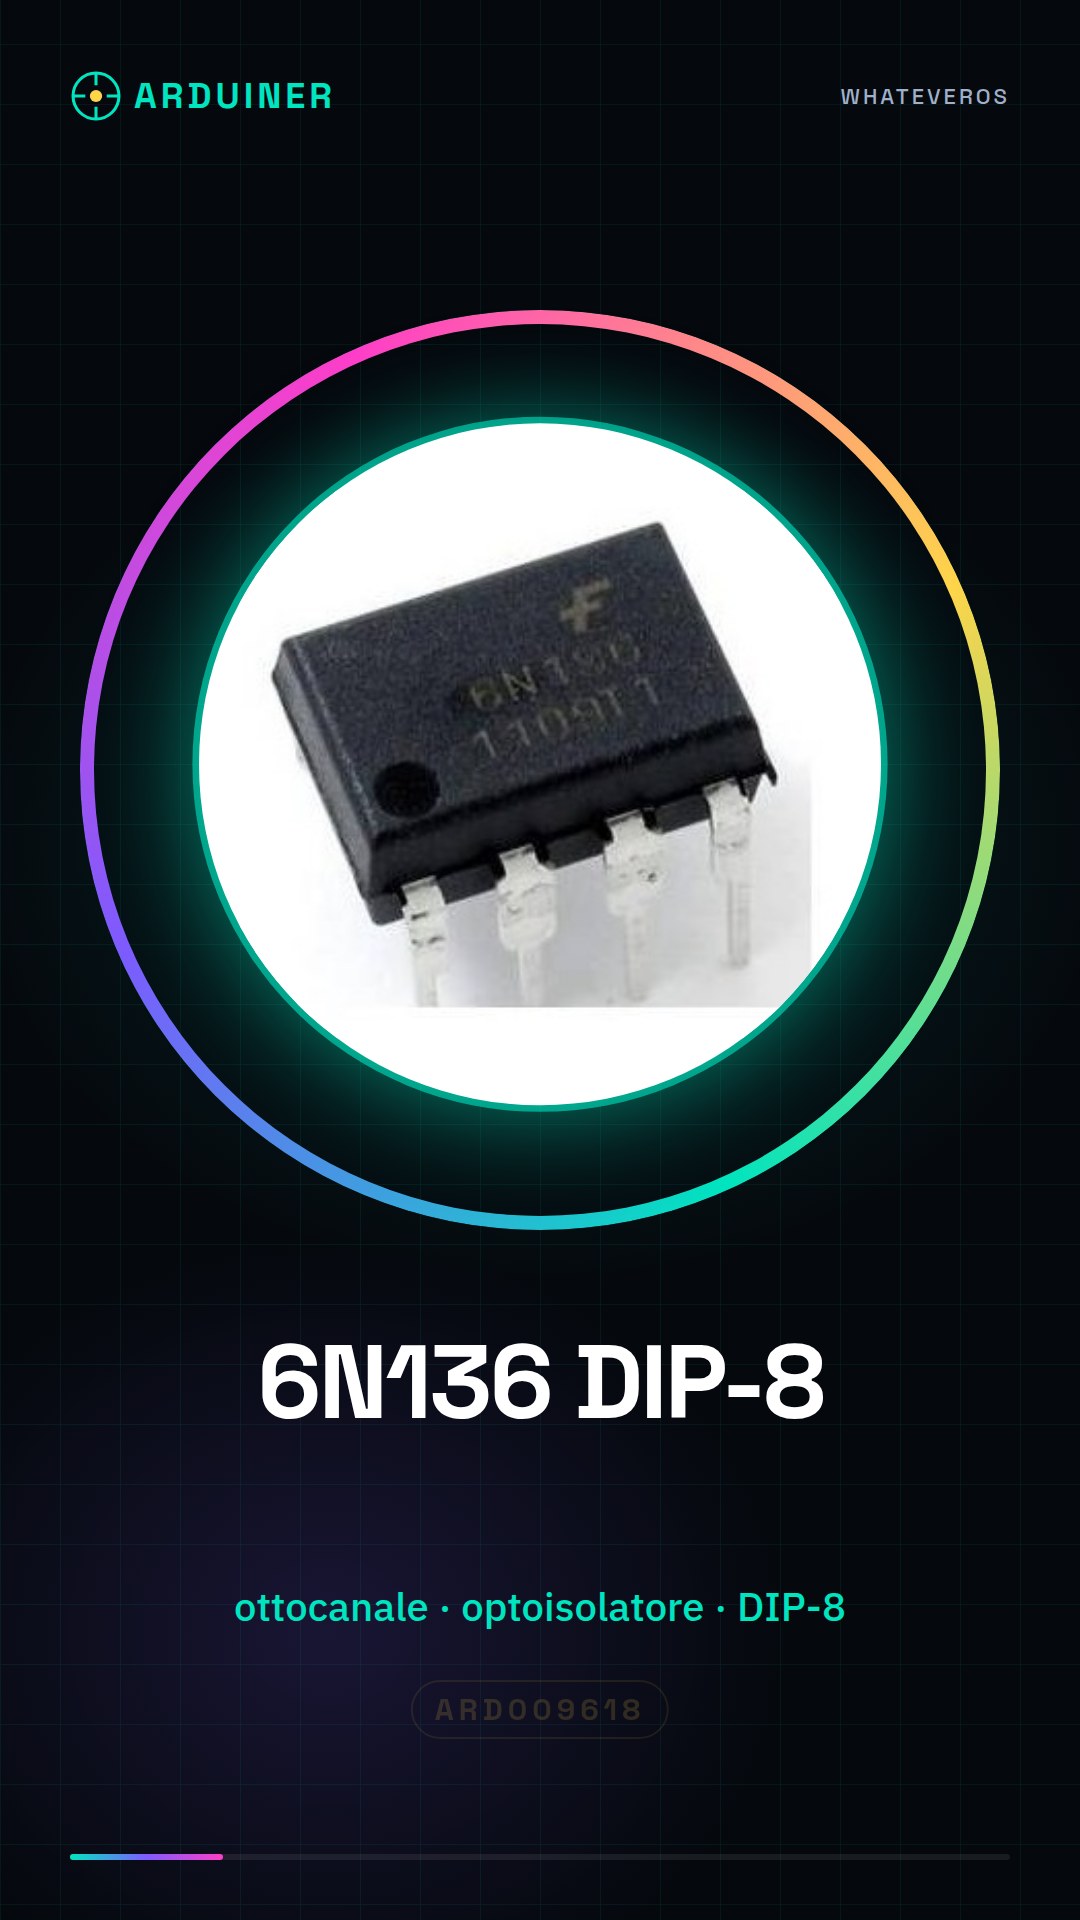
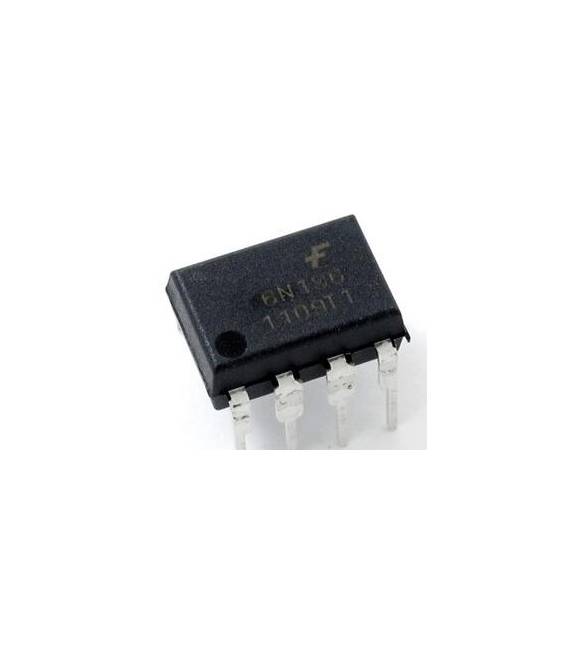
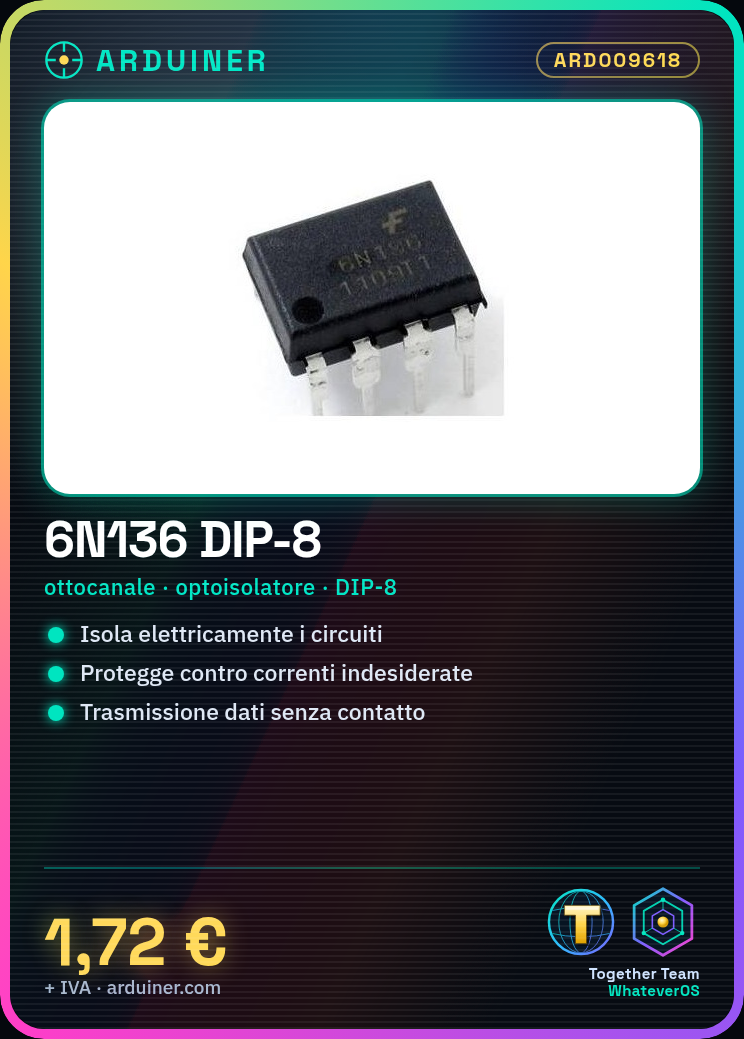
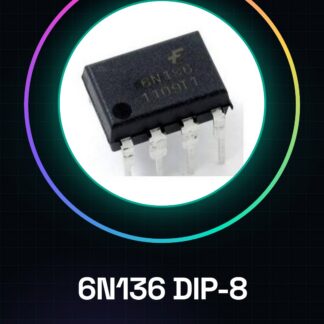
6N136 DIP-8
Tutorial: How to Use the 6N136 DIP-8
The 6N136 component is an eight-channel optoisolator used for electrically isolating circuits. It is ideal for those designing security systems or interfaces between devices that require protection against unwanted currents.
What you need
- electronic isolation
- circuit protection
- contactless data transmission
Steps
- Step 1: Identify the pins of the 6N136 DIP-8 device. The two opposite sides are respectively the input and output signals.
- Step 2: Connect the input circuit to the ‘IN’ pin (pin 4) of the component, ensuring that the voltage does not exceed the limits specified in the datasheet.
- Step 3: Connect a resistor between the positive power supply and the ‘LED+’ pin to light up the internal LED.
- Step 4: Connect a pull-up load to the ‘OUT’ pin (pin 5) if necessary, to ensure that the output is high when the LED is not lit.
- Step 5: Check the datasheet for the maximum voltage and current values allowed for each pin of the device.
Mini project
Create an isolation system between two Arduino circuits using the 6N136. Connect a button to the first circuit that activates a LED lamp connected to the other circuit via the optoisolator 8-channel.
Common mistakes
- Do not check the voltage and current limits on the datasheet
- Omit the resistor for the internal LED
- Ignore the need for a pull-up on ‘OUT’
- Connect the output to the wrong power supply
Recommended accessories
- 270 Ohm resistor
- Arduino Uno Circuit
- LED lamp with resistor
- DB9M Connector
Frequently asked questions
Can the 6N136 be used to isolate the power supply?
No, the 6N136 is designed to isolate signals and not power supply voltages.
What are the advantages of using the 6N136 compared to a simple relay?
The 6N136 offers a smaller solution with less heat dissipation and without the typical activation delay of relays.
Reviews
There are no reviews yet.