 EN
 IT Italiano
 ES Español
 FR Français
 DE Deutsch
Description
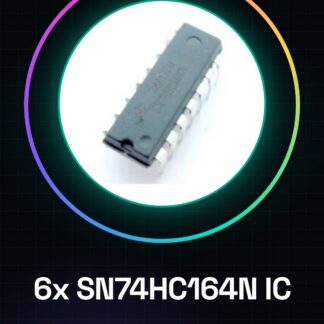
Tutorial: How to Use IC SN74HC164N
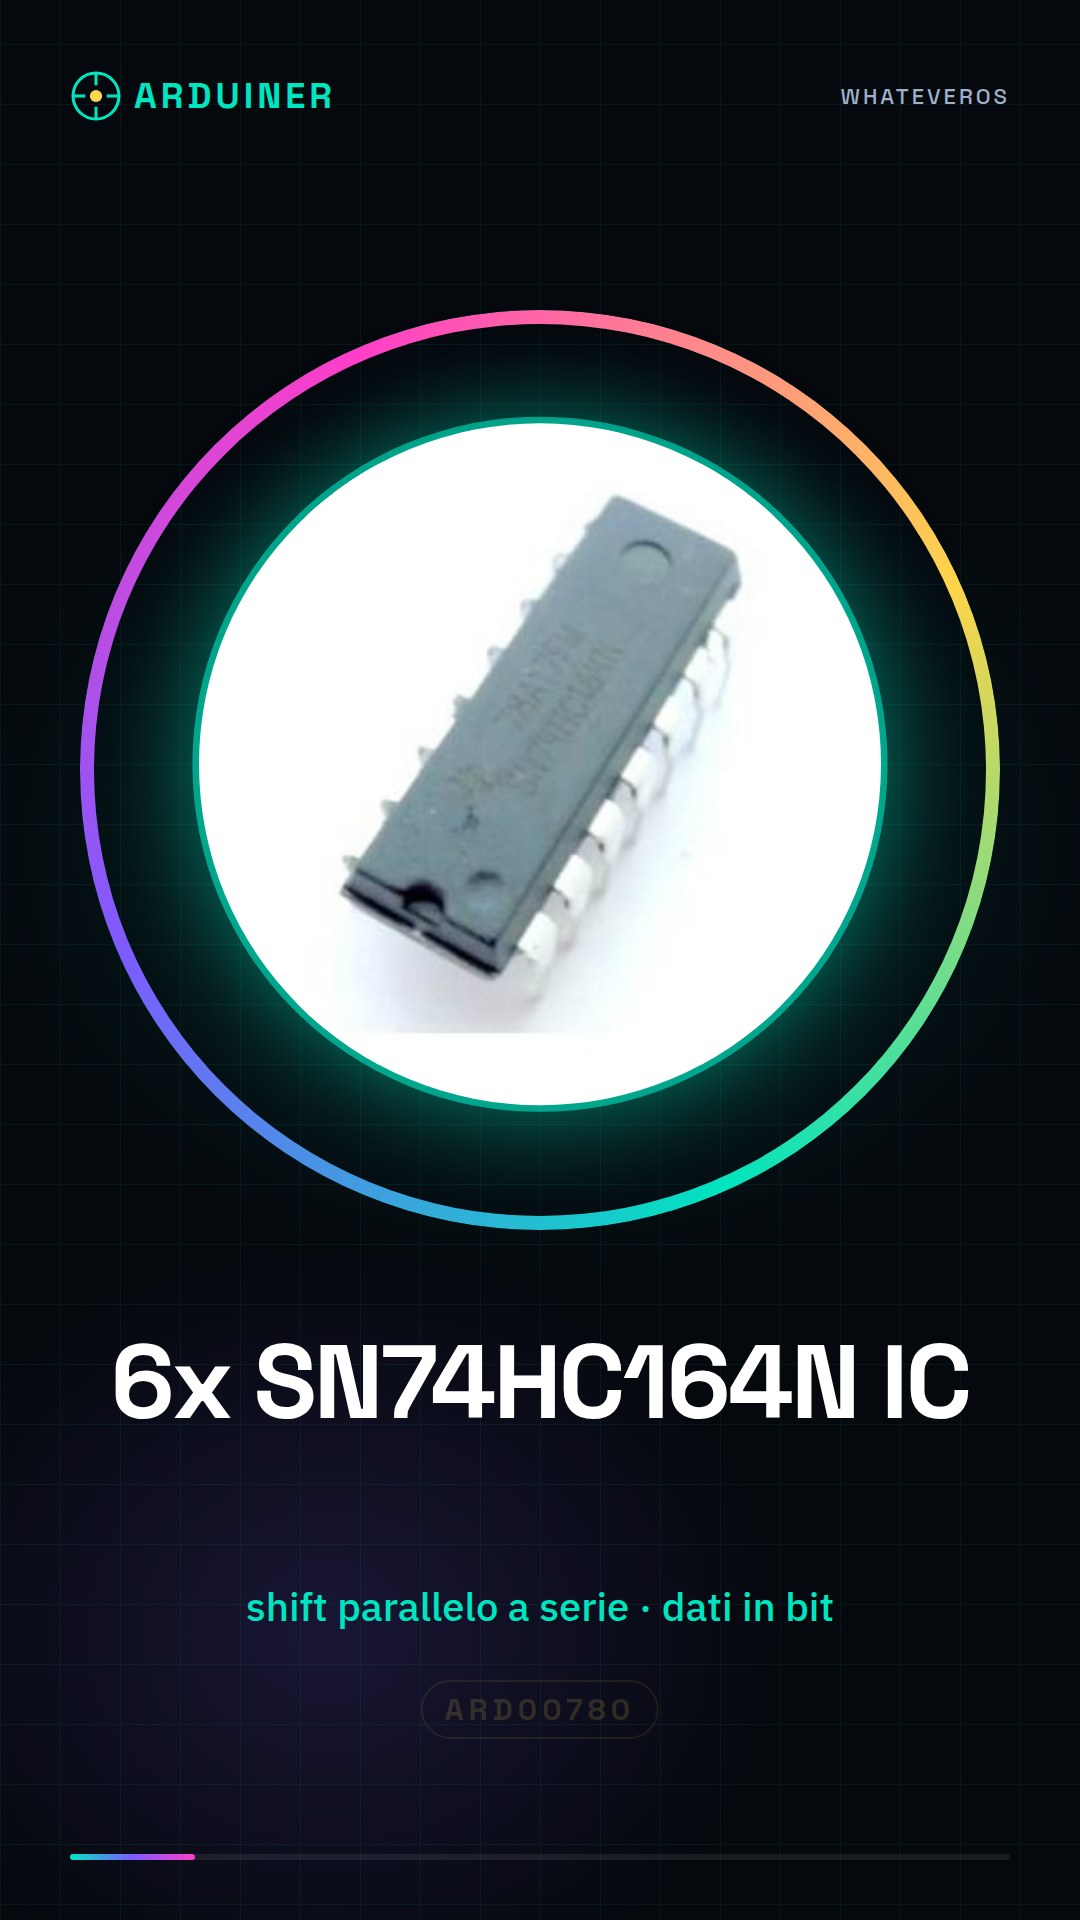
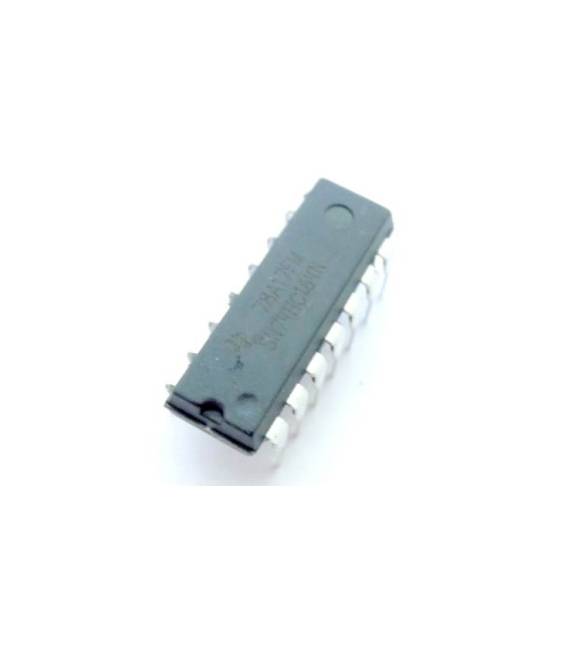
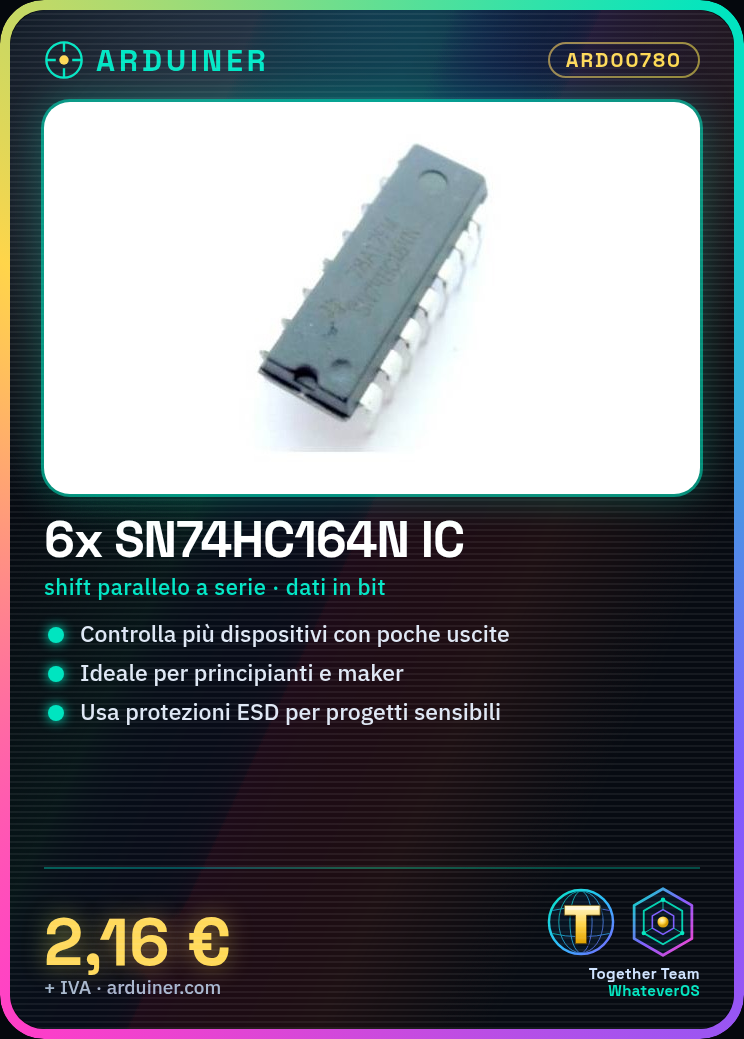
The IC SN74HC164N is a parallel-to-serial shift register used to convert parallel data into a sequence of bits. It is ideal for beginners and makers who want to control multiple devices with few outputs.
What you need
- Multi-track LED lighting projects
- Low-power relay control
- Generation of synchronized signals
Steps
- Check the operating voltage of the circuit and ensure it is compatible with the SN74HC164N (refer to the datasheet).
- Connect the VCC and GND pins of the IC to the power supply.
- Connect the data input (DS) to the output of the Arduino microcontroller or another data source.
- Connect the clock signal (SH_CP) to the timer or the pin that generates the timed pulses.
- If necessary, connect the initialization (MR) to the GND to reset the register before sending data.
- Connect the output pins (Q0-Q7) to the devices to be controlled or monitored.
- Check all connections with a multimeter and test the IC using a simple Arduino sketch.
- Add ESD protectors if you are working on projects sensitive to static charges.
Example code
void setup() {
  pinMode(2, OUTPUT); // clock
  pinMode(3, OUTPUT); // dati
}

void loop() {
  digitalWrite(3, HIGH);
  delayMicroseconds(50);
  shiftOut(3, 2, MSBFIRST, B11111111);
}
Mini project
Create an 8-bit LED display that changes sequentially based on commands received from Arduino.
Common mistakes
- Connect clock and data backwards
- Do not reset the register before sending data
- Use an incompatible voltage with the IC
- Ignore ESD protection
Recommended accessories
- Arduino Uno R3
- Multi-track LED
- Low-power relay
- Jumper Cable M/F
Frequently asked questions
What is the maximum power consumption of the IC?
Check the datasheet for specific power details.
Can I use multiple SN74HC164N ICs in parallel?
Yes, but make sure all inputs are properly synchronized.
What is the maximum clock speed?
Check the datasheet for maximum frequency specifications.
Reviews
There are no reviews yet.