 EN
 IT Italiano
 ES Español
 FR Français
 DE Deutsch
Description
Technical Description
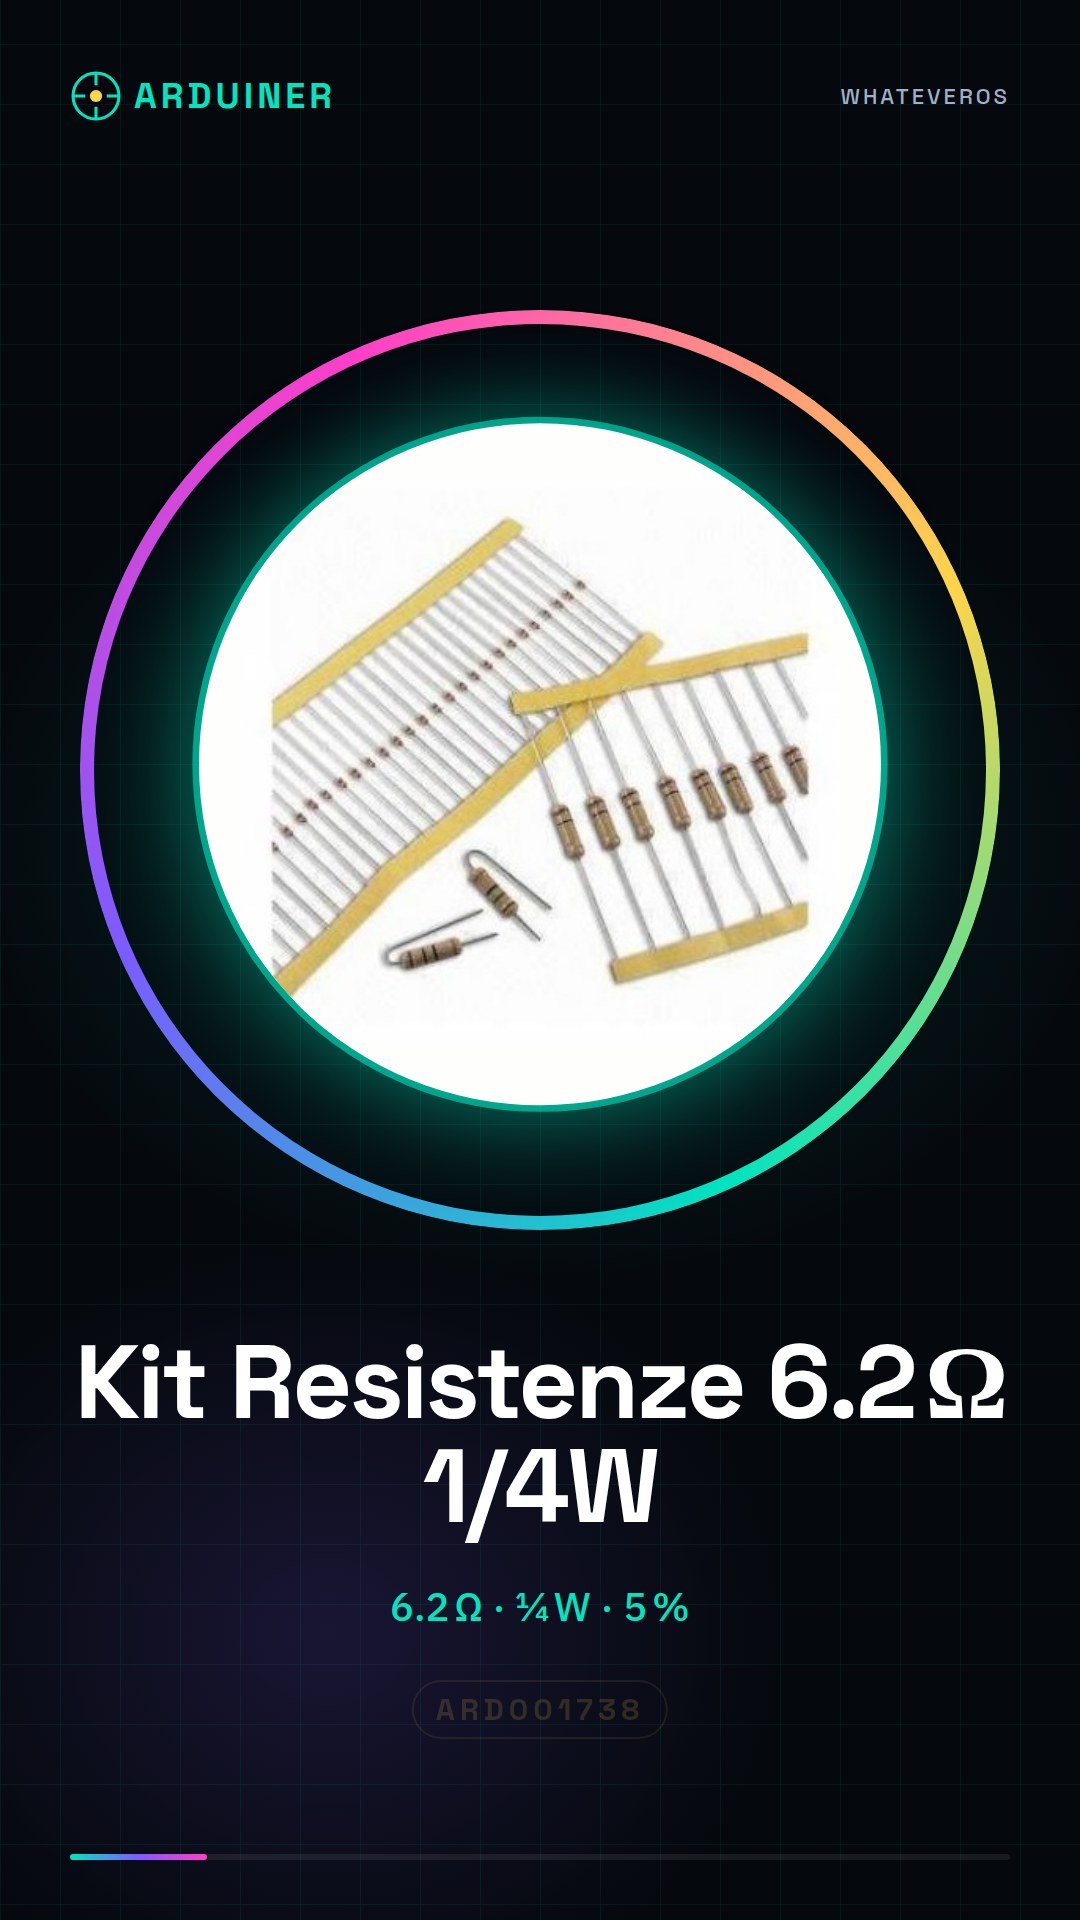
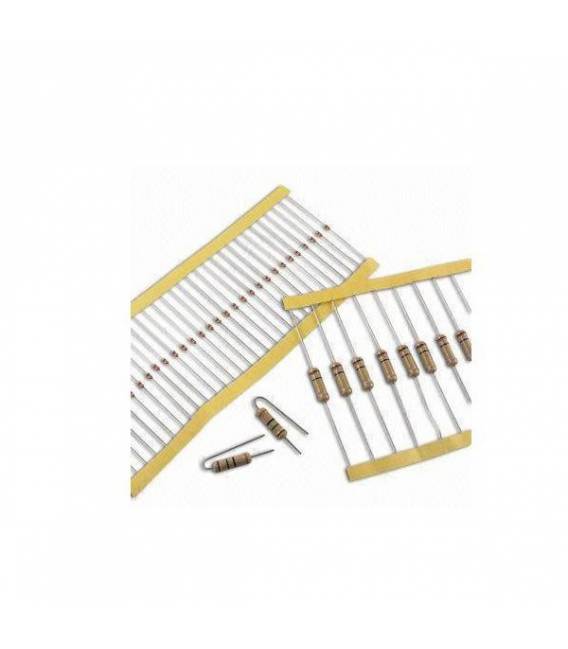
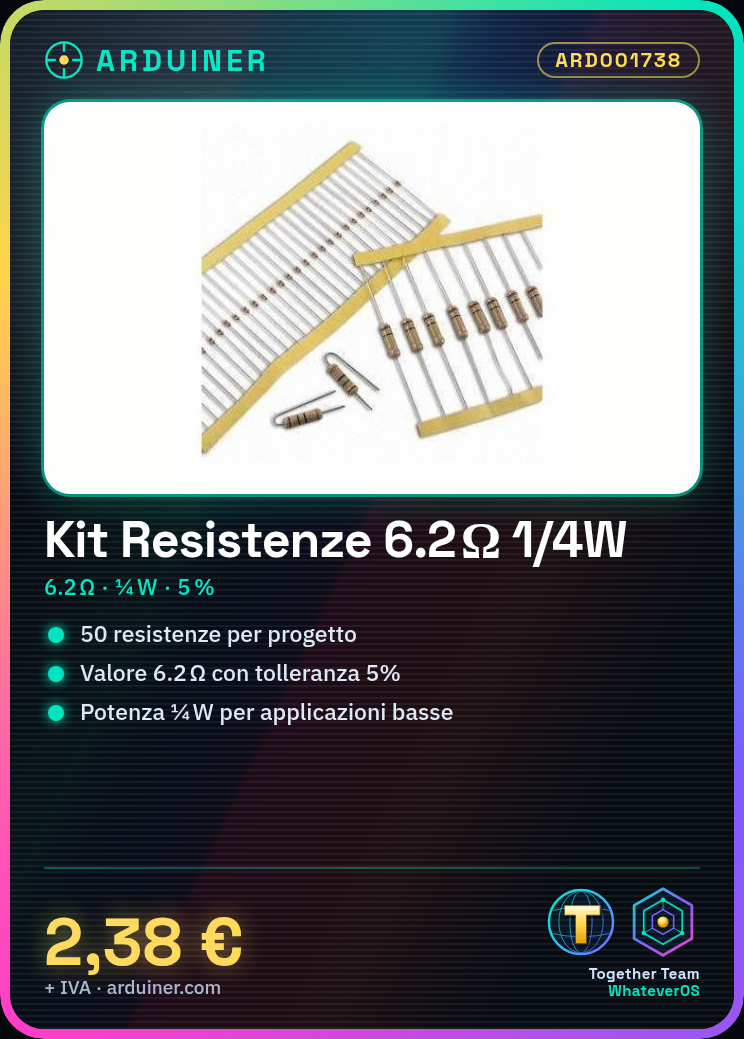
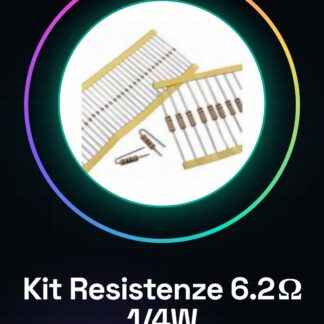
The 6.2 Ohm 1/4W 5% Resistor Kit – 50 Pieces is a set of electronic components useful for electronic prototyping projects. These resistors are used to limit the flow of current through a circuit or to divide voltage along a power line. Each resistor has a 5% tolerance and a maximum power rating of 1/4 Watt, making them suitable for a wide range of applications.
The resistors in the kit are compatible with various electronic systems, including Arduino and Raspberry Pi, and can be used to protect other components such as LEDs from current overloads. It is recommended to verify the actual value of the resistors with a multimeter before using them in a circuit.
This kit is particularly useful for projects that require 6.2 Ohm resistors, such as creating voltage divider circuits or building light or temperature sensors.
Key Specifications
| Parameter | Value |
| Model | 6.2 Ohm 1/4W 5% Resistor Kit |
| Quantity | 50 pieces |
| Resistance Value | 6.2 Ohm |
| Tolerance | 5% |
| Maximum Power | 1/4 Watt |
| Dimensions | N/D (see manufacturer’s datasheet) |
| Container | N/D (see manufacturer’s datasheet) |
Installation and Usage
- Check the resistance value with a multimeter.
- Connect one end of the resistor to a digital pin on the Arduino.
- Connect the other end of the resistor to an LED or other components.
- Write and upload an Arduino sketch to test the resistor.
- Verify the actual value of the resistor with a multimeter.
Compatibility and Requirements
- This kit is compatible with Arduino Uno and other microcontroller-based systems.
- These resistors can be used in electronic projects that require a 6.2 Ohm resistance.
- To use these resistors, an electronic prototyping system such as Arduino or Raspberry Pi is required.
Limitations and Important Notes
- This kit does not include additional components such as LEDs or photoresistors.
- The resistors must be verified with a multimeter before being used in a circuit.
- A 5% tolerance can cause small variations in the actual resistance value compared to the nominal value.
Troubleshooting
The resistance does not work as expected.
Probable cause: The actual resistance value may differ from the nominal value due to the tolerance.
Solution: Verify the actual resistance value with a multimeter and ensure it is within the accepted tolerance.
The LED connected to the resistance does not light up.
Probable cause: The resistance may be incorrectly connected or there may be a short circuit.
Solution: Check the resistance connection and verify the actual value with a multimeter.
The circuit does not respond as expected.
Probable cause: There may be an error in the code or circuit configuration.
Solution: Check the code and circuit configuration, ensuring the resistor is properly connected.
The resistor overheats.
Probable cause: The resistor might be subjected to a current flow exceeding its maximum power rating.
Solution: Check the current flow in the circuit and reduce the power if necessary.
Use cases
Light Sensor
Objective: Measure the ambient light level.
What you need: 6.2 Ohm 1/4W 5% Resistors Kit – 50 Pieces, Arduino Uno, photoresistor.
Steps: 1) Verify the resistance value with a multimeter. 2) Connect the resistor and photoresistor to a voltage divider circuit. 3) Write and upload an Arduino sketch to read the photoresistor value. 4) Check the circuit output.
Expected result: The circuit correctly measures the ambient light level.
Voltage Divider Circuit
Objective: To divide voltage along a power supply line.
What you need: 6.2 Ohm 1/4W 5% Resistor Kit – 50 Pieces, Arduino Uno.
Steps: 1) Check the value of the resistor with a multimeter. 2) Connect the resistor to a voltage divider circuit. 3) Write and upload an Arduino sketch to read the voltage. 4) Verify the output of the circuit.
Expected result: The circuit correctly divides the voltage along the power supply line.
Electronic circuit prototype
Objective: To test an electronic circuit prototype.
What you need: 6.2 Ohm 1/4W 5% Resistor Kit – 50 Pieces, Arduino Uno, LED.
Steps: 1) Check the value of the resistor with a multimeter. 2) Connect the resistor and the LED to a test circuit. 3) Write and upload an Arduino sketch to test the circuit. 4) Verify the output of the circuit.
Expected Result: The electronic circuit prototype works correctly.
Protection Circuit
Objective: Protect an electronic component from current overloads.
What’s needed: 6.2 Ohm 1/4W 5% Resistors Kit – 50 Pieces, Arduino Uno, electronic component.
Steps: 1) Check the resistance value with a multimeter. 2) Connect the resistor between the Arduino digital pin and the electronic component. 3) Write and upload an Arduino sketch to test the circuit. 4) Check the circuit output.
Expected Result: The circuit correctly protects the electronic component from current overloads.
Temperature Control Circuit
Objective: Measure ambient temperature.
What’s needed: 6.2 Ohm 1/4W 5% Resistors Kit – 50 Pieces, Arduino Uno, thermistor.
Steps: 1) Check the resistance value with a multimeter. 2) Connect the resistor and thermistor to a voltage divider circuit. 3) Write and upload an Arduino sketch to read the temperature. 4) Verify the circuit output.
Expected result: The circuit correctly measures the ambient temperature.
Light Control Circuit
Objective: Adjust the brightness of an LED.
What you need: 6.2 Ohm 1/4W 5% Resistors Kit – 50 Pieces, Arduino Uno, photoresistor, LED.
Steps: 1) Check the resistance value with a multimeter. 2) Connect the resistor, photoresistor, and LED to a voltage divider circuit. 3) Write and upload an Arduino sketch to adjust the LED brightness. 4) Verify the circuit output.
Expected result: The circuit correctly adjusts the LED brightness.
Current Control Circuit
Objective: Measure the current in a circuit.
What’s needed: Resistor Kit 6.2 Ohm 1/4W 5% – 50 Pieces, Arduino Uno, measuring resistor.
Steps: 1) Check the value of the resistor with a multimeter. 2) Connect the measuring resistor and the kit resistor to a circuit. 3) Write and upload an Arduino sketch to measure the current. 4) Verify the output of the circuit.
Expected result: The circuit correctly measures the current in the circuit.
Voltage Control Circuit
Objective: Regulate the voltage in a circuit.
What’s needed: Resistor Kit 6.2 Ohm 1/4W 5% – 50 Pieces, Arduino Uno, regulation resistor.
Steps: 1) Check the value of the resistor with a multimeter. 2) Connect the regulation resistor and the kit resistor to a circuit. 3) Write and upload an Arduino sketch to regulate the voltage. 4) Verify the output of the circuit.
Expected result: The circuit correctly regulates the voltage in the circuit.
In the package
- 50 pieces
Complete the project
- 50 Pieces Resistance, 10000 ohm, 10k, ohm 1/4w 1/4 w 5%, Compatible with Arduino: To create voltage divider circuits.
- : 470 Ohm Resistors Kit 1/4W 5% – 50 Pieces: To test resistors of different values.
- : 330 Ohm Resistors Kit 1/4W 5% – 50 Pieces: To create more complex projects with resistors of similar values.
Technical FAQs
How do I verify the value of the resistance?
Use a multimeter to measure the actual value of the resistance.
Why does the circuit not respond as expected?
Verify the actual value of the resistance with a multimeter and ensure the resistance is correctly connected.
What are the usage limits of these resistors?
Resistors should be used within their 5% tolerance and not beyond their maximum power rating of 1/4 Watt.
How can I protect an electronic component from current overloads?
Use a protective resistor between the Arduino digital pin and the electronic component.
Tutorial: How to use 6.2 Ohm 1/4W 5% – 50 Pieces Resistor Kit
This resistor kit is ideal for electronic projects that require a fixed resistance of 6.2 Ohm with a 5% tolerance value. It is useful for both beginners and more experienced makers looking for reliable components at a low cost. These resistors are used in various electronic circuits, such as those based on Arduino or Raspberry Pi, where it is necessary to limit the current flow through a component or divide the voltage along a power line.
What you need
- 6.2 Ohm Resistor Kit
- Arduino Uno (or similar)
- Connectors for circuits
Steps
- Check the kit resistor datasheet for the precise value of the resistor and the tolerance.
- Connect one end of a resistor to a digital pin of the Arduino.
- Connect the other end of the resistor to an LED or other components that require overcurrent protection.
- Write and upload an Arduino sketch to test the resistor (see ‘code’ section).
- Verify the actual value of the connected resistor with a multimeter.
- Repeat steps 2-4 with other resistors in the kit to check the differences in tolerance.
- Use the kit in more complex projects such as creating a voltage divider circuit.
- Store unused resistors in an organized container to facilitate access and prevent damage.
Example code
void setup() {
  pinMode(13, OUTPUT);
}

void loop() {
  digitalWrite(13, HIGH);   // accendi il LED collegato alla resistenza
  delay(1000);               // attesa di un secondo
  digitalWrite(13, LOW);    // spegni il LED
  delay(1000);
}
Mini project
Create a simple voltage divider with a resistor from the kit and another component (such as a photoresistor) to measure ambient light. Use Arduino to read the values and display them on a serial monitor.
Common mistakes
- Incorrect connection of the resistor causing short circuits.
- Choosing a resistor with a value too low or high for the project requirements.
- Not verifying the actual value of the resistor before using it in a circuit.
- Omission of using a prototyping board to facilitate connections and prevent errors.
Recommended accessories
- Arduino Uno
- LEDs of various colors
- Breadboard Connector Kit
- Multimeter
Frequently asked questions
What is the tolerance of the resistor?
The tolerance is 5%, check the datasheet for the precise value.
How do you connect a resistor to Arduino?
Connect one end to a digital pin and the other end to the component you want to protect or to divide the voltage.
Reviews
There are no reviews yet.