 EN
 IT Italiano
 ES Español
 FR Français
 DE Deutsch
Description
Tutorial: How to Use Pre-Insulated RV2-6 Crimp Connectors
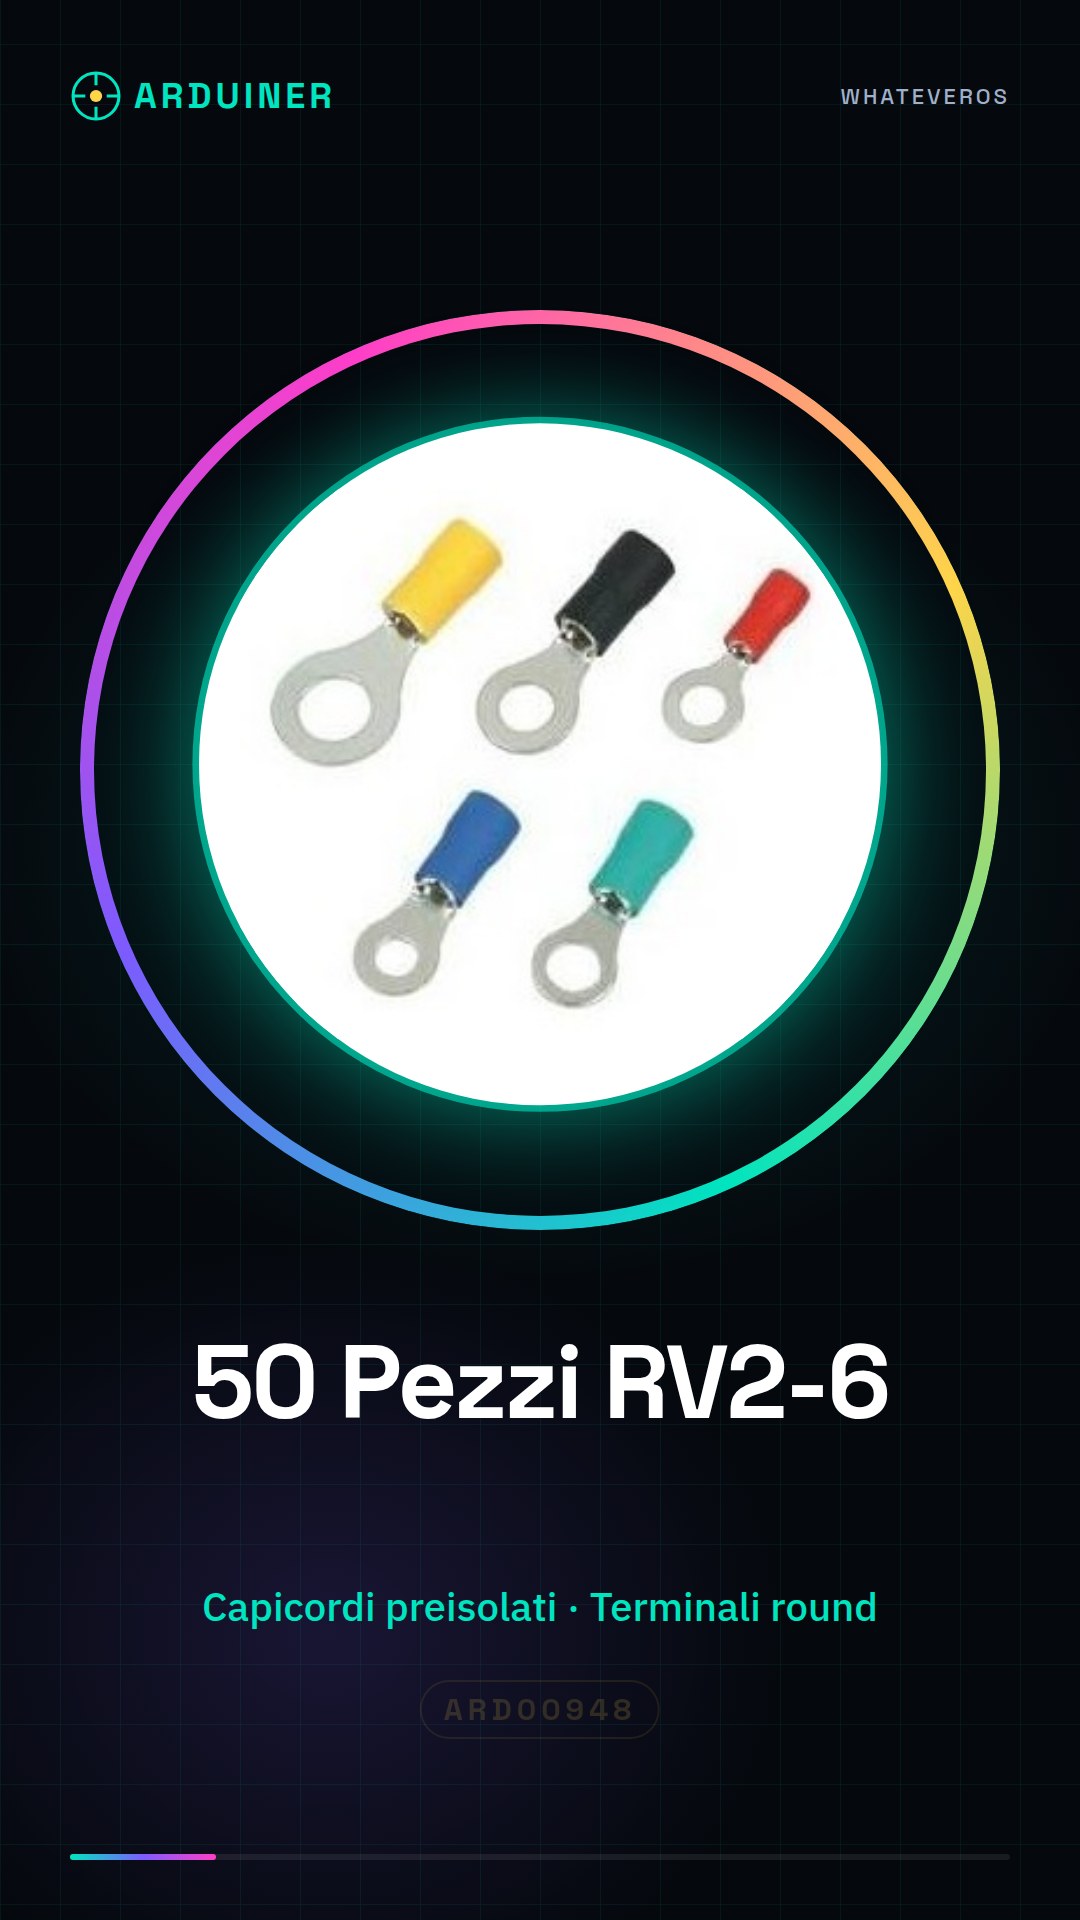
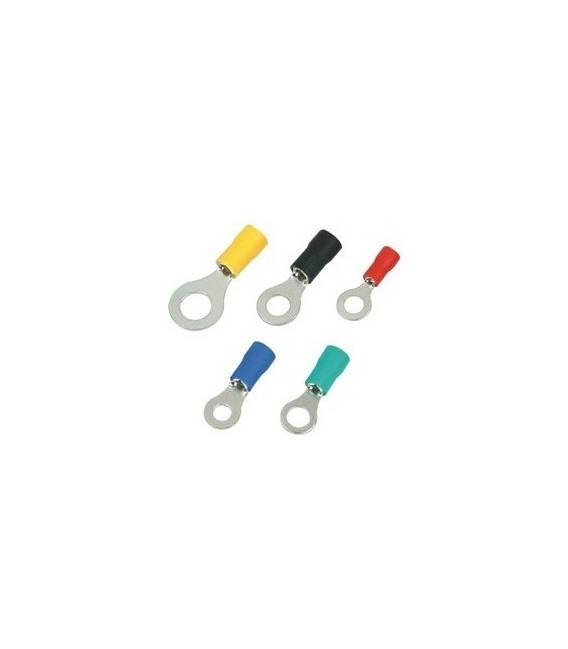
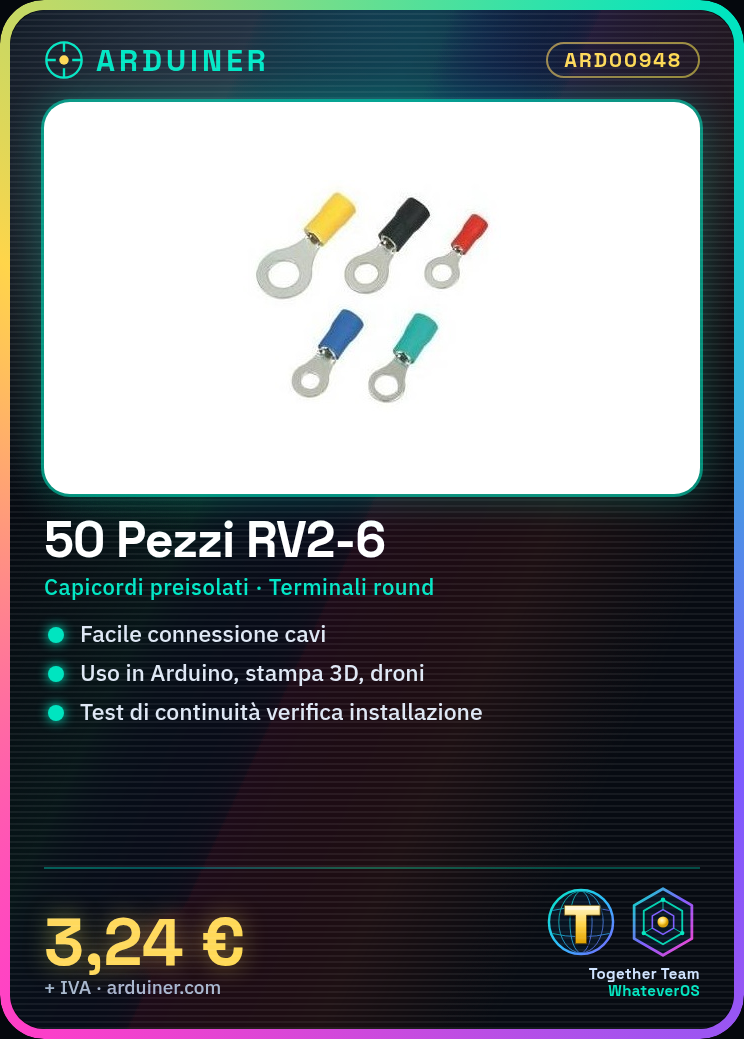
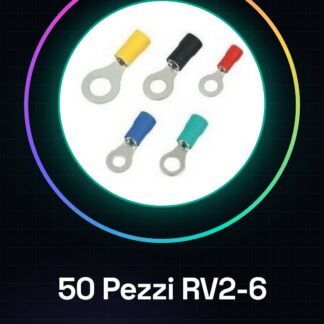
The pre-insulated RV2-6 crimp connectors are useful for easily connecting wire cables to an electronic circuit. They are ideal for Arduino projects, 3D printing, and drones.
What you need
- insulated wires
- wire cutters
- crimping tool
Steps
- Cut the wires to the desired length using the wire cutters
- Remove the insulation from both ends of the wire to expose the internal conductor (check the datasheet)
- Insert the wires into the RV2-6 crimp connector until they reach the base of the barrel
- Use a crimping tool to secure the wire to the crimp connector, ensuring the wire is properly inserted and secure (check the datasheet)
- Verify the installation by performing a continuity test or connecting the wires to the power supply
- Repeat for each connection required in the project
Mini project
Create a simple interface with LEDs and buttons using Arduino. Connect the RV2-6 crimp connectors to the cables that connect the Arduino to the circuit components.
Common mistakes
- Do not secure the cable to the crimp connector sufficiently
- Use an inadequate or insufficient grip for the type of wire being used
- Insert too little or too much of the conductor into the crimp connector, compromising the connection
Recommended accessories
- Crimping tool
- Wire cutter
- Continuity tester tool
- Kit of insulated colored wires
Frequently asked questions
What is the difference between a crimp connector and a plug?
A crimp connector, such as the pre-insulated RV2-6, is used to connect wires to components or the circuit. A plug, on the other hand, connects to other terminals or cables.
Can I use these crimp connectors with any type of wire?
Yes, but make sure the wire diameter is compatible with the RV2-6 crimp connectors (check the datasheet).
Reviews
There are no reviews yet.