 EN
 IT Italiano
 ES Español
 FR Français
 DE Deutsch
Description
Tutorial: How to Use the MFR3-68RFC Through Hole Resistor
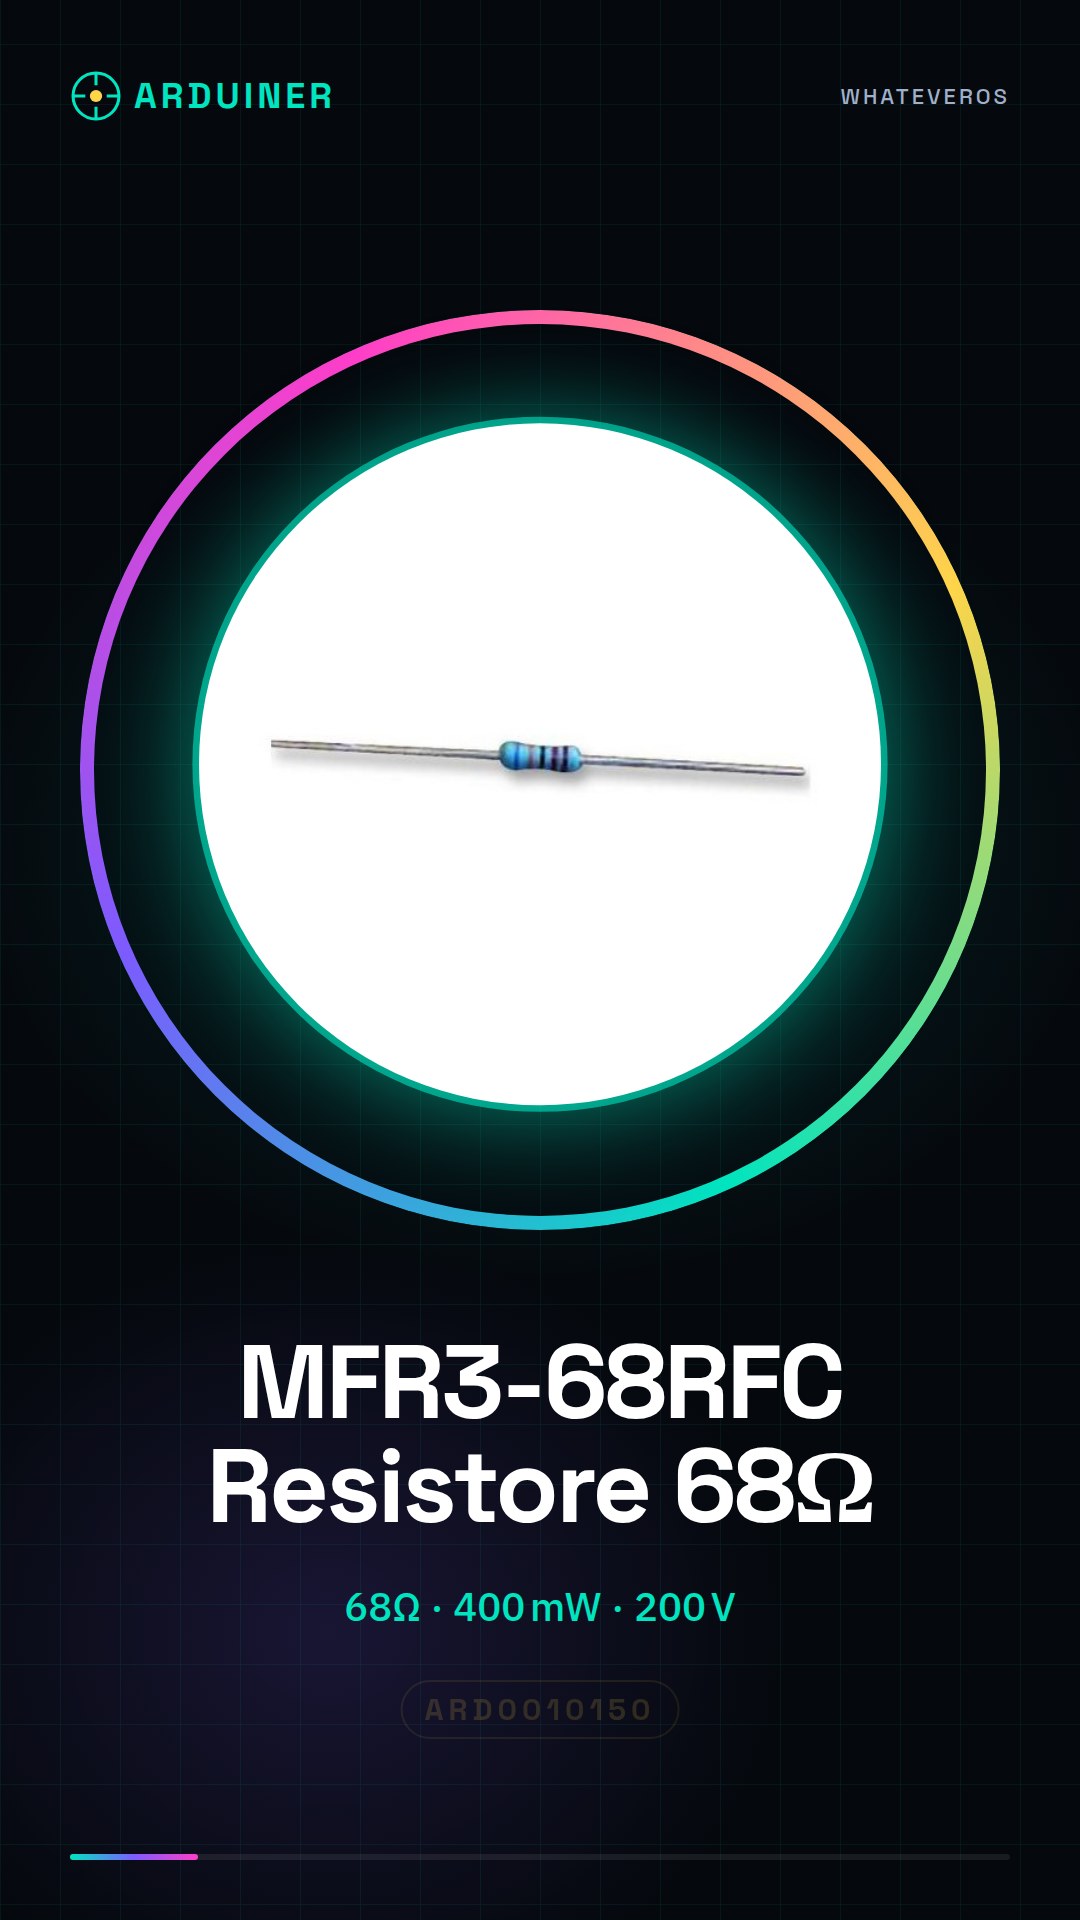
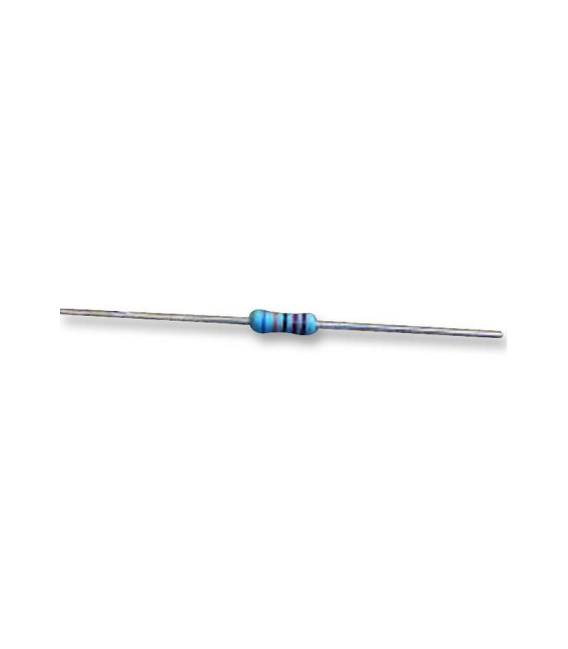
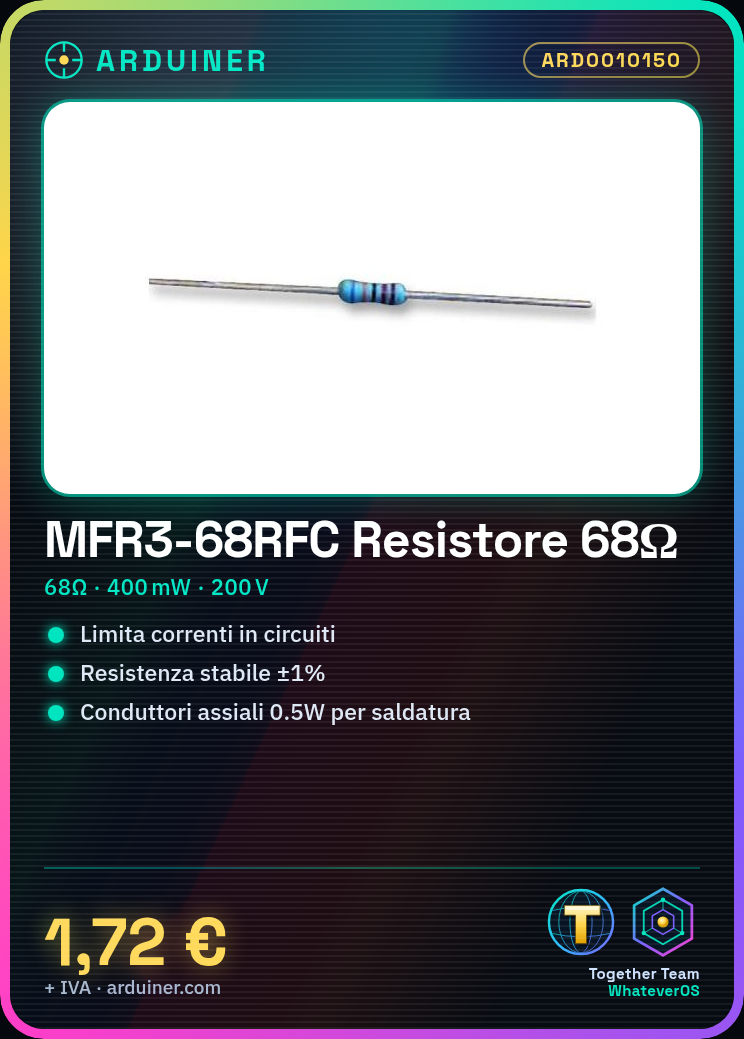
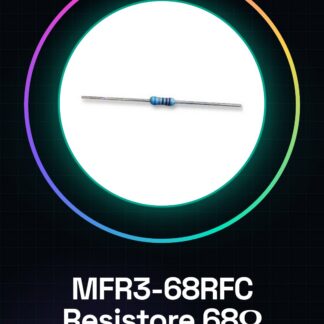
The MFR3-68RFC through hole resistor of 68 ohms is a fundamental component for those learning electronics. It is used to limit electrical currents in circuits, making it essential for both Arduino projects and custom schematics.
What you need
- Arduino Uno
- Digital Multimeter
- Soldering Iron
Steps
- Install the resistor on your PCB or test board.
- Check the resistance with a multimeter in ohmmeter mode.
- Connect the axial conductors to the circuit via soldering.
- Verify that there are no short circuits using a multimeter.
- Test the functionality of the complete circuit.
Mini project
Create a simple dimmer for an LED bulb using Arduino and the MFR3-68RFC resistor. Adjust the brightness of the LED by varying the current intensity.
Common mistakes
- Using an incorrect resistor value.
- Not verifying the resistance before use.
- Faulty soldering or short-circuited conductors.
Recommended accessories
- Arduino Uno
- Variable LEDs
- Breadboard
Frequently asked questions
What is the maximum power of the resistor?
Check the datasheet, but generally it is 400 mW.
How do you connect an axial conductor to a circuit?
Using a soldering iron and a PCB or breadboard.


Reviews
There are no reviews yet.