 EN
 IT Italiano
 ES Español
 FR Français
 DE Deutsch
Description
Tutorial: How to Use MFR3-22KFC Resistor
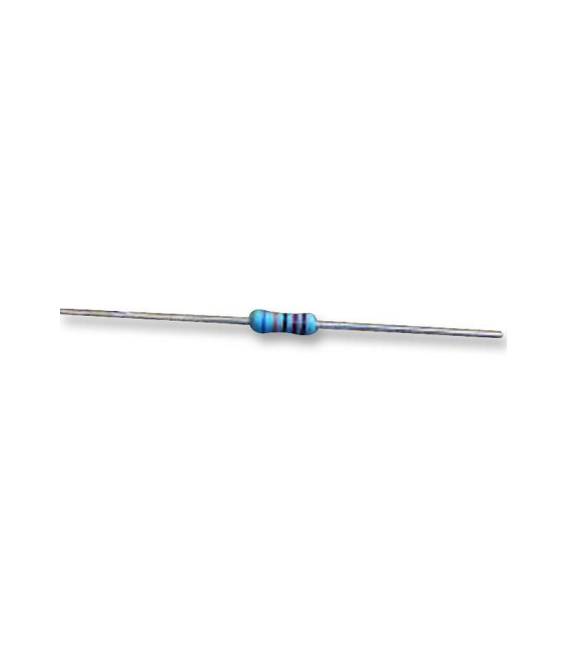
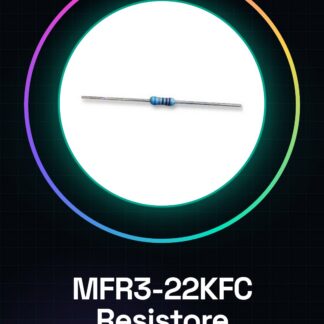
The MFR3-22KFC resistor is a fundamental component for electronic projects, ideal for beginners and makers who want to control electrical currents in Arduino circuits. This guide shows you how to use it effectively.
What you need
- Arduino Uno
- Printed Circuit Board
- Soldering Pliers
Steps
- Check the component’s resistance (22 kohm) and its specific characteristics on the datasheet.
- Prepare your printed circuit board with the necessary connectors to connect the resistor.
- Solder the axial leads of the resistor to the printed circuit board following the correct placement.
- Connect the complete circuit to the Arduino to test the project’s functionality.
Mini project
Create a simple light control system with Arduino and MFR3-22KFC. Adjust the light intensity using the resistor as a divider.
Common mistakes
- Soldering the resistor to the circuit incorrectly, causing short circuits or current interruptions.
- Using an incorrect value of resistor that does not meet the project requirements.
- Omitting the verification of specifications on the datasheet before installation.
Recommended accessories
- Arduino Uno
- Basic 3D Printing Kit
- Soldering Iron
- Multimeter
Frequently asked questions
What are the main characteristics of the MFR3-22KFC resistor?
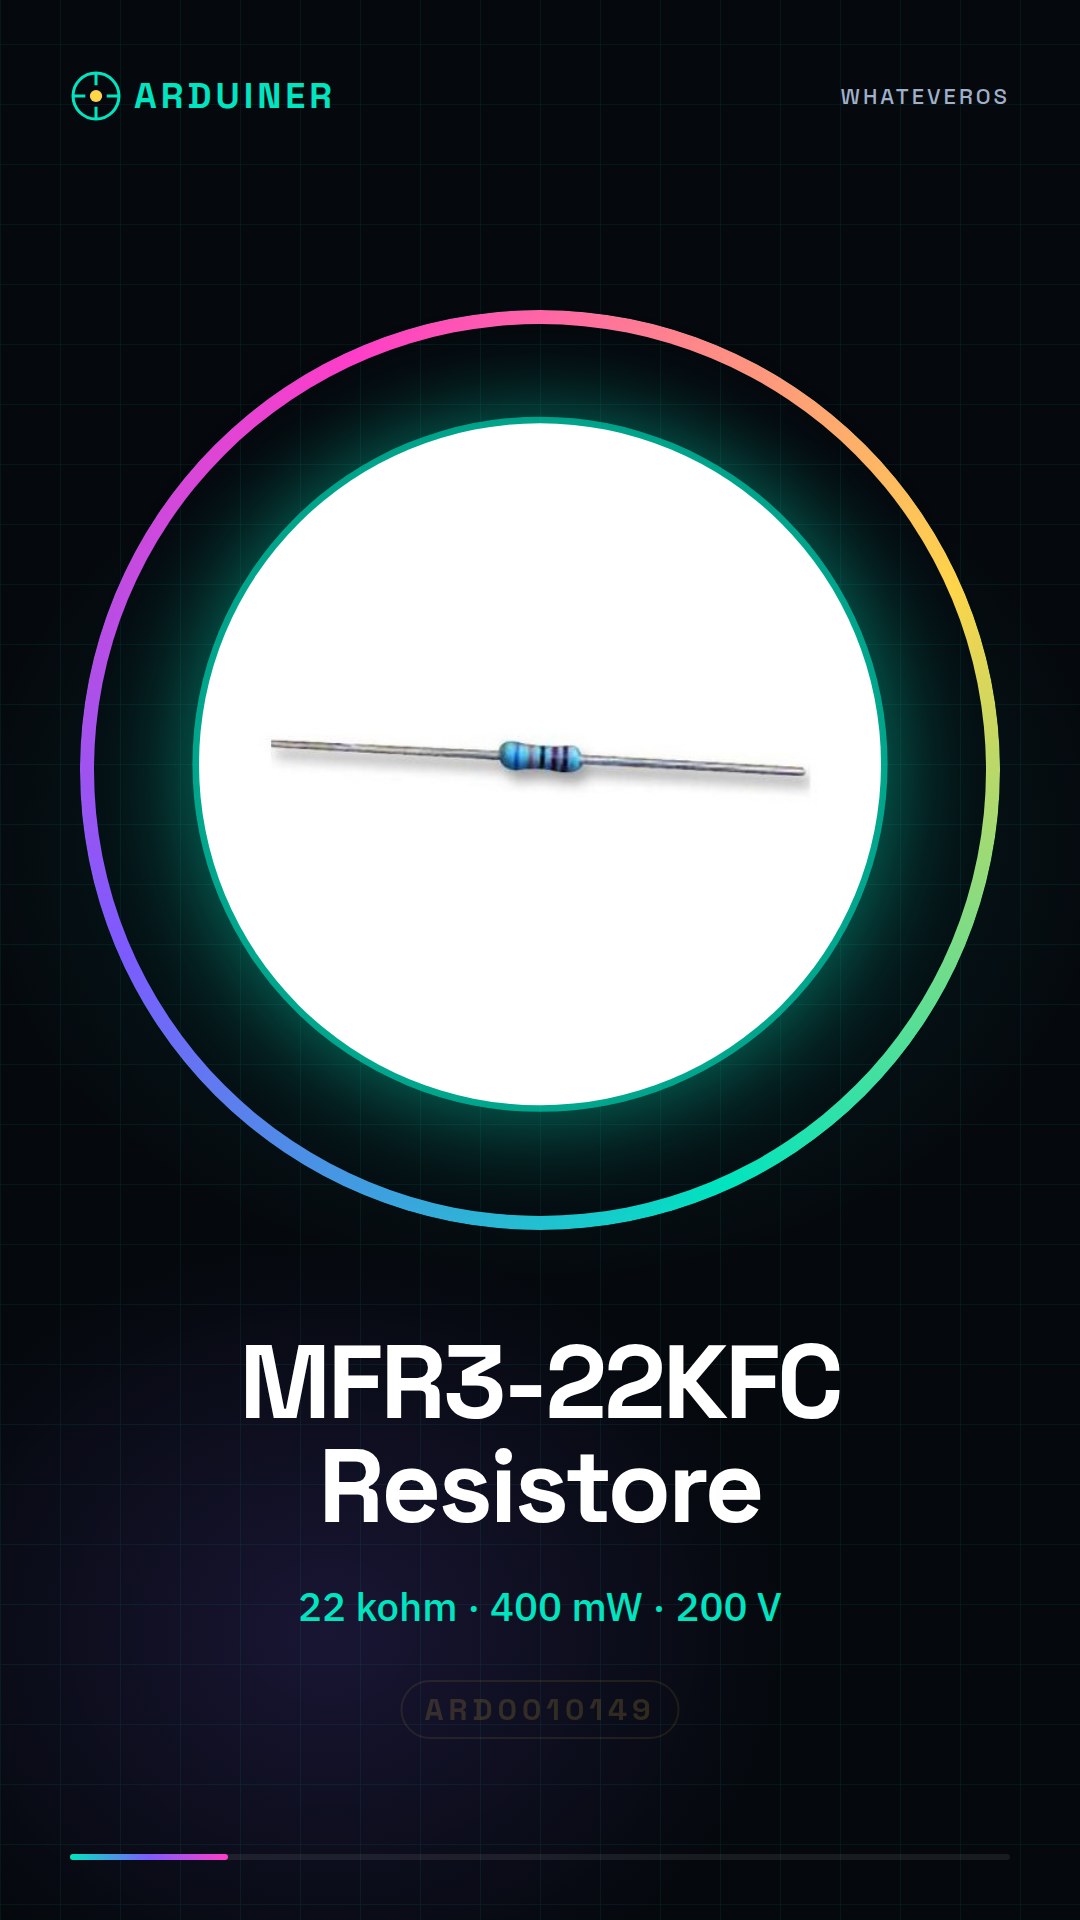
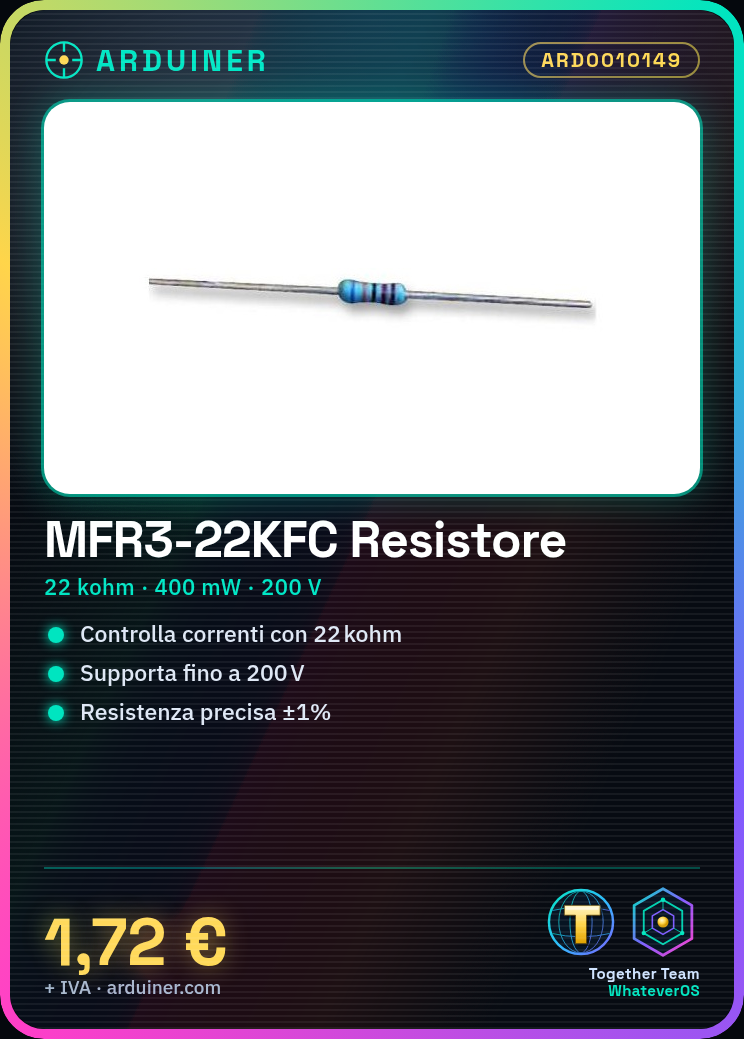
The resistor has a resistance of 22 kohm, a maximum power of 400 mW and can handle up to 200 V.
How can I verify the correct installation of the resistor?
Use a multimeter to check the impedance between the two axial conductors of the resistor and compare it with the specified value on the datasheet.
Reviews
There are no reviews yet.