 EN
 IT Italiano
 ES Español
 FR Français
 DE Deutsch
Description
Technical Description
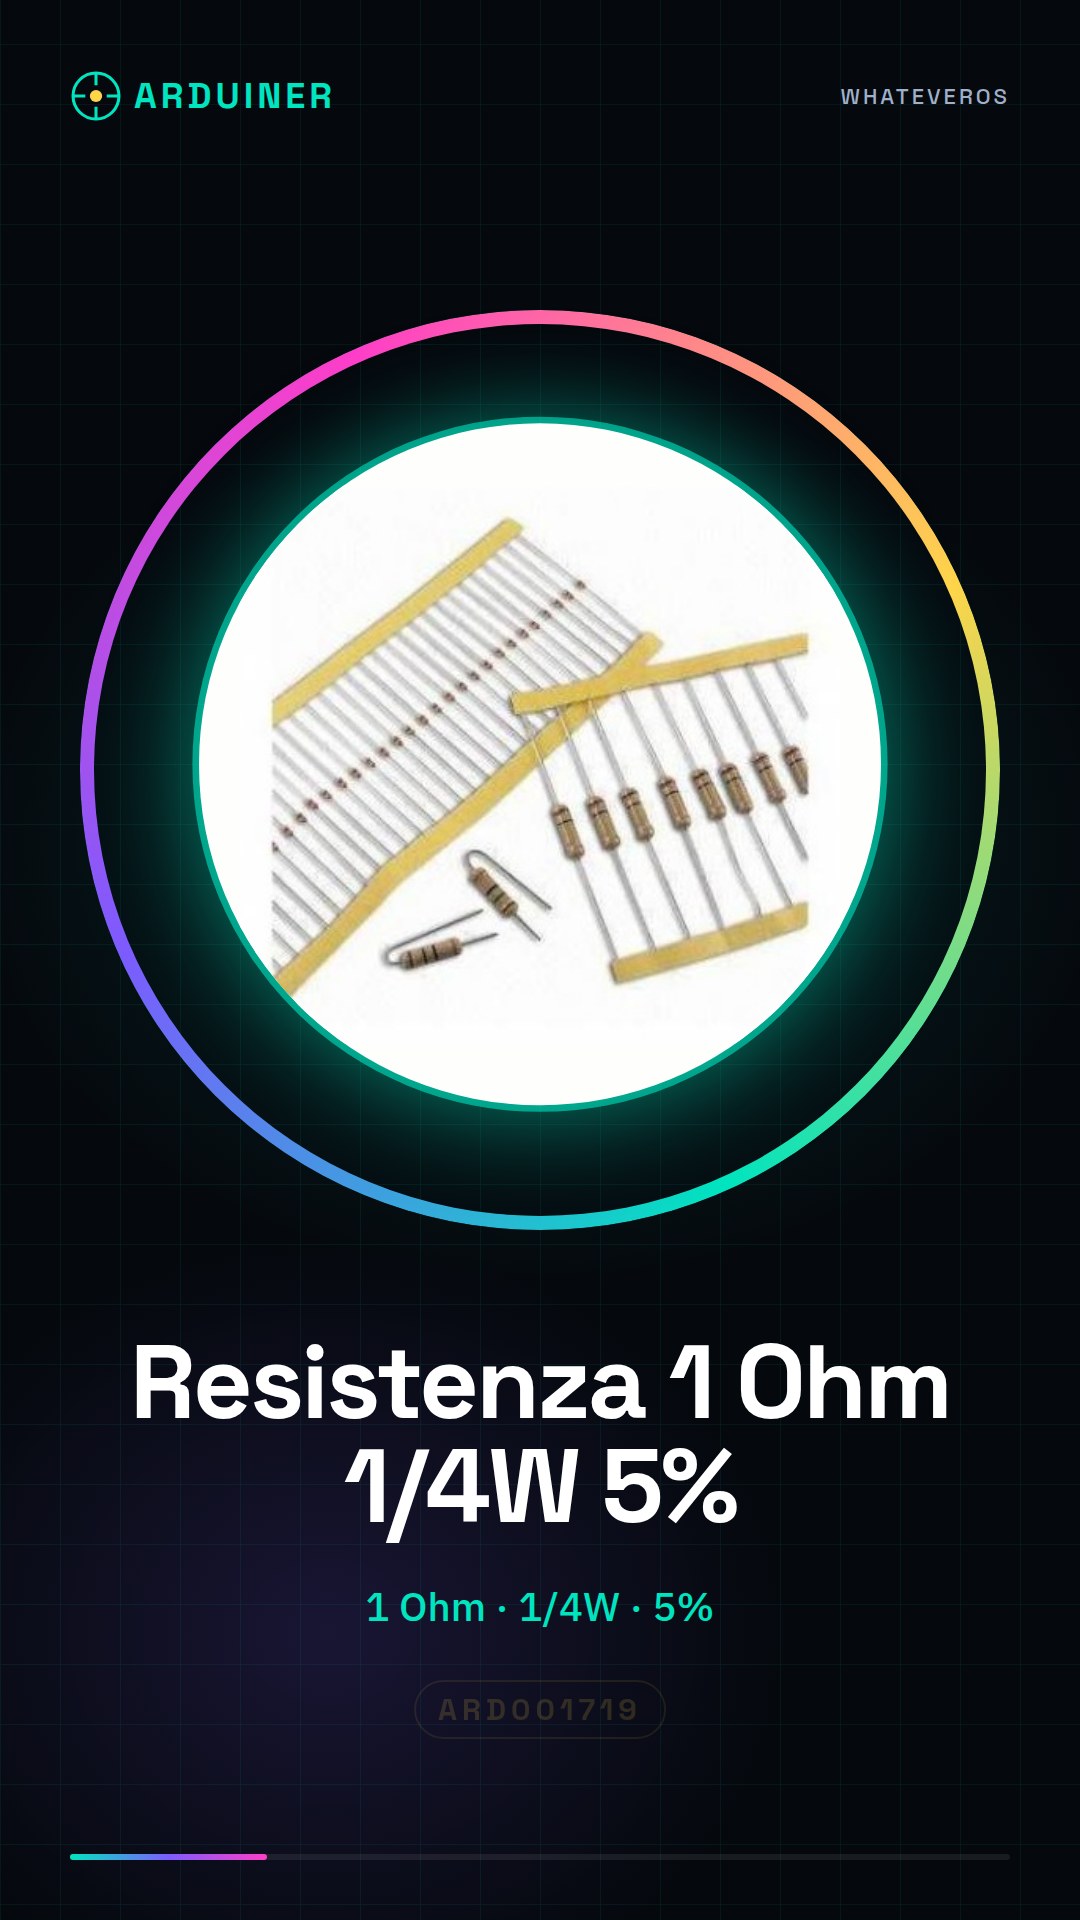
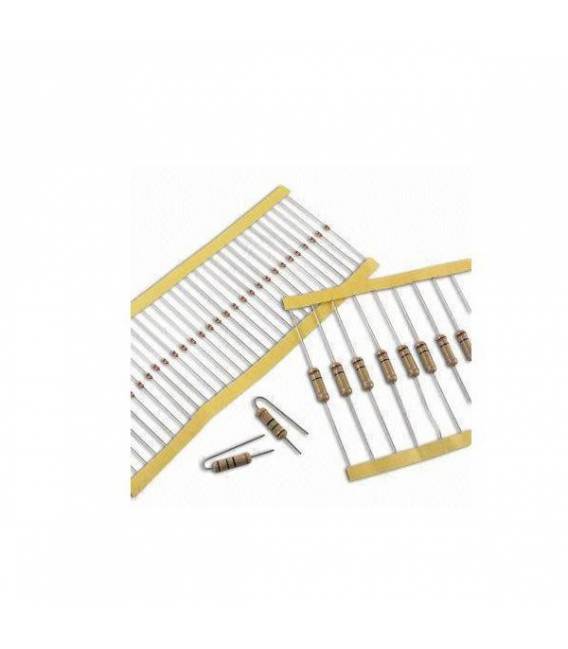
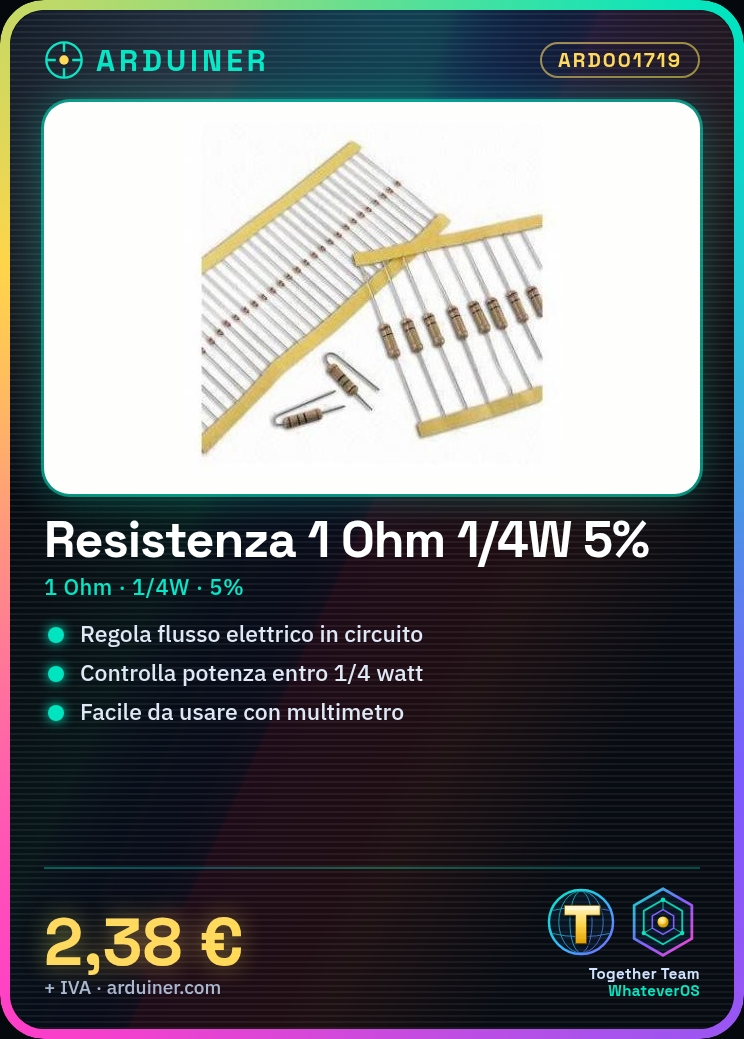
The 1 ohm resistor is an electronic component used to regulate the flow of current in an electrical circuit. This type of resistor is particularly useful in situations where it is necessary to limit the flow of current or protect other components from overload. The 1 ohm resistor, with a maximum power rating of 1/4 watt, is suitable for low electrical consumption applications.
The 1 ohm resistor can be used in various types of circuits, such as those for Arduino, to regulate the flow of current and protect components from overload. It is important to ensure that the resistor does not exceed its power limits during use to avoid damage.
The resistance value is specified as 1 ohm with a tolerance of 5%. This means that the actual value of the resistance can vary by up to 5% from the nominal value.
Key Specifications
| Parameter | Value |
| Model | Resistor 1 ohm 1/4w 1/4 w 5% |
| Quantity | 50 pieces |
| Resistance Value | 1 ohm |
| Tolerance | 5% |
| Maximum Power | 1/4 watt |
| Dimensions | N/D (see manufacturer’s datasheet) |
| Container | N/D (see manufacturer’s datasheet) |
Installation and Usage
- Check the resistance value using a multimeter.
- Connect the red end (anode) of the resistor to the positive circuit or Vcc.
- Connect the black (cathode) end of the resistor to the negative circuit or GND.
- Check that the resistor does not exceed power limits (1/4 watt).
- Use an ammeter to properly monitor the electrical current flow.
Compatibility and Requirements
- The resistor is compatible with Arduino and other electronic systems.
- It is used to regulate the current flow and protect components.
- Requires a multimeter to verify the value.
Limits and Important Notes
- Not suitable for applications requiring a resistance higher than 1 ohm.
- Be cautious of power limits during use.
- Do not use in circuits requiring a protection resistance higher than 1/4 watt.
Troubleshooting
The resistor does not work correctly.
Probable cause: The value of the resistor has not been verified.
Solution: Verify the value of the resistor using a multimeter.
The circuit is not working as expected.
Probable cause: The resistor might be exceeding power limits.
Solution: Check that the resistor does not exceed power limits (1/4 watt).
Current flow is not regulated.
Probable cause: The amount of current exceeds the resistor’s capacity.
Solution: Check that the current flow does not exceed the resistor’s limits.
The resistor overheats.
Probable cause: The resistor might be exceeding power limits.
Solution: Check that the resistor does not exceed power limits (1/4 watt).
Use cases
Arduino Project
Objective: Regulate current flow in an Arduino circuit.
What you need: 1 ohm 1/4w 1/4 w 5% resistor
Steps: 1) Check the value of the resistor. 2) Connect the resistor to the circuit. 3) Check that the resistor does not exceed power limits.
Expected result: The circuit works correctly.
Protection Circuit
Objective: Protect the circuit components.
What is needed: 1 ohm 1/4w 1/4 w 5% resistor
Steps: 1) Check the value of the resistor. 2) Connect the resistor to the circuit. 3) Verify that the resistor does not exceed power limits.
Expected result: The circuit components are protected.
Electrical Current Regulation
Objective: Regulate the flow of current in a circuit.
What is needed: 1 ohm 1/4w 1/4 w 5% resistor
Steps: 1) Check the value of the resistor. 2) Connect the resistor to the circuit. 3) Verify that the resistor does not exceed power limits.
Expected result: The flow of current is regulated.
Circuit Testing
Objective: Test circuits for proper function.
What is needed: 1 ohm 1/4w 1/4 w 5% resistor
Steps: 1) Check the value of the resistor. 2) Connect the resistor to the circuit. 3) Verify that the resistor does not exceed power limits.
Expected result: The circuits work correctly.
Prototype Projects
Objective: Regulate the flow of current in prototypes.
What’s needed: Resistor 1 ohm 1/4w 1/4 w 5%
Steps: 1) Check the value of the resistor. 2) Connect the resistor to the circuit. 3) Verify that the resistor does not exceed power limits.
Expected result: The prototypes work correctly.
Circuit Maintenance
Objective: Maintenance and repair of circuits.
What’s needed: Resistor 1 ohm 1/4w 1/4 w 5%
Steps: 1) Check the value of the resistor. 2) Connect the resistor to the circuit. 3) Verify that the resistor does not exceed power limits.
Expected result: The circuits are maintained and repaired correctly.
Automation
Objective: To regulate the current flow in automation systems.
What you need: 1 ohm 1/4w 1/4 w 5% resistor
Steps: 1) Check the value of the resistor. 2) Connect the resistor to the circuit. 3) Verify that the resistor does not exceed power limits.
Expected result: Automation systems work correctly.
Circuit Testing
Objective: To test circuits for proper function.
What you need: 1 ohm 1/4w 1/4 w 5% resistor
Steps: 1) Check the value of the resistor. 2) Connect the resistor to the circuit. 3) Verify that the resistor does not exceed power limits.
Expected result: Circuits work correctly.
In the package
- 50 pieces
Complete the project
- 50 Pieces 1000 ohm 1k ohm 1/4w 1/4 w 5% resistor: To regulate the current flow in different circuits.
- 50 Pieces 10000 ohm 10k ohm 1/4w 1/4 w 5% resistor, Arduino compatible resistors: To protect the circuit components.
- 50 Pieces 100 ohm 1/4w 5% Resistor: To test circuits for proper function.
Technical FAQs
How can I verify the value of the resistor?
Use a multimeter in resistance mode to measure the value.
What is the difference between a 1 ohm resistor and other resistors?
A 1 ohm resistor allows maximum electrical flow, while other resistors limit the flow differently.
What causes the resistor to overheat?
The resistor may exceed power limits.
How can I protect the circuit components?
Use an appropriate protective resistor and ensure it does not exceed power limits.
Tutorial: How to use 1 Ohm Resistor
The 1 ohm resistor is a fundamental component for regulating electrical flow in circuits. This tutorial will guide you on how to use it correctly.
What you need
- Arduino Projects
- Protection Circuits
- Current Regulation
Steps
- Check the 1 ohm resistance on the datasheet for exact specifications
- Connect the red end (anode) to the positive circuit or Vcc
- Connect the black end (cathode) to the negative circuit or GND
- Ensure that the resistance does not exceed power limits (1/4 watt)
- Use a multimeter to verify the resistance value
Mini project
Create a simple Arduino circuit that monitors energy using a 1 ohm resistance and an ammeter.
Common mistakes
- Connect the resistance to the circuit without checking the value
- Ignore the power limits of the resistance
- Do not properly monitor the current flow
Recommended accessories
- Multimeter
- Ammeter
- Arduino Uno
Frequently asked questions
How can I verify the value of the resistance?
Use a multimeter in resistance mode to measure the value.
What is the difference between a 1 ohm resistance and other resistances?
The 1 ohm resistor allows maximum electrical flow, while other resistors limit the flow in different ways.
Reviews
There are no reviews yet.