 EN
 IT Italiano
 ES Español
 FR Français
 DE Deutsch
Description
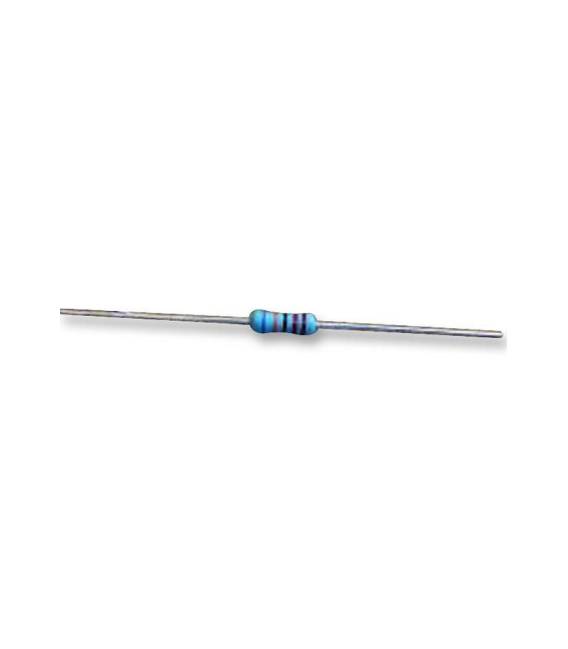
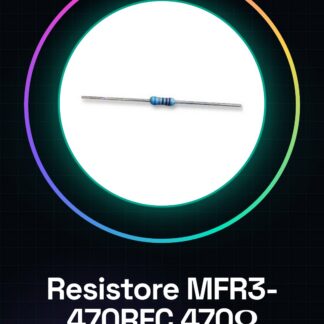
This 50-pack MFR3-470RFC through-hole resistor features a resistance of 470 Ohm and is ideal for current protection and limiting in Arduino circuits. Suitable for beginners and intermediates in electronics. Follow these steps to solder: 1. Check the resistor specification: 470 Ohm, 400 mW, ±1%, 200 V. 2. Prepare your soldering iron and solder. 3. Identify the position on the circuit. 4. Connect one end of the resistor to the circuit. 5. Solder the resistor end. 6. Repeat for the other end. 7. Test the connection with a multimeter. 8. Verify on the datasheet for further details. Mini-project: Build a simple current protection circuit for an LED. Connect a resistor (470 Ohm) between the power source (5V) and the LED. Solder the resistor ends and test with a multimeter. Common errors: Soldering the resistor without checking the specification, incorrectly connecting the resistor on the circuit, using low-quality solder, omitting the multimeter check. Suggested accessories: Soldering iron, solder, pliers, multimeter. Frequently asked questions: How can I verify the resistor specification? Check the datasheet or with a multimeter. Can this resistor be used for power circuits? No, the resistor has a maximum power rating of 400 mW. What are the steps to solder a resistor? Prepare your soldering iron, identify the position, connect the ends, solder, and test with a multimeter. Can I use different resistors for my project? Yes, but ensure the power rating is suitable for your circuit.
Reviews
There are no reviews yet.