 EN
 IT Italiano
 ES Español
 FR Français
 DE Deutsch
Description
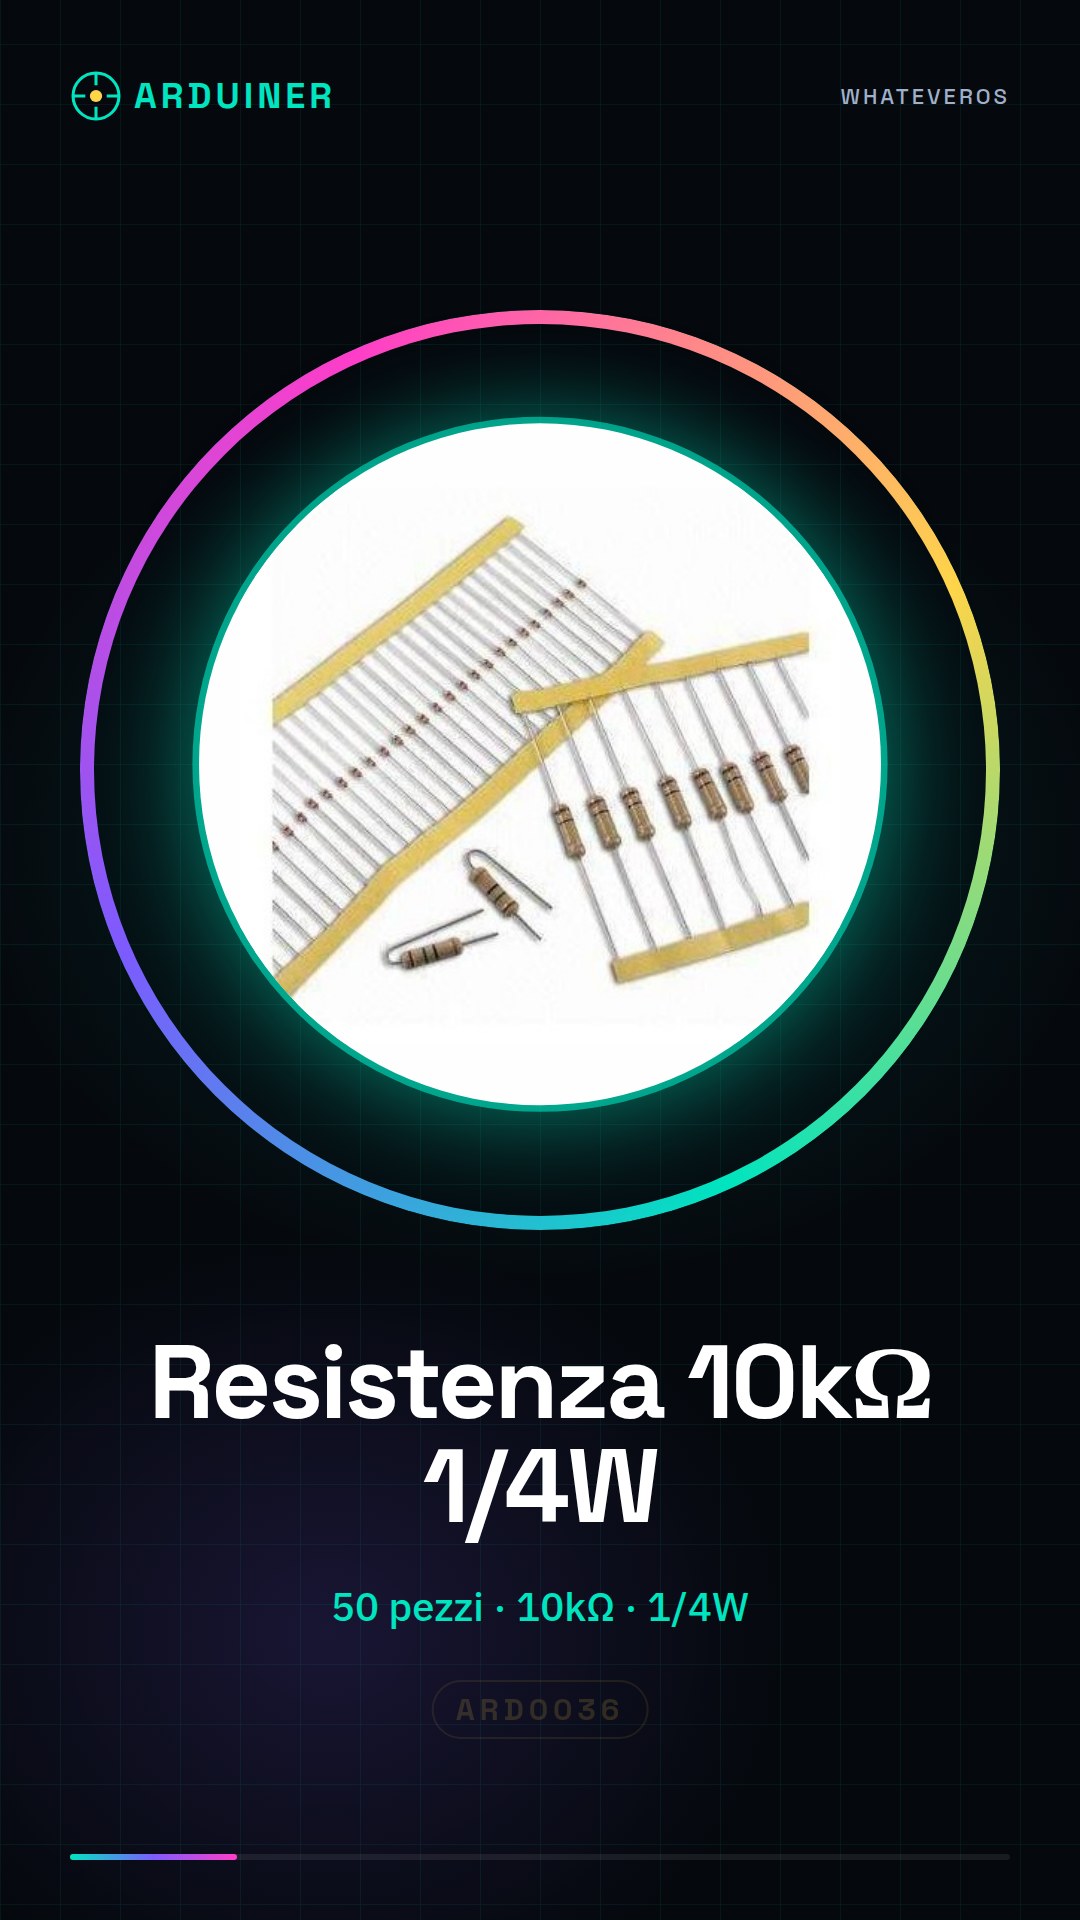
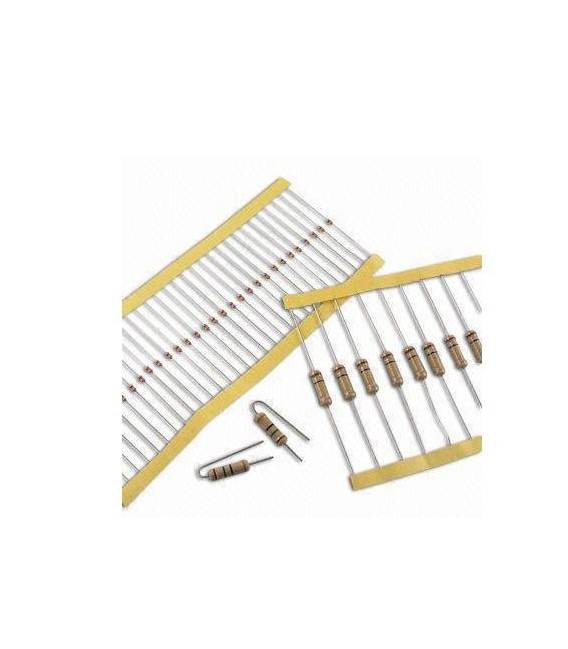
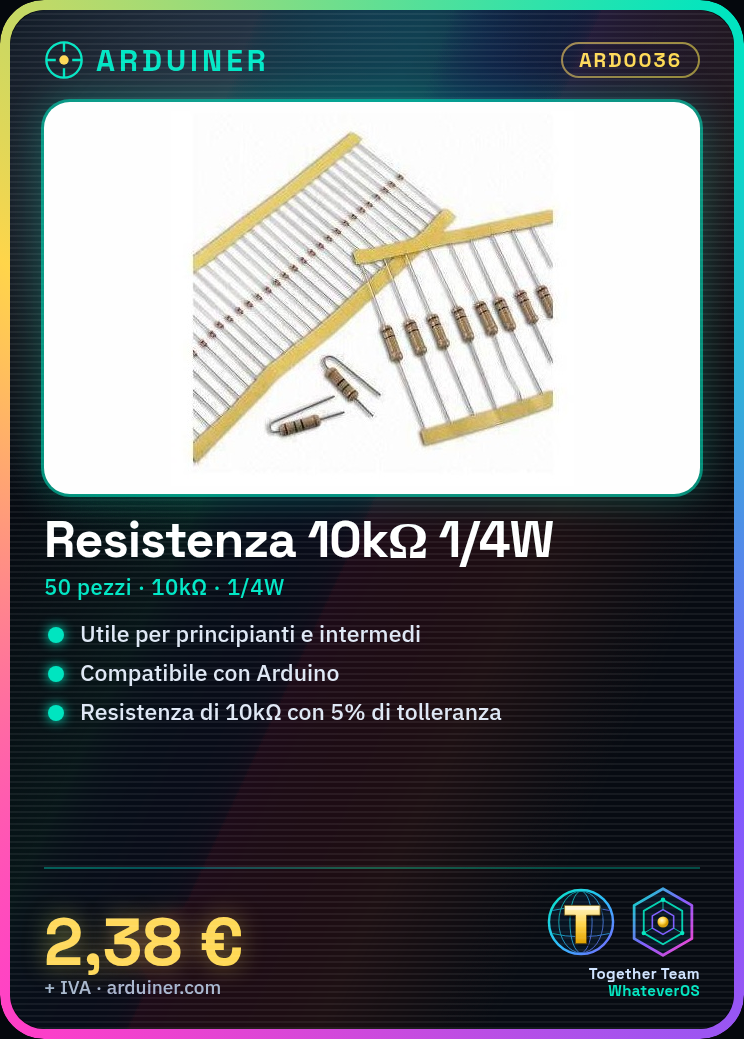
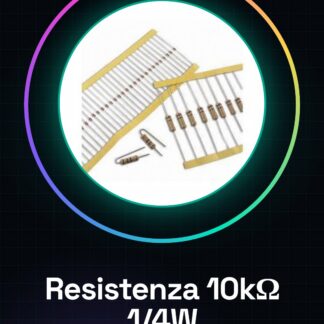
Resistance, 10000 ohm, 10k, ohm 1/4w 1/4 w 5%, resistors
We have datasheets available for all components, if not present in the product download sheet, send us a message from the contact us module and we will publish it as soon as possible on our website.
Tutorial: How to use 10k 1/4w 5% Resistors
These resistors are ideal for establishing voltage and current resistances in various Arduino projects. Useful for beginners and intermediates.
What you need
- 10k 1/4w 5% Resistors
- Multimeter
- Sculptor’s knife
- Soldering iron tip
Steps
- Check the datasheet specifications: 10k ohm, 1/4w, 5%.
- Take a resistor and assign a serial number.
- Connect one end of the resistor to the vcc of your Arduino.
- Connect the other end to the digital output pin.
- With the multimeter measure the resistance between the two ends.
- Verify that the measured resistance is close to 10k ohm.
- Connect an LED in series with the resistor and connect the other end of the LED to GND.
- Check that the LED lights up when the digital pin is HIGH.
Mini project
Create a simple pressure counter using a variable resistor and a 10k 1/4w 5% resistor.
Common mistakes
- Do not use resistors of different resistance in a circuit.
- Do not connect the resistor directly to VCC without going through a transistor or a potentiometer.
- Always check the resistance with the multimeter before connecting it.
- Do not use resistors with power lower than 1/4w.
Recommended accessories
- Variable resistor
- LED
- Transistor
- Multimeter
Frequently asked questions
How can I check the resistance before connecting it?
Use the multimeter in resistance measurement mode.
Can I use these resistors for high power circuits?
No, these resistors are designed for low power circuits (1/4w).
Can I use these resistors with any Arduino?
Yes, they are compatible with all Arduino models.
How long does it take to complete the demo project?
The demo project should take approximately 30 minutes.
Reviews
There are no reviews yet.