 EN
 IT Italiano
 ES Español
 FR Français
 DE Deutsch
Description
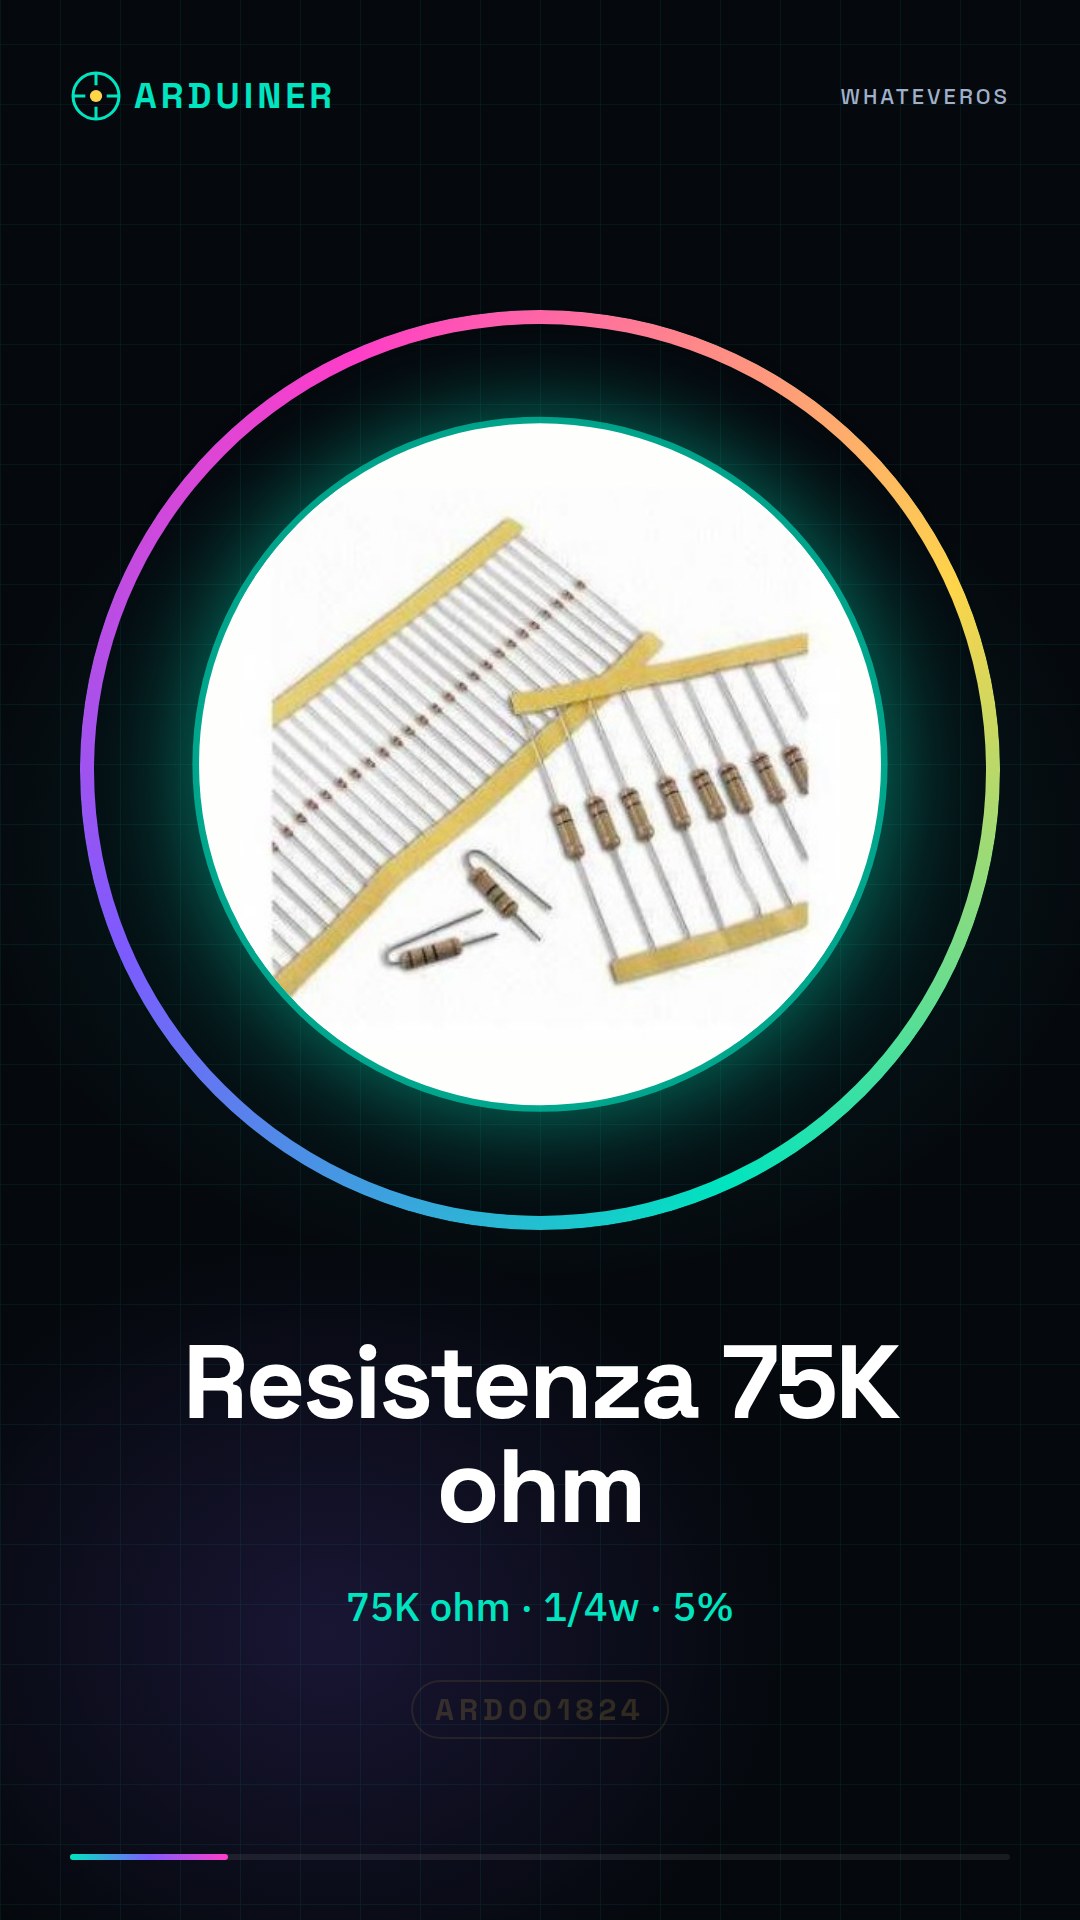
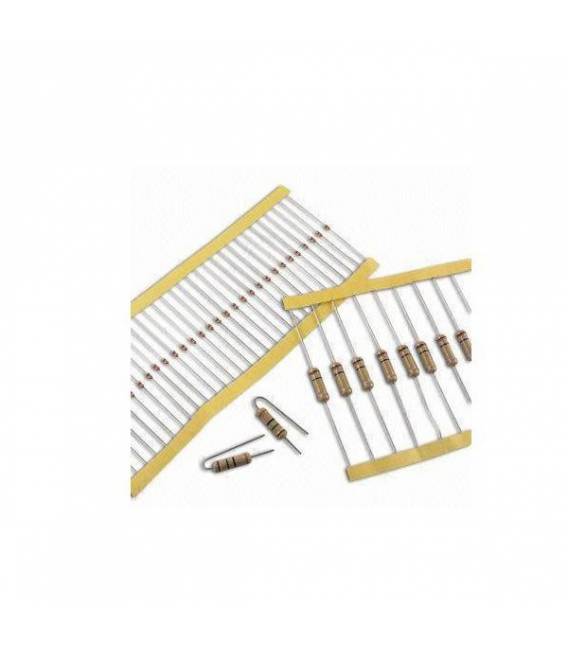
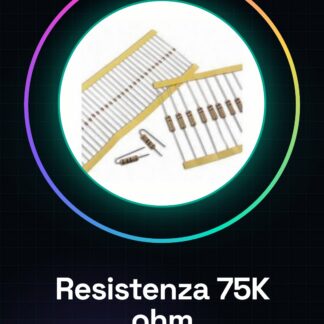
50PCS Resistor 75K ohm 75000 ohm 1/4w 1/4 w 5%
Tutorial: How to use Resistor 75K ohm
Resistors are fundamental components to limit the flow of current in an electronic circuit. This 75k ohm resistor is ideal for Arduino projects that require a certain precision in managing the electrical flow.
What you need
- Arduino Uno
- Resistance multimeter reader
- Soldering connections
Steps
- Check the value of the resistor using a multimeter.
- Connect one end of the resistor to a digital pin of the Arduino and the other to ground (GND).
- Write an Arduino sketch to measure the resistance connected to the pin.
- Analyze the data collected from your sketch.
Example code
void setup() {
  Serial.begin(9600);
}

void loop() {
  int sensorValue = analogRead(A0); // Leggi il valore del sensore collegato al pin A0.
  float resistanceValue = (1023.0 / sensorValue - 1) * 75000; // Calcola la resistenza basata sul valore letto.
  Serial.print(sensorValue);
  Serial.println(resistanceValue);
}
Mini project
Create a simple light sensor by connecting a 75k ohm resistor and a photoresistor to an Arduino. Measure ambient light levels.
Common mistakes
- Do not verify the value of the resistor before use.
- Incorrect connection between Arduino and resistor.
- Ignore the tolerance values (5%) on the resistor.
Recommended accessories
- Arduino Uno
- Photoresistor LDR
- Multimeter DMM
- Solderable Connections
Frequently asked questions
Can the resistor be replaced with one of a different value?
Yes, but make sure the new value meets the specifications of your project.
What is the tolerance of the resistor?
Check the datasheet, usually 5%.
Reviews
There are no reviews yet.