 EN
 IT Italiano
 ES Español
 FR Français
 DE Deutsch
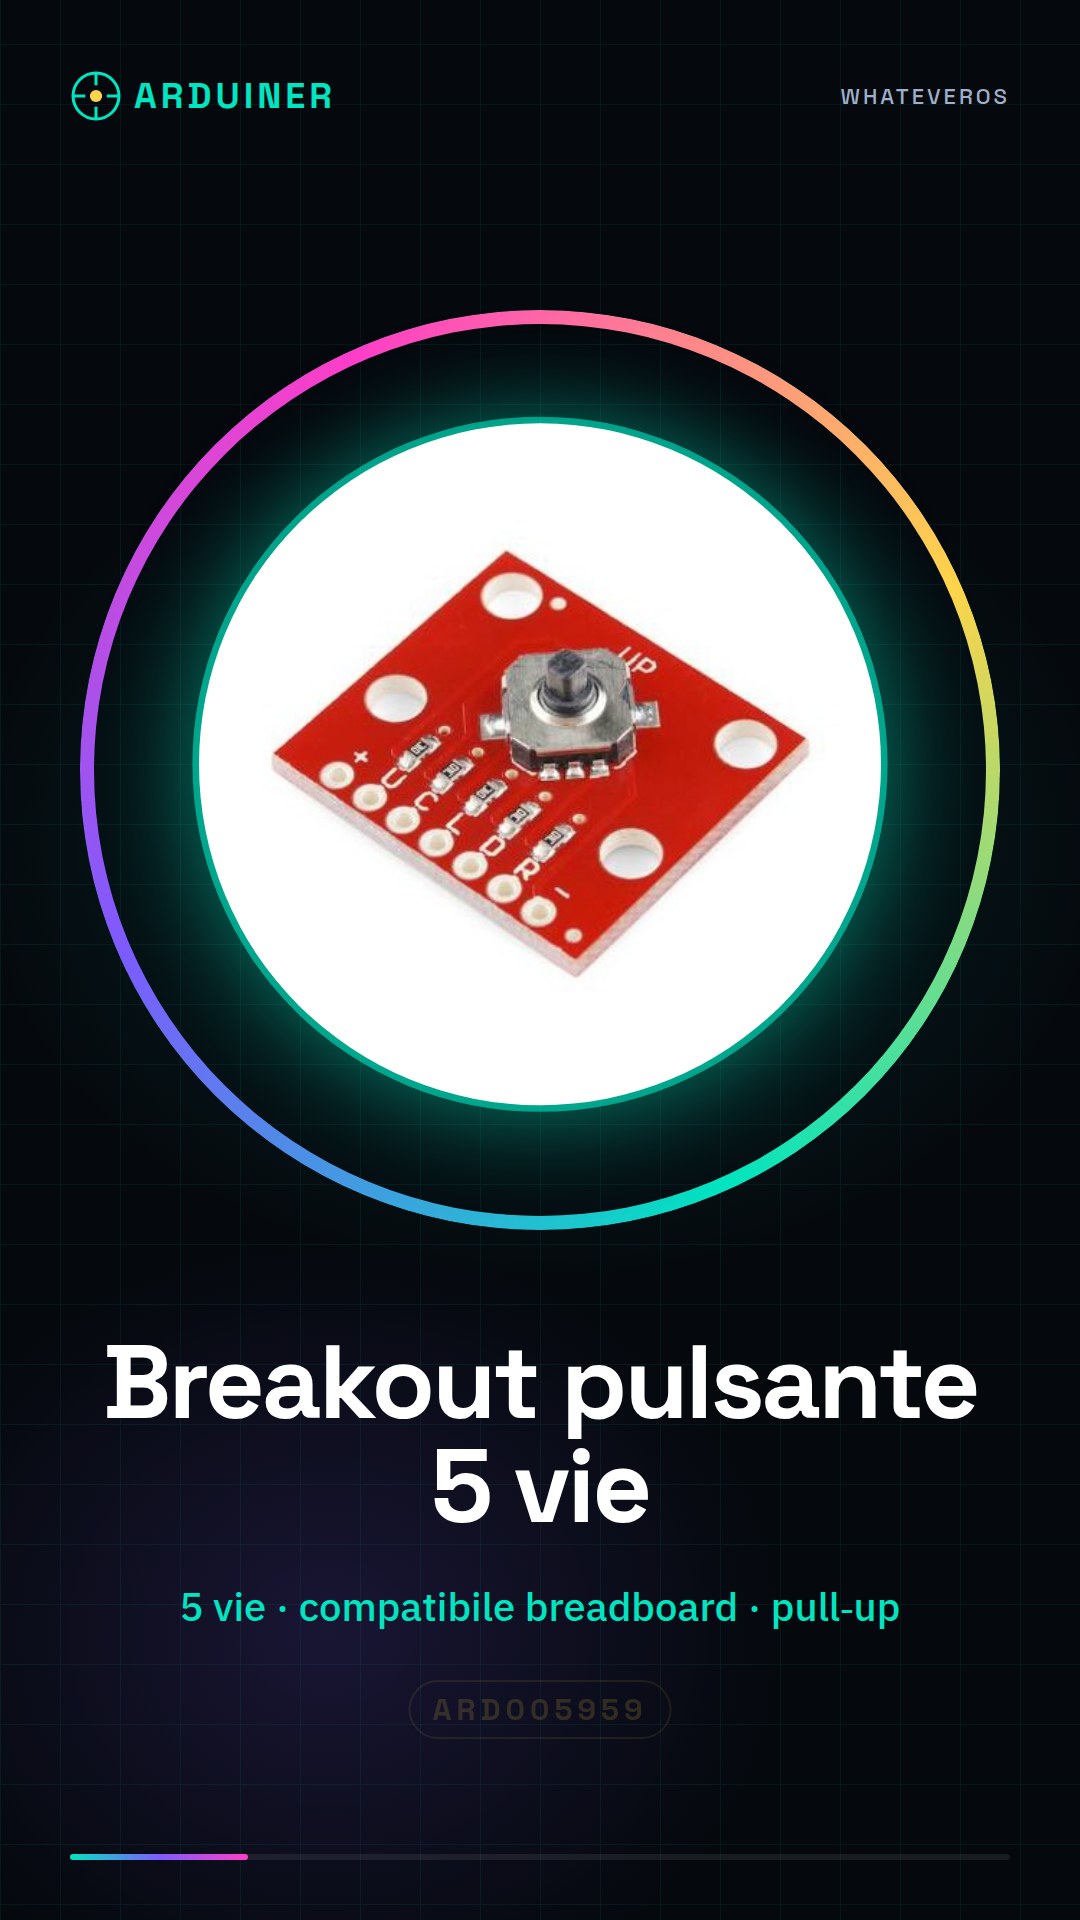
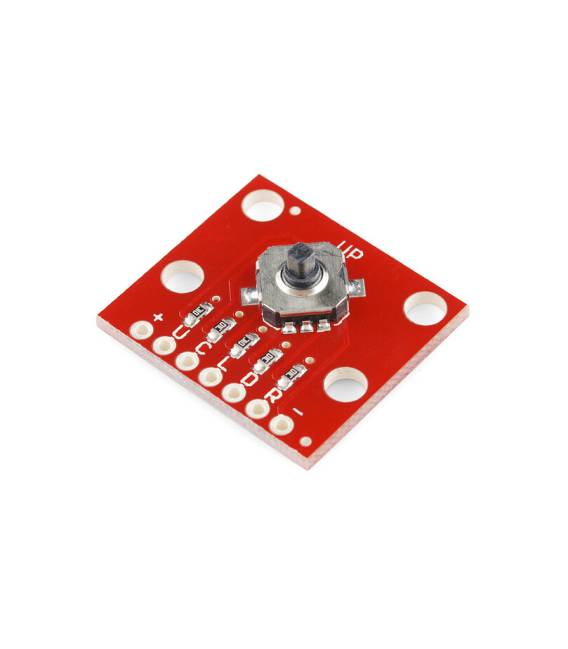
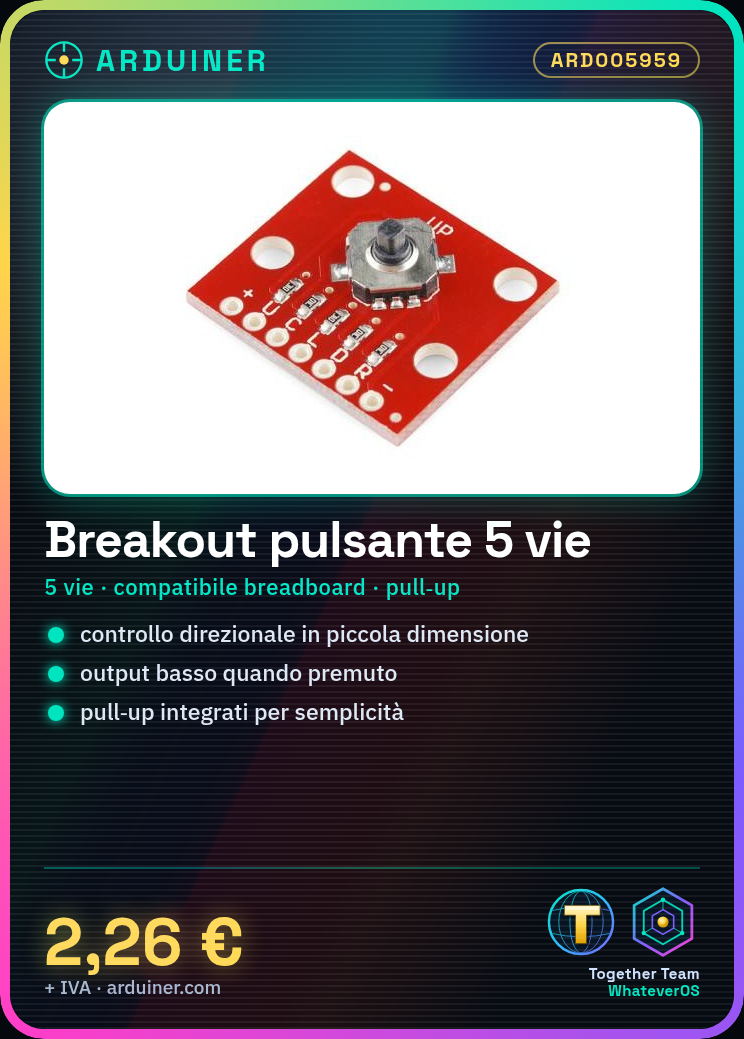
Description
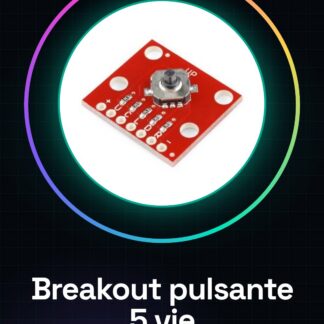
5-way tactile switch board
Description: Sometimes a very small directional input device is needed (the world’s smallest game controller, anyone?) This 5-way tactile switch (up, down, left, right, and center click) allows joystick-like control in a very small package. This breadboard-compatible board interrupts all switching signals and includes pull-up resistors configured so that the outputs read low when pressed and high otherwise. (If desired, you can invert the power leads for pull-down operation.)
Tutorial: How to use 5-way Tactile Switch Breakout Board
This 5-way tactile switch is ideal for projects requiring precise directional control in a small space. Useful for beginner and intermediate makers.
What you need
- 5-way Tactile Switch Breakout Board
- Arduino or compatible microcontroller
- Power supply cable
- Pull-up resistor (if needed)
Steps
- 1. Connect the board to your microcontroller using breadboard pins.
- 2. Connect the VCC and GND pins to the microcontroller.
- 3. Connect the up, down, left, right, and click pins to the microcontroller.
- 4. Configure the pins as input with pull-up on Arduino.
- 5. Load the example code to control the buttons.
- 6. Check the datasheet for specific parameters.
- 7. Try pressing the buttons and verify the signals.
- 8. Adapt the code to your specific needs.
Example code
```cpp
int up = 2; int down = 3; int left = 4; int right = 5; int center = 6;
void setup() {
  pinMode(up, INPUT_PULLUP); pinMode(down, INPUT_PULLUP);
  pinMode(left, INPUT_PULLUP); pinMode(right, INPUT_PULLUP);
  pinMode(center, INPUT_PULLUP);
}
void loop() {
  if (digitalRead(up) == LOW) {
    Serial.println("Su");
  }
  if (digitalRead(down) == LOW) {
    Serial.println("Giù");
  }
  if (digitalRead(left) == LOW) {
    Serial.println("Sinistra");
  }
  if (digitalRead(right) == LOW) {
    Serial.println("Destra");
  }
  if (digitalRead(center) == LOW) {
    Serial.println("Clic");
  }
}
```
Mini project
Create a simple joystick using touch buttons on an LCD display.
Common mistakes
- Forget to configure the pins as input pull-up.
- Incorrectly connect the VCC and GND pins.
- Omit checking the datasheet for specific parameters.
- Do not test the buttons before loading the code.
Recommended accessories
- LCD display
- Breadboard
- Connection wires
- Pull-up resistor
Frequently asked questions
How can I invert the output signals?
Invert the power supply cables VCC and GND on the datasheet.
Which pins should be used to control the buttons?
Use pins 2, 3, 4, 5 and 6 to control the up, down, left, right and click buttons.
Is the pull-up resistor necessary?
Yes, it is necessary to read the button signals correctly.
Reviews
There are no reviews yet.