 EN
 IT Italiano
 ES Español
 FR Français
 DE Deutsch
Description
What it is
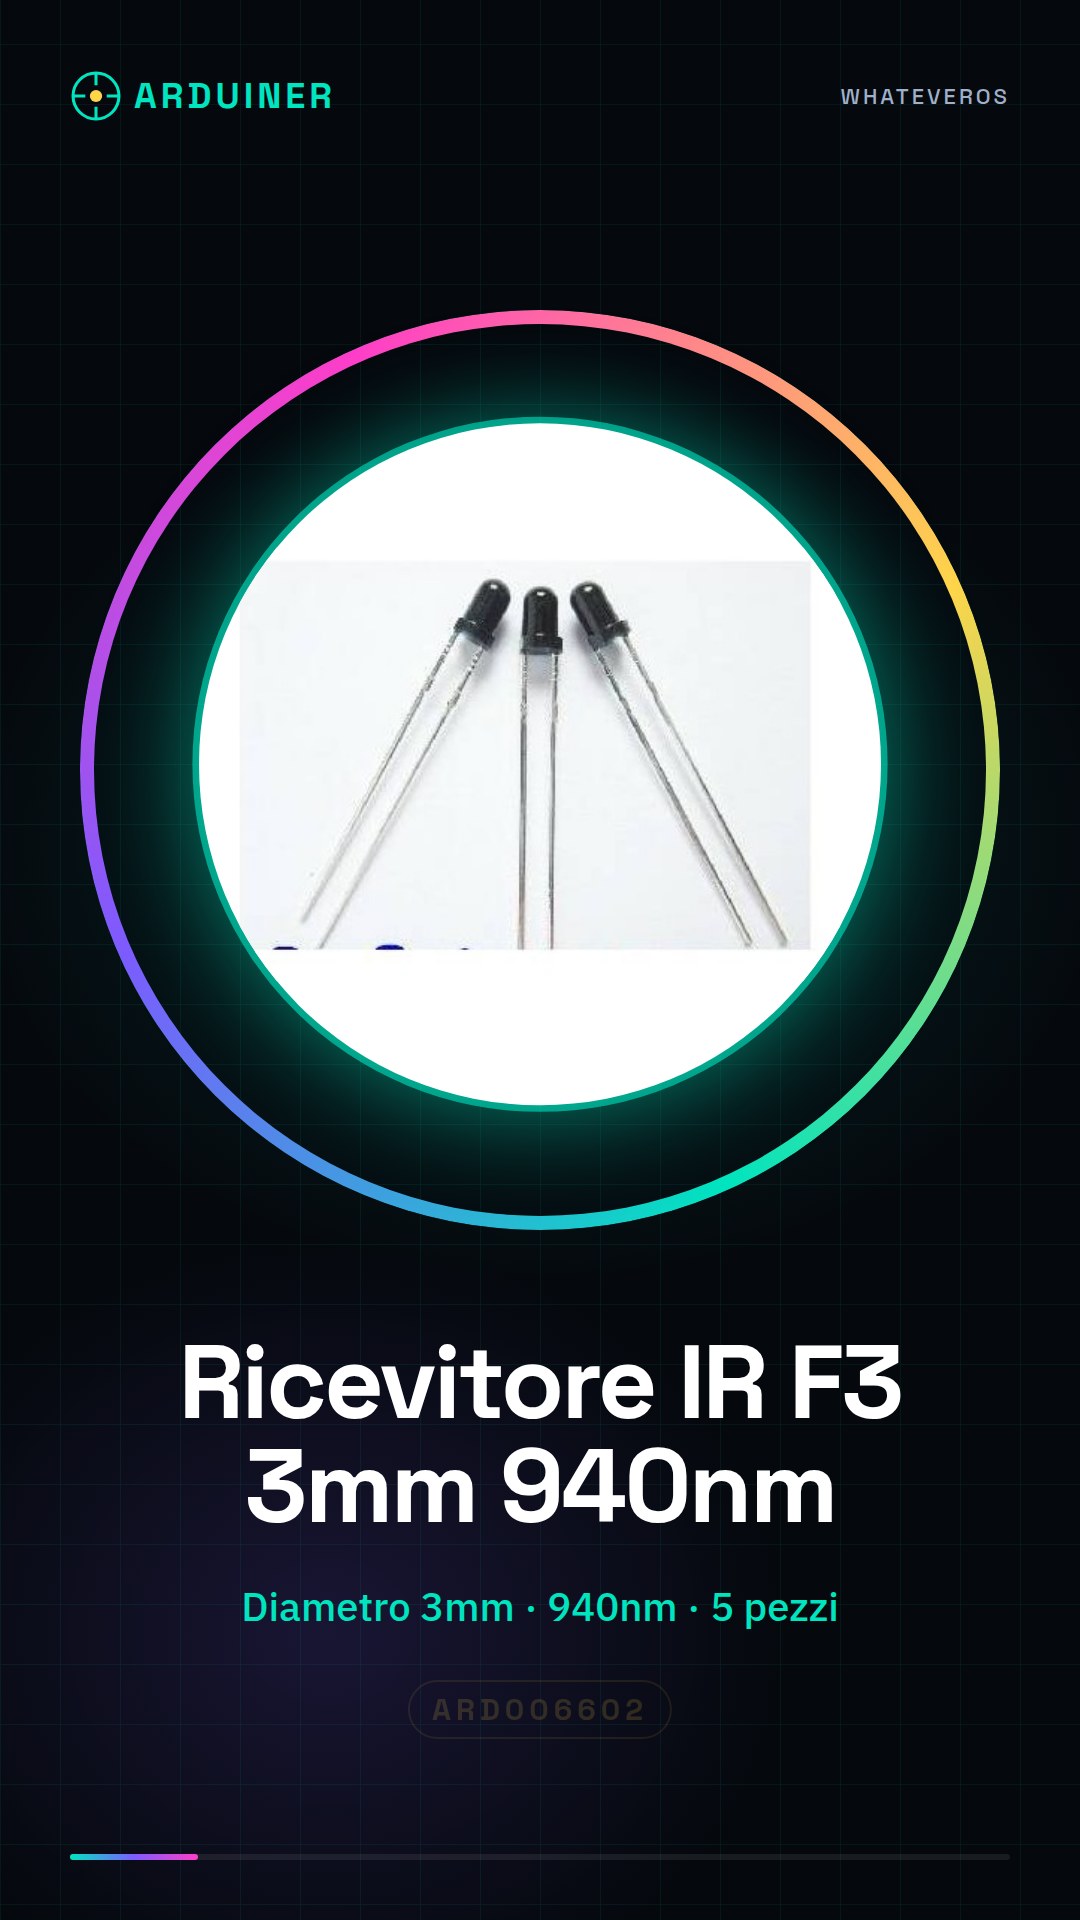
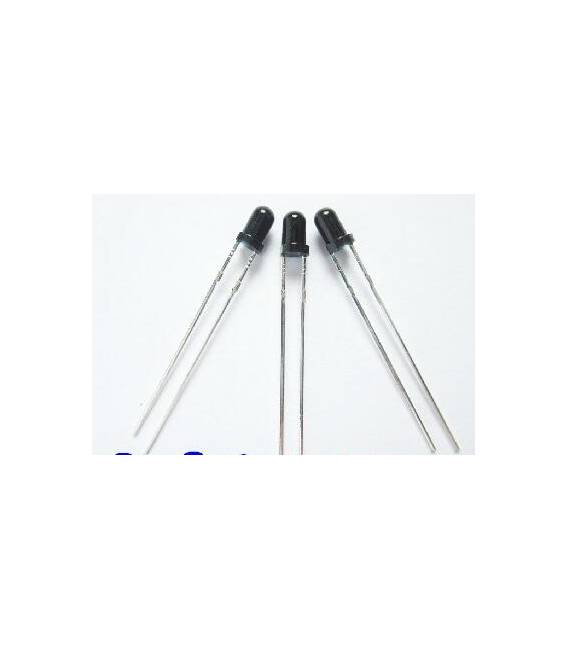
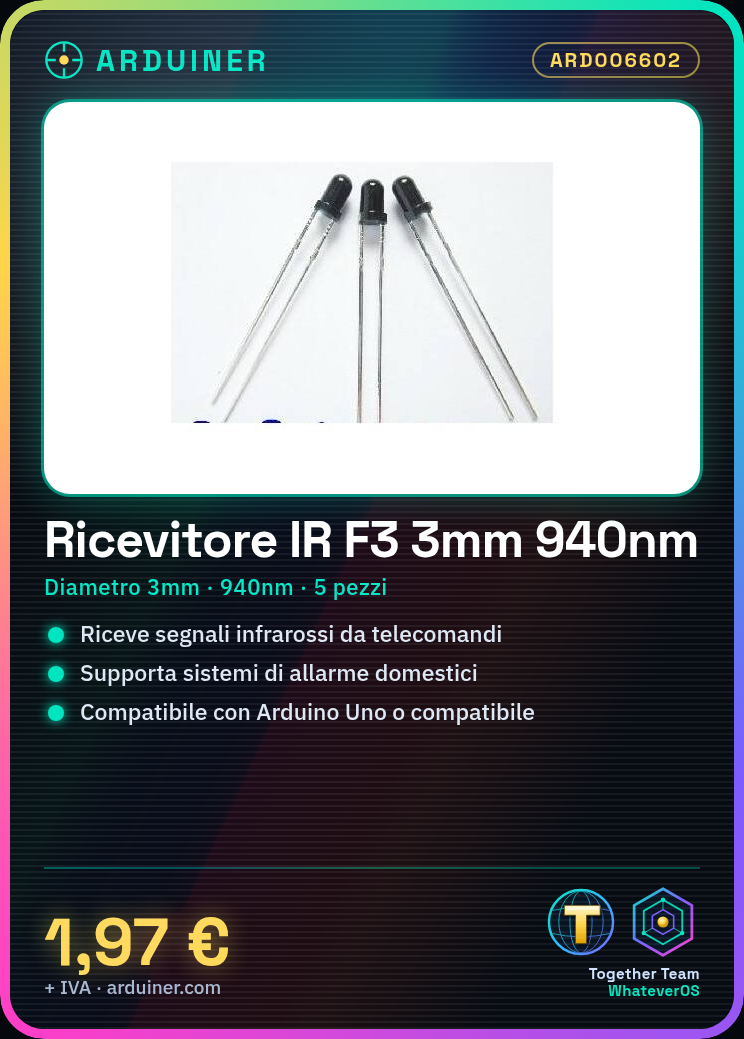
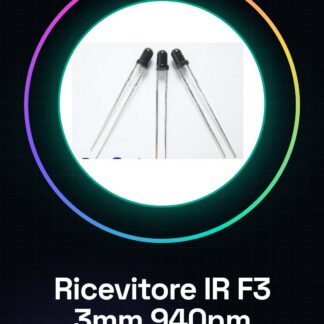
The F3 infrared receivers at 940nm with a 3mm diameter are devices used for receiving infrared signals from remote controls or other emitting devices. This component is essential for implementing wireless functionality in Arduino projects.
Features
- Diameter: 3mm
- Wavelength: 940nm
What it is for
The F3 infrared receivers are ideal for projects requiring bidirectional communication with remotely controlled devices. They can be used to create home alarm systems, wireless interfaces, and sensors.
Tutorial: How to Use F3 Infrared Receiver
The F3 infrared receiver is perfect for projects requiring bidirectional communication with remotely controlled devices. It is suitable for both beginners and more experienced makers.
What you need
- Arduino Uno or compatible
- USB cable
- LED (optional)
- 220 ohm resistor (optional)
Steps
- Connect the VCC pin of the receiver to the +5V of the Arduino.
- Connect the GND pin of the receiver to the ground (-) of the Arduino.
- Connect the data output (OUT) of the receiver to a digital pin of the Arduino, for example pin 2.
- Check the datasheet to see if it is necessary to connect a resistor between the output port and the digital switch to limit the current.
- Download the provided sketch to the Arduino IDE.
- Open the Serial Monitor of the Arduino IDE at 9600 baud.
- Send an infrared signal to the receiver (for example using a remote control) and observe the output on the serial monitor.
Example code
void setup() {
Serial.begin(9600);
pinMode(2, INPUT); // Configura il pin 2 come input
}

void loop() {
if (digitalRead(2) == HIGH) {
Serial.println("Segnale ricevuto");
}
}
Mini project
Create a home alarm system that sends a signal to the infrared receiver when the remote control is pressed, activating a series of LEDs.
Common mistakes
- Do not connect the voltage and ground correctly.
- Omit the use of the serial monitor to display the received data.
- Ignore the datasheet specifications regarding the resistance required between the output pin and a digital switch.
Recommended accessories
- Infrared remote control
- RGB LED
- Variable resistors
Frequently asked questions
How can I verify if the receiver is working correctly?
Check the power supply voltage and connect an LED with a resistor between the receiver output and GND to visualize the signals.
Can I use this receiver with other microcontrollers besides Arduino?
Yes, but make sure the microcontroller has the correct power supply voltage and a spare digital pin available.
Reviews
There are no reviews yet.