 EN
 IT Italiano
 ES Español
 FR Français
 DE Deutsch
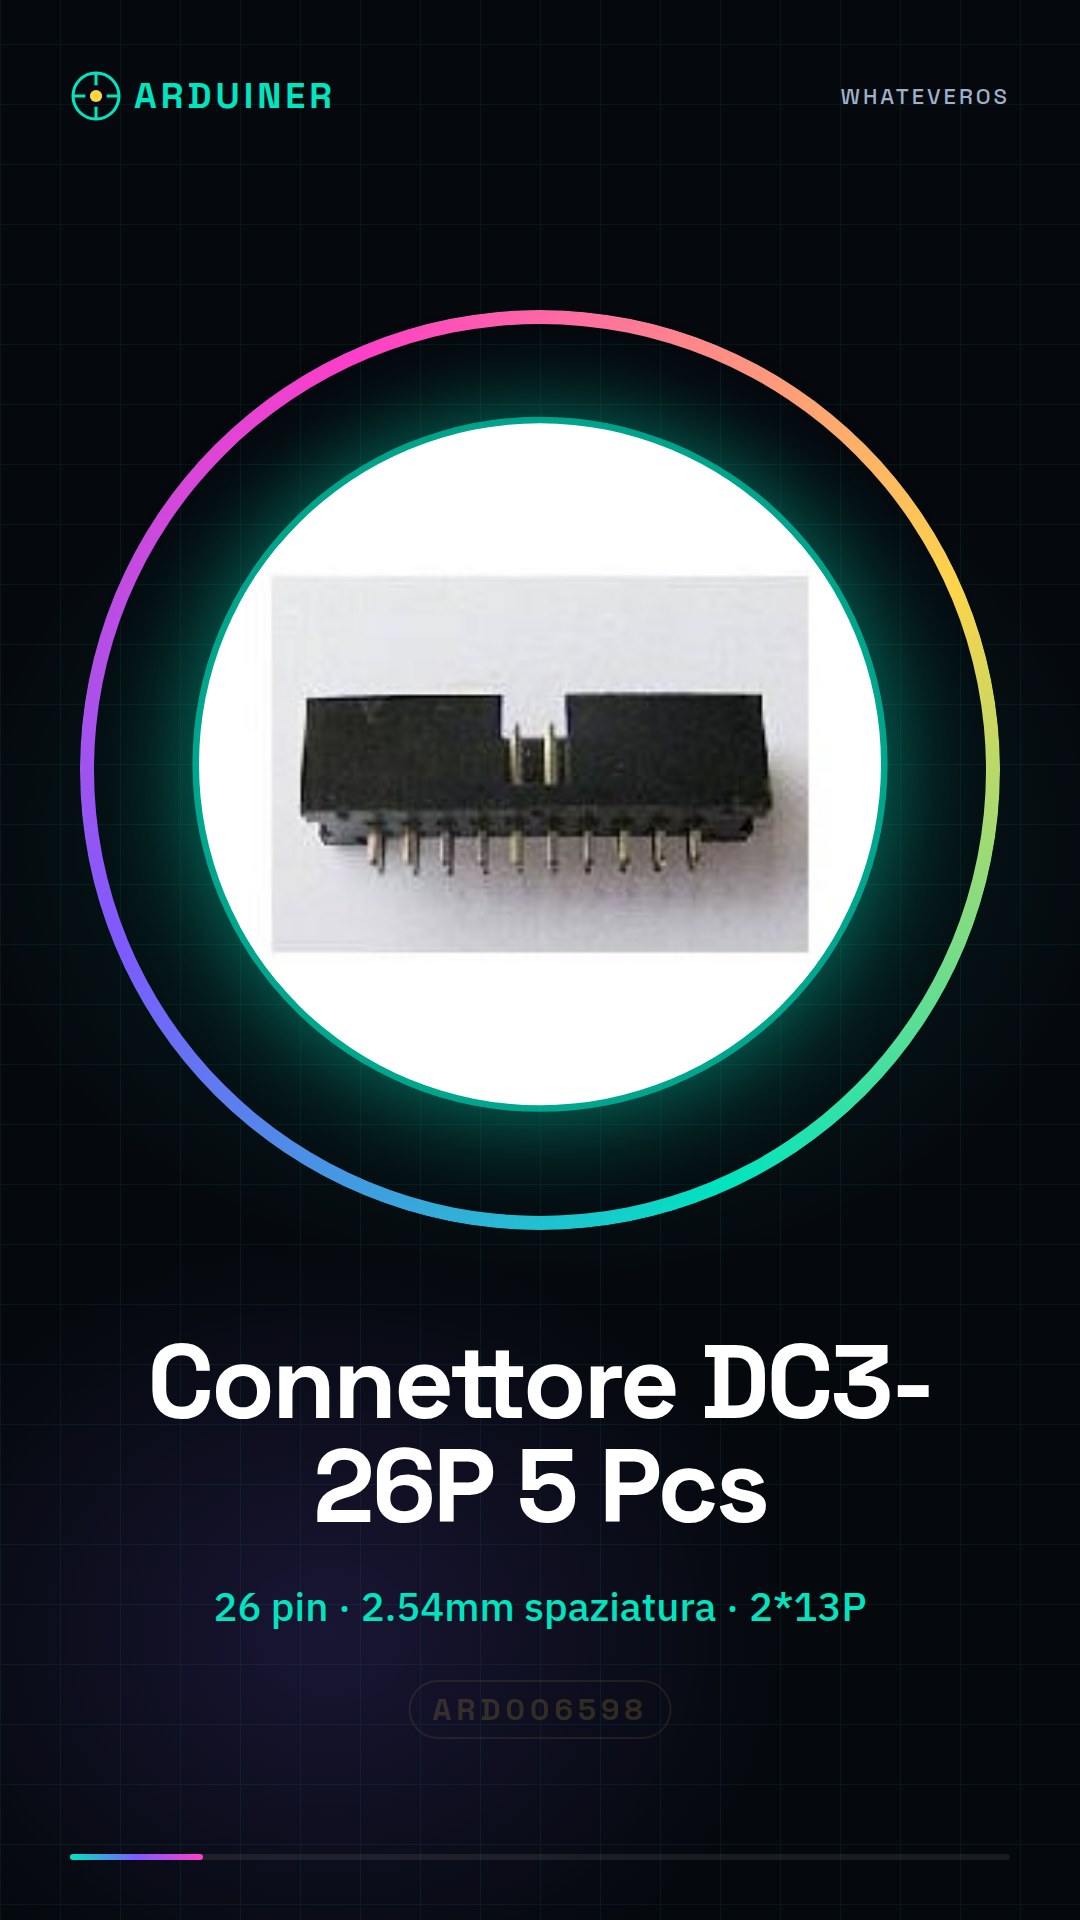
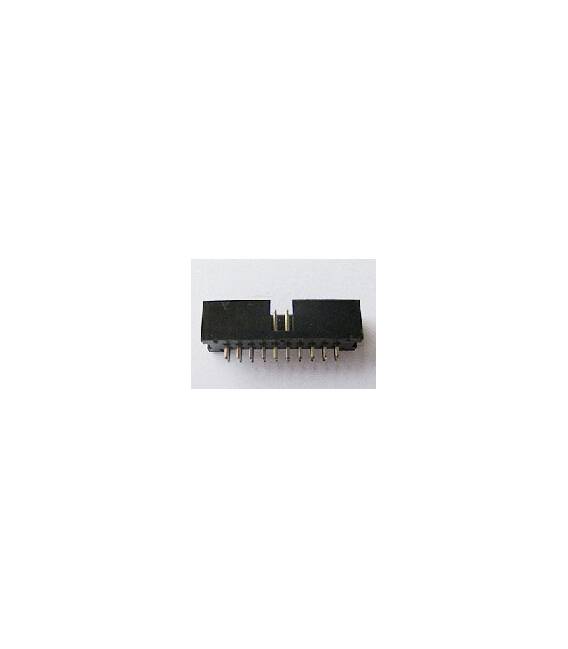
Description
Tutorial: How to Use DC3-26P Socket Connector
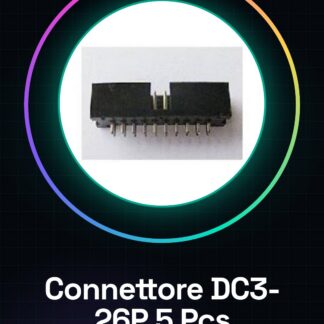
The DC3-26P socket connector is an essential component for electronics enthusiasts working with microcontrollers. It primarily serves to facilitate the connection of JTAG or ISP boards, allowing access to the microcontroller pins without damaging them.
What you need
- Arduino or other microcontroller
- JTAG/ISP cable
- Soldering tweezers
Steps
- Check that the DC3-26P connector is compatible with the target board.
- Position the connector on the side of the board where the pins to be connected are located, ensuring that the contact lines are properly aligned.
- Solder each contact point delicately with a minimum amount of solder to ensure a good electrical connection.
- Verify the soldering on the DC3-26P connector datasheet, ensuring there are no short circuits or breaks.
- Connect the JTAG/ISP cable to the newly installed socket connector and to your computer via a USB adapter.
- Open your preferred development IDE (e.g., Arduino IDE) and upload a test sketch to verify that everything is correctly connected.
Mini project
Create a simple JTAG/ISP interface for your microcontroller, allowing programming from a computer.
Common mistakes
- Insufficient or excessive soldering
- Incorrect placement of the connector
- Unstable connection between cable and connector
Recommended accessories
- JTAG/ISP cable
- Soldering iron
- Electronic test kit
- Arduino Uno R3
Frequently asked questions
Which microcontrollers are compatible with this connector?
Check the datasheet of the DC3-26P connector.
How can I verify that the connector is correctly installed?
Try to upload a test sketch using your development IDE.
Reviews
There are no reviews yet.