 EN
 IT Italiano
 ES Español
 FR Français
 DE Deutsch
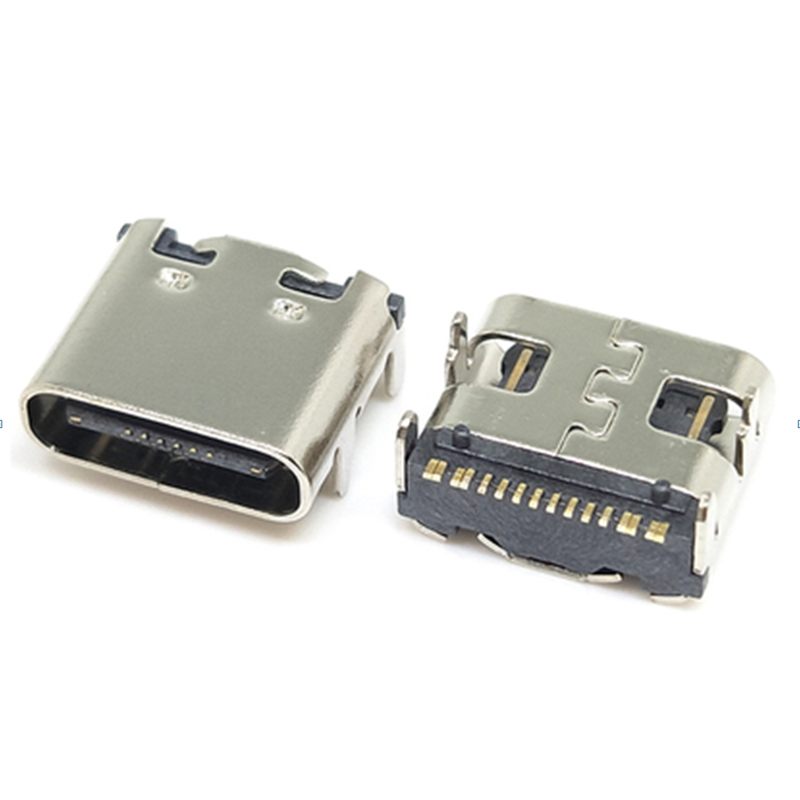
Description
Tutorial: How to use the 16P USB-C Connector The 16P USB-C connector is essential for connecting devices requiring USB 3.1 connectivity. This component is ideal for makers designing or modifying devices that need fast and reliable connections.
Materials Needed:
– Arduino Cavo USB-C Pinza di prensaggio Multimetro Resistenza pull-up (check datasheet)
Steps:
– Install the USB-C connector on the PCB support
– Verify pin positions using a multimeter
– Connect USB-C connector pins to appropriate Arduino pins
– Test connectivity with an application or sketch
– Protect connections with resin coating
Example Code:
void setup() {
Serial.begin(9600);
pinMode(2, INPUT_PULLUP); // Check datasheet for pull-up resistor value
}
void loop() {
if (digitalRead(2) == LOW) {
Serial.println(“USB-C connected”);
}
}
Mini Project:
Create a fast charging system for a USB-C device using an Arduino and the 16P USB-C connector. The project takes about 30 minutes to complete.
Common Mistakes:
– Connecting the USB-C connector to the wrong pin on the Arduino
– Not verifying connectivity before use
– Using incorrect pull-up resistor values
– Failing to protect connections
Recommended Accessories:
– Pull-up resistors
– PCB support
– Resin for protecting connections
– Electronic test kit
FAQ:
What is the difference between USB-C and USB-A?
USB-C is a newer connector type that supports both USB 2.0 and USB 3.1, whereas USB-A is older and does not support USB 3.1.
How can I protect connections?
Use resin or potting compound to protect connections from damage.
Which pins of the USB-C connector should I connect?
Check the USB-C connector datasheet for specific pin requirements.

Reviews
There are no reviews yet.