 EN
 IT Italiano
 ES Español
 FR Français
 DE Deutsch
Description
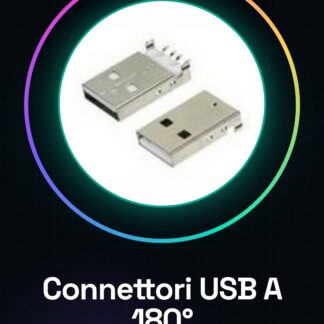
Tutorial: How to Use 180 Degree Bent Male USB A Connector
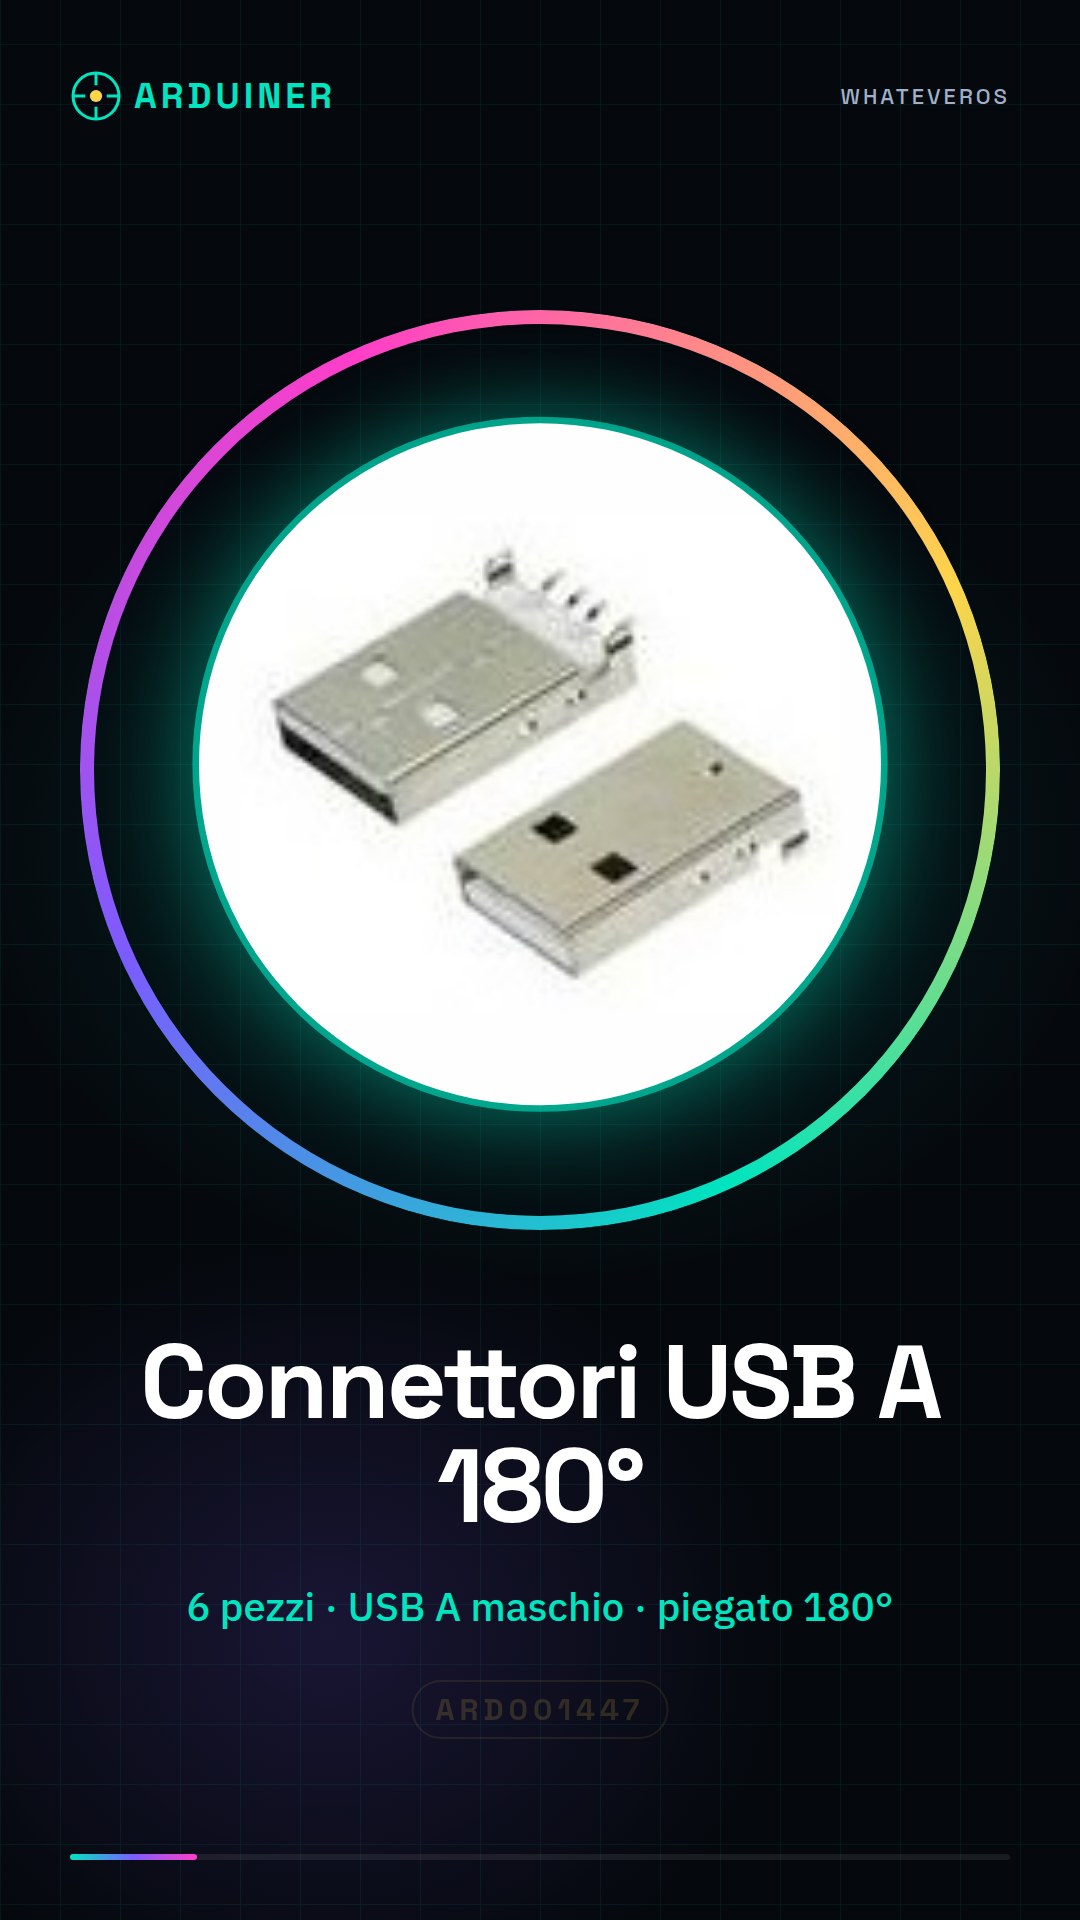
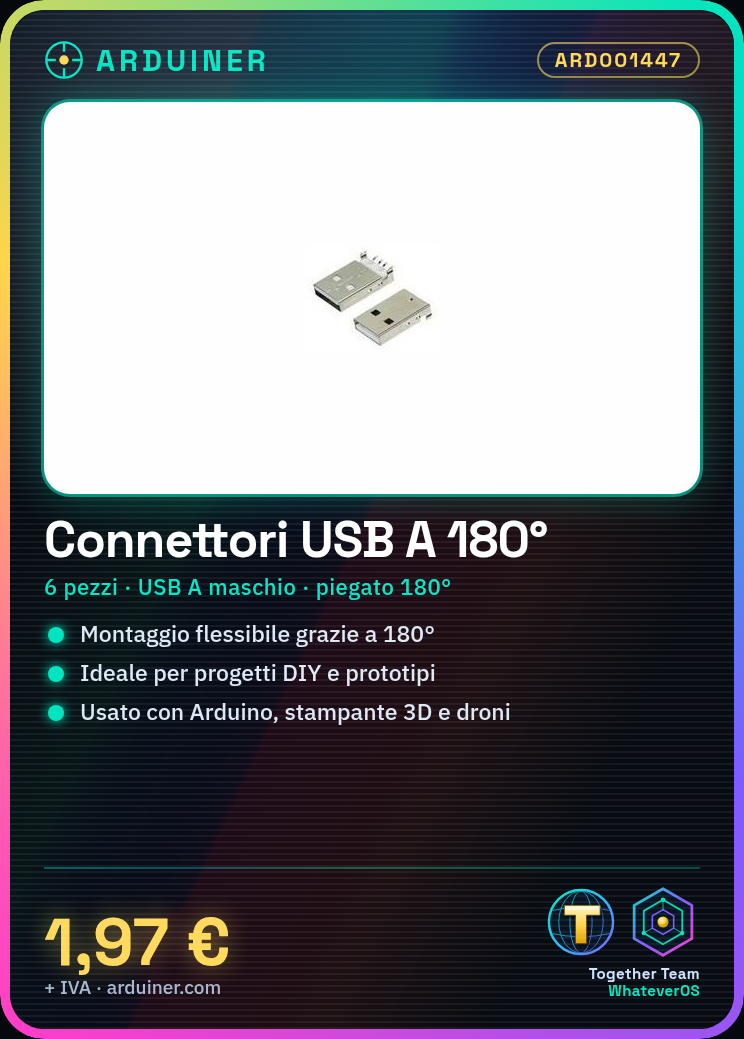
The 180 degree bent male USB A connector is a useful component for DIY projects that require flexible cable mounting. Ideal for makers and prototype builders.
What you need
- Arduino project
- 3D printer
- drones
Steps
- Check the datasheet for the specifications of the 180 degree bent male USB A connector.
- Prepare the side of the PCB or 3D print where the connector will be applied.
- Place the connector in the desired location, ensuring it is perfectly aligned with the mounting plate.
- Secure the connector using the provided screws or another appropriate method for your configuration.
- Verify the installation by checking that no part of the connector is lifting off the PCB.
- If necessary, connect the wires to the connector following the instructions in the datasheet.
- Test the connector with a USB device to ensure it works correctly.
- Insert the connector into the project and test it.
Mini project
Create a 3D printer prototype with network access via a 180° bent USB A connector. The project takes approximately 30 minutes.
Common mistakes
- Do not check the specifications on the datasheet before installation.
- Mount the connector without ensuring it is perfectly aligned with the mounting plate.
- Insert the cables incorrectly or reverse the connector pins.
- Do not test the connector after installation.
Recommended accessories
- USB A-Micro B cable
- Kit of screws and bolts for PCB mounting
- 3D printer compatible with Arduino
- Arduino Uno R3
Frequently asked questions
Is the connector universal?
Check the datasheet to verify if the connector is compatible with your devices.
Can I bend the connector further after installation?
Do not bend the connector further once installed to avoid damage.

Reviews
There are no reviews yet.