 EN
 IT Italiano
 ES Español
 FR Français
 DE Deutsch

Description
Technical Description
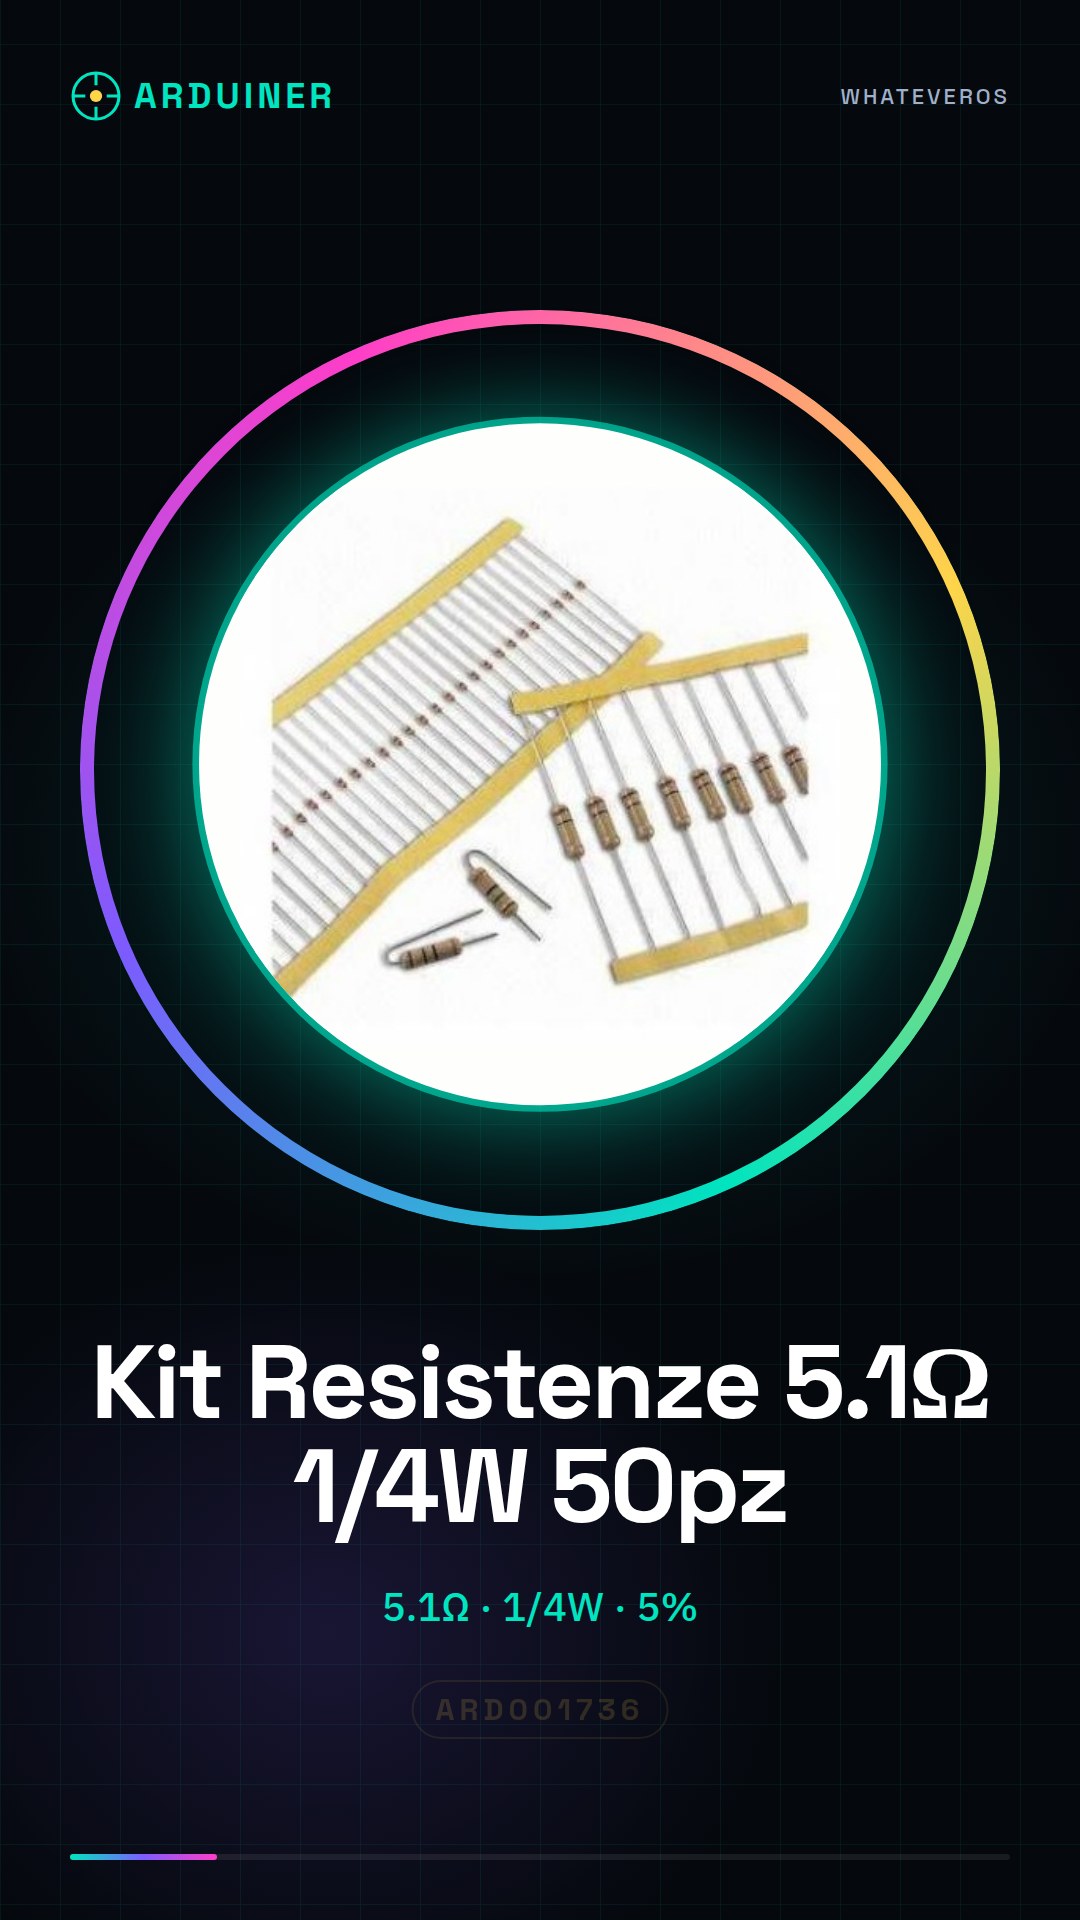
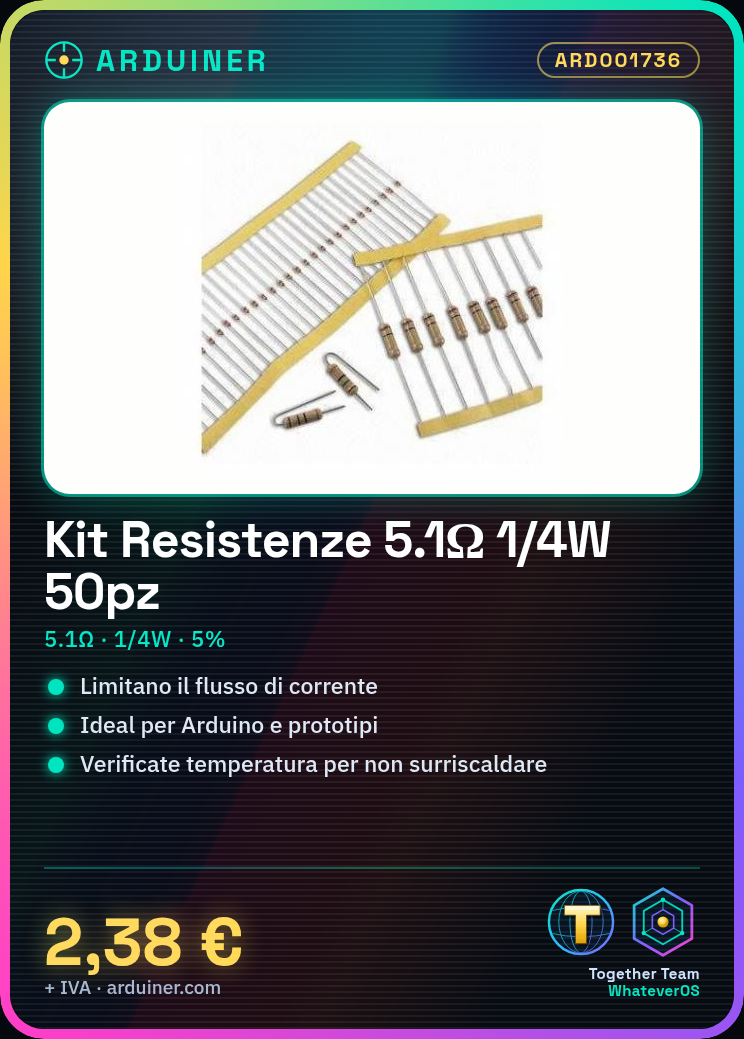
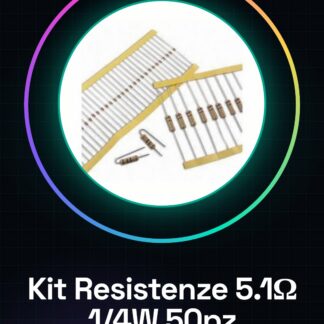
The 5.1 Ohm 1/4W 5% Resistor Kit contains 50 pieces of resistors with a tolerance of 5%. These resistors are used to limit the flow of current in electronic circuits, ensuring that current values do not exceed the set limits. The maximum power of each resistor is 1/4 Watt, which means they must be used under load conditions that do not exceed this power to prevent overheating.
To ensure the proper use of resistors, it is necessary to verify the resistance value before installation using a multimeter. Additionally, it is important to monitor the temperature during use to ensure it does not exceed 70°C, which is the safety limit for a resistor with a maximum power of 1/4 Watt.
Key Specifications
| Parameter | Value |
| Model | 5.1 Ohm 1/4W 5% Resistor Kit |
| Quantity | 50 pieces |
| Resistance Value | 5.1 Ohm |
| Tolerance | 5% |
| Maximum Power | 1/4W |
| Dimensions | N/D (see manufacturer’s datasheet) |
| Container | N/D (see manufacturer’s datasheet) |
Installation and Usage
- Check the resistance value with a multimeter.
- Connect the resistor to the circuit using appropriate connectors.
- Ensure that the resistor does not exceed the maximum power of 1/4W during use.
- Monitor the temperature of the resistor to ensure it does not exceed 70°C.
- If necessary, use resistors in series or parallel to obtain the desired values.
Compatibility and Requirements
- This kit is compatible with Arduino circuits and other electronic systems.
- A multimeter is required to check the resistance value.
- A connector kit is required to connect the resistors to the circuit.
Important Limits and Notes
- It is not possible to use the resistor above its maximum power rating of 1/4W.
- It is necessary to verify the value of the resistor before installation.
- Do not use Ohm’s calculations without first verifying the value of the resistor.
- Ensure that the resistor’s temperature does not exceed 70°C during use.
Troubleshooting
The resistor does not properly limit the current.
Probable cause: The value of the resistor is incorrect.
Solution: Verify the value of the resistor with a multimeter and replace the resistor if necessary.
The resistor overheats.
Probable cause: The resistor is used above its maximum power rating.
Solution: Reduce the power of the circuit or use a resistor with a higher power rating.
The value of the resistor measured with a multimeter is different from the specified value.
Probable cause: The tolerance of the resistor can cause small variations.
Solution: Check the value of the resistor with a precision multimeter.
The resistor is not functioning correctly.
Probable cause: The resistor may be damaged.
Solution: Replace the resistor with a new one of the same value.
Use cases
Home alarm sensor
Objective: Limit the current to protect the sensor.
Required: 5.1 Ohm Resistors Kit 1/4W 5%
Steps: 1) Check the value of the resistor. 2) Connect the resistor to the sensor circuit. 3) Check the temperature of the resistor during use.
Expected result: The sensor functions correctly without overheating.
Arduino lighting project
Objective: Limit the current to protect the LEDs.
Required: 5.1 Ohm Resistors Kit 1/4W 5%
Steps: 1) Check the resistance value. 2) Connect the resistance to the LEDs. 3) Check the temperature of the resistance during use.
Expected result: The LEDs light up correctly without damage.
Home Automation Project
Objective: Limit the current to protect the relays.
Required: 5.1 Ohm 1/4W 5% Resistance Kit
Steps: 1) Check the resistance value. 2) Connect the resistance to the relays. 3) Check the temperature of the resistance during use.
Expected result: The relays work correctly without overheating.
Electronic Testing Project
Objective: Verify the value of the resistance.
Required: 5.1 Ohm 1/4W 5% Resistance Kit
Steps: 1) Check the resistance value with a multimeter. 2) Connect the resistance to the circuit. 3) Check the temperature of the resistance during use.
Expected result: The resistance value is correct and the circuit functions properly.
Arduino Prototyping Project
Objective: Limit the current to protect the components.
What’s needed: 5.1 Ohm 1/4W 5% Resistance Kit
Steps: 1) Check the resistance value. 2) Connect the resistance to the components. 3) Check the resistance temperature during use.
Expected result: The components function correctly without damage.
School Laboratory Project
Objective: Limit the current to protect the components.
What’s needed: 5.1 Ohm 1/4W 5% Resistance Kit
Steps: 1) Check the resistance value. 2) Connect the resistance to the components. 3) Check the resistance temperature during use.
Expected result: The components function correctly without damage.
Electronic Maintenance Project
Objective: Verify the resistance value.
What’s needed: 5.1 Ohm 1/4W 5% Resistor Kit
Steps: 1) Check the value of the resistor with a multimeter. 2) Connect the resistor to the circuit. 3) Check the temperature of the resistor during use.
Expected result: The value of the resistor is correct and the circuit works properly.
Electronic Repair Project
Objective: Replace a damaged resistor.
What’s needed: 5.1 Ohm 1/4W 5% Resistor Kit
Steps: 1) Check the value of the resistor. 2) Replace the damaged resistor. 3) Check the temperature of the resistor during use.
Expected result: The circuit works properly after replacing the resistor.
In the package
- 50 pieces
Complete the project
- 50 Pieces Resistor, 10000 ohm, 10k, ohm 1/4w 1/4 w 5%, Arduino Compatible Resistors: Used to check the value of the resistor during installation.
Technical FAQs
What is the maximum power I can use with these resistors?
The maximum power for each resistor in the kit is 1/4 Watt.
How do I check the value of the resistor?
Use a multimeter in ohmmeter mode to measure the actual resistance.
What are the temperature limits for these resistors?
The maximum temperature for these resistors is 70°C.
How can I use resistors in series or in parallel?
Use resistors in series to obtain higher values or in parallel to reduce the value.
Tutorial: How to use 5.1 Ohm Resistor Kit
Resistors are fundamental components for limiting the flow of current in an electronic circuit. This kit, consisting of 50 pieces of 5.1 Ohm resistors with a maximum power of 1/4 Watt, is ideal for Arduino projects and prototypes.
What you need
- Arduino Uno
- Arduino IDE firmware installed
- Connector Kit
Steps
- Check the datasheet for the specific resistance of the component (in this case, it should be 5.1 Ohm).
- Connect the connector kit to your electronic project.
- Use resistors to properly limit the input or output of a circuit.
- Check the temperature of the component during use, ensuring it does not exceed 70°C (for a maximum power of 1/4 Watt).
- If necessary, use resistors in series to obtain higher values or in parallel to reduce the value.
- Test the resistance with a multimeter to verify that it is at the correct value before installation.
Mini project
Create a simple lighting circuit controlled by Arduino, using an LED bulb and the resistors from the kit as a current limiter.
Common mistakes
- Use the resistor above its maximum power rating
- Connect the component without verifying the value with a multimeter
- Do not use Ohm’s law to correctly determine the value of the resistance
Recommended accessories
- Male Female Connector Kit
- Arduino Uno R3
- Digital Multimeter
Frequently asked questions
What is the maximum power I can use with these resistors?
The maximum power for each resistor in the kit is 1/4 Watt.
How do I verify the value of the resistor?
Use a multimeter in ohmmeter mode to measure the actual resistance.

Reviews
There are no reviews yet.