 EN
 IT Italiano
 ES Español
 FR Français
 DE Deutsch
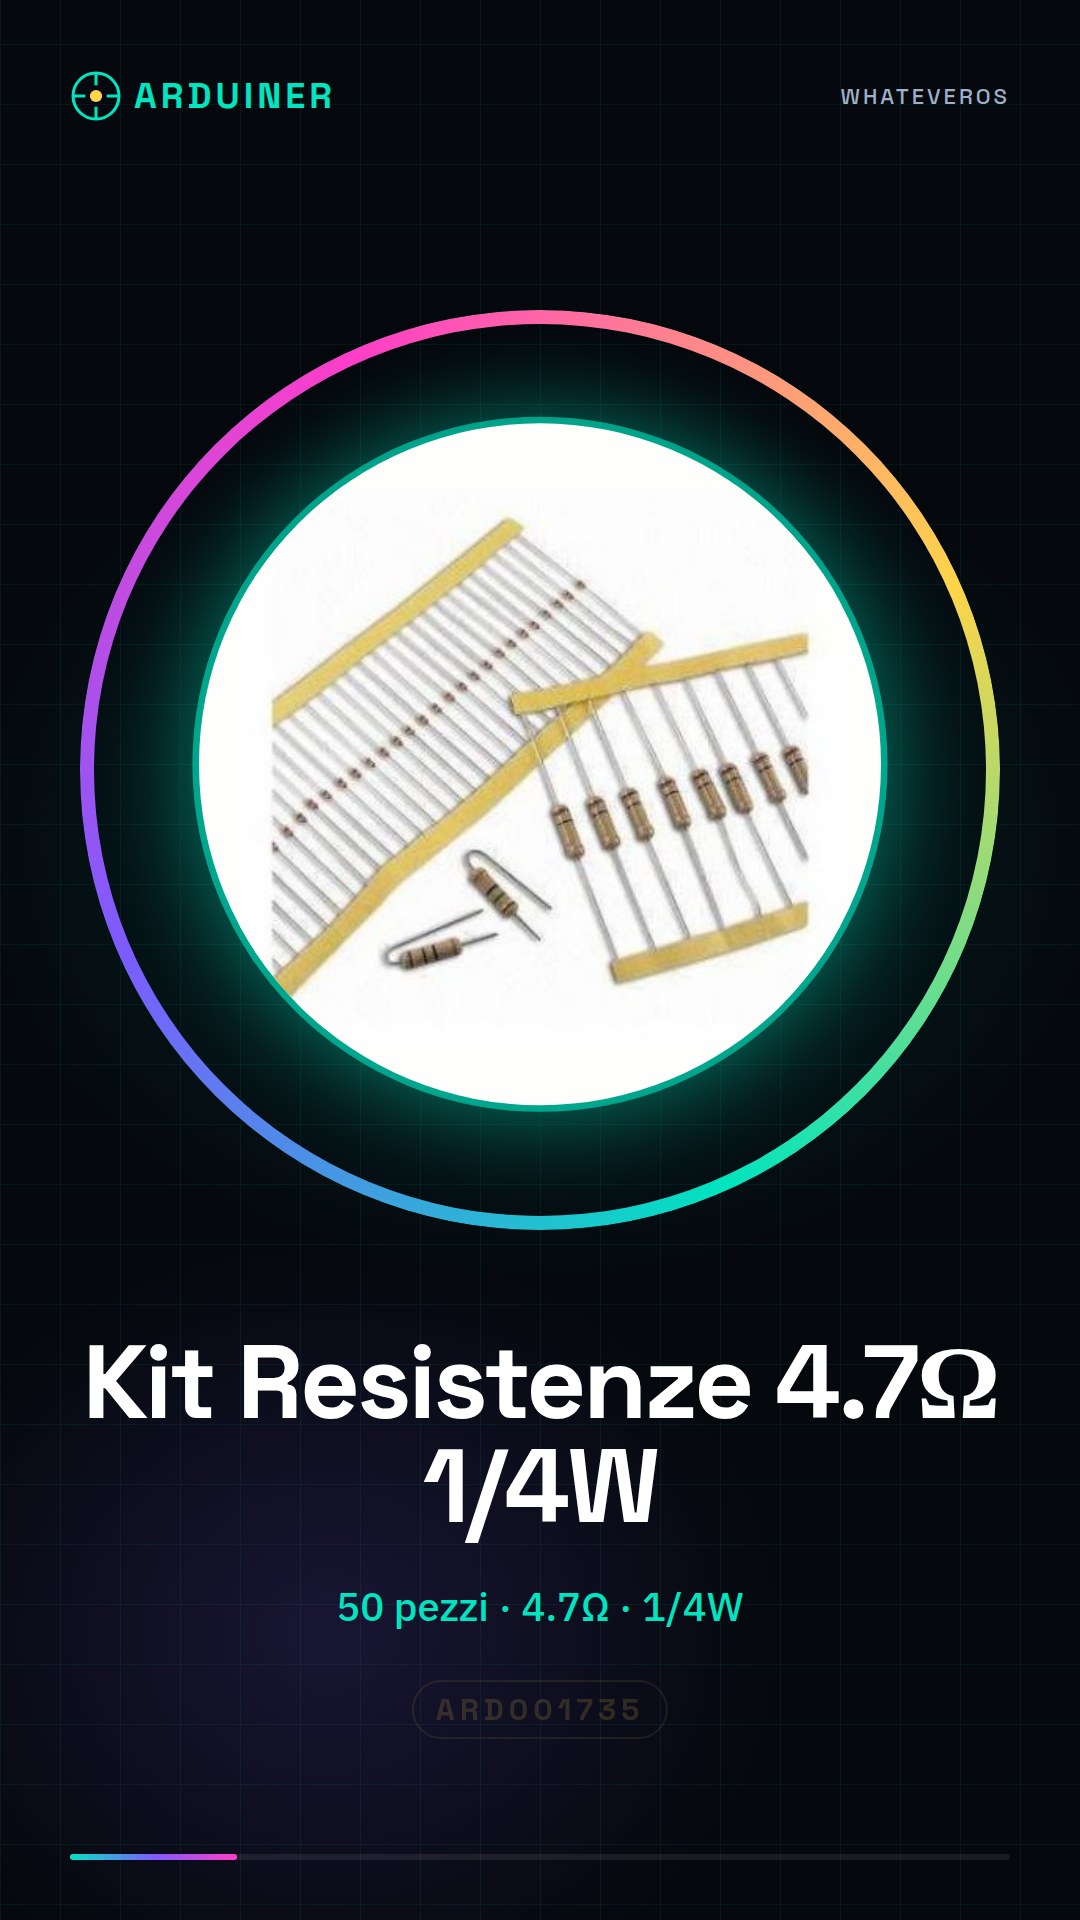
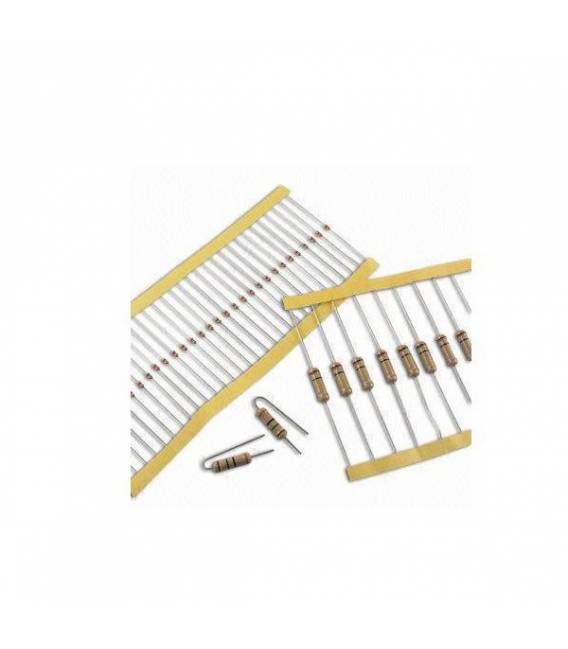
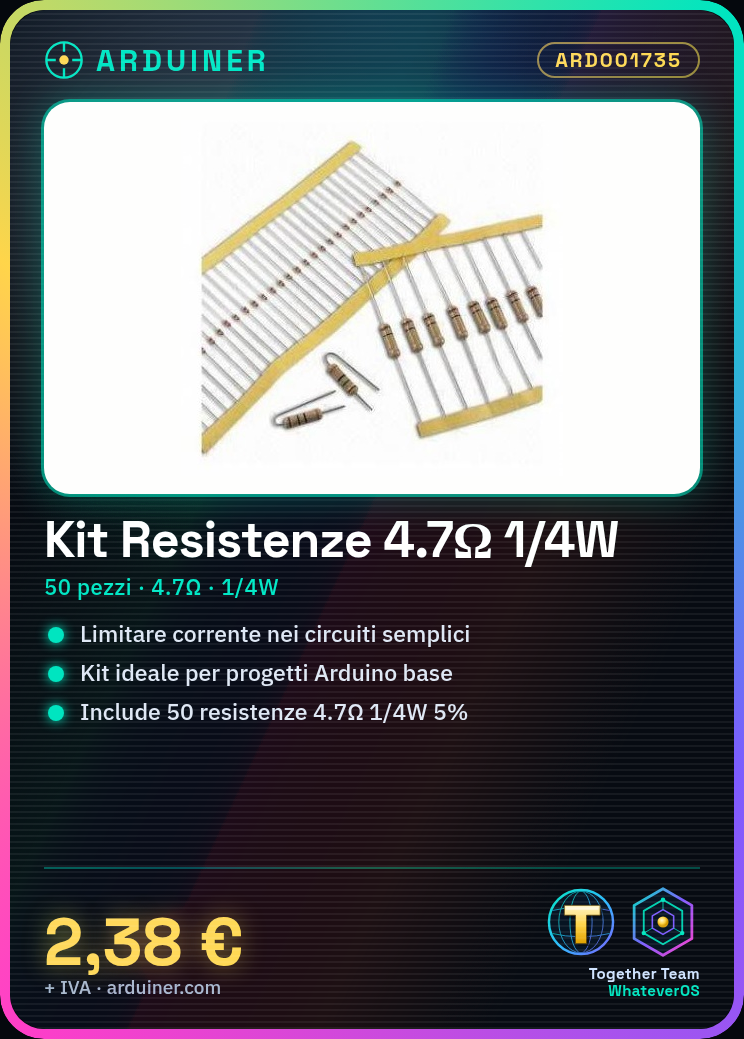
Description
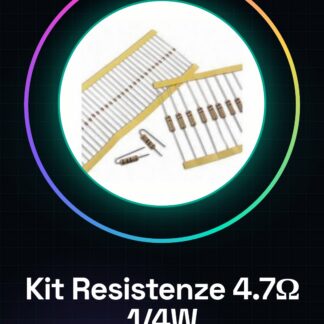
Tutorial: How to Use the 4.7 Ohm Resistor Kit
The 4.7 Ohm resistor kit is a fundamental component for electronic projects, particularly useful for beginners learning to work with simple circuits.
What you need
- Arduino Projects
- Prototype Circuits
- Current Flow Regulation
Steps
- Check the datasheet for the specific resistance and maximum allowed power for each resistor in the kit.
- Select a resistor from the kit based on the project requirements.
- Connect one end of a wire to one terminal of the resistor.
- Connect the other end of the wire to another resistor or to the electronic circuit.
- Verify the correct connection by using a multimeter to measure the resistance value.
- Repeat steps 2-4 to connect additional resistors from the kit as needed.
Mini project
Create a simple interrupt lamp with Arduino, using a resistor from the kit and an LED.
Common mistakes
- Connect the resistor incorrectly in the circuit.
- Use a resistor with an inappropriate value for the project.
- Do not check the connection before use.
Recommended accessories
- Arduino Starter Kit
- Multimeter Set
- 3D Print Case for Arduino
Frequently asked questions
What is the main use of these resistors?
These components are used to limit the electrical current in circuits, protecting other devices such as LEDs or sensors.
How can I verify the value of the resistor?
Use a multimeter to measure the exact resistance value.
Reviews
There are no reviews yet.