 EN
 IT Italiano
 ES Español
 FR Français
 DE Deutsch
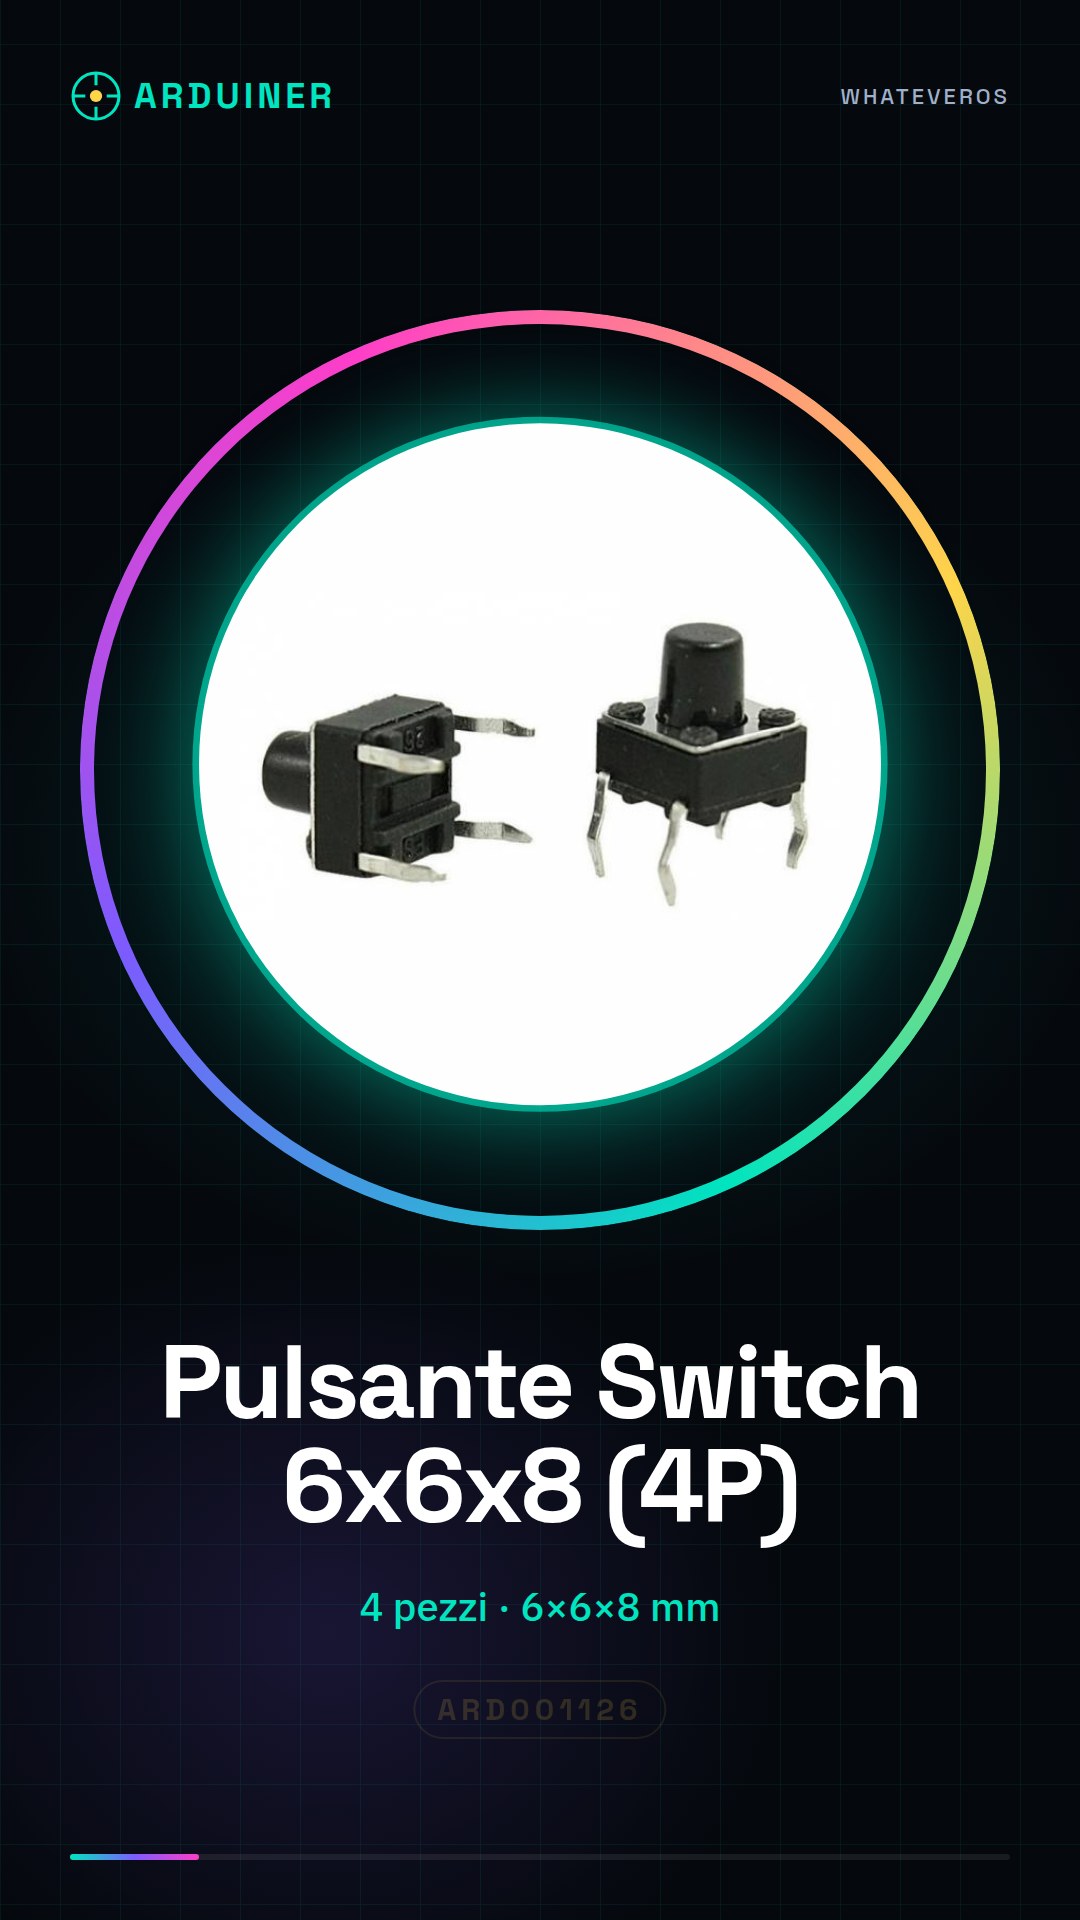
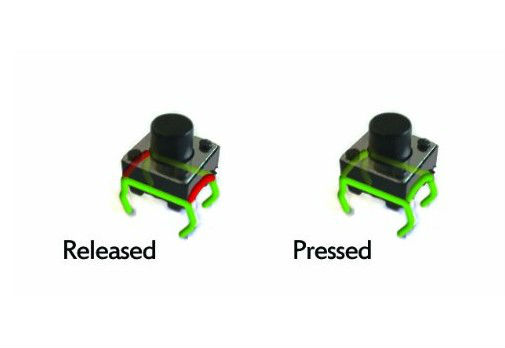
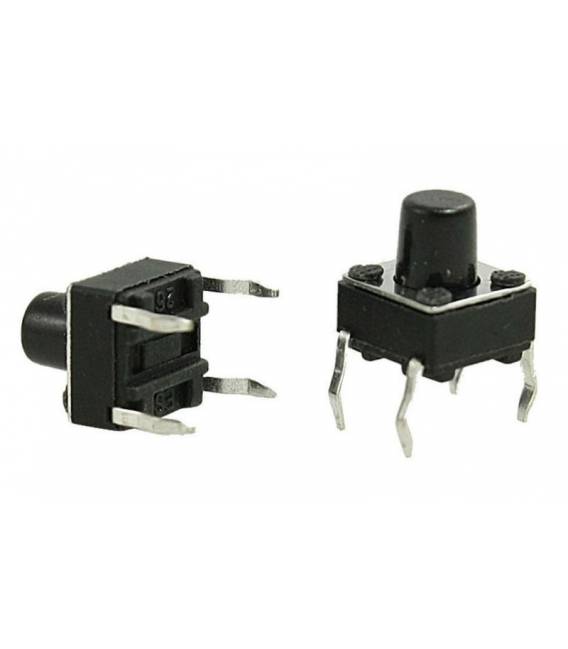
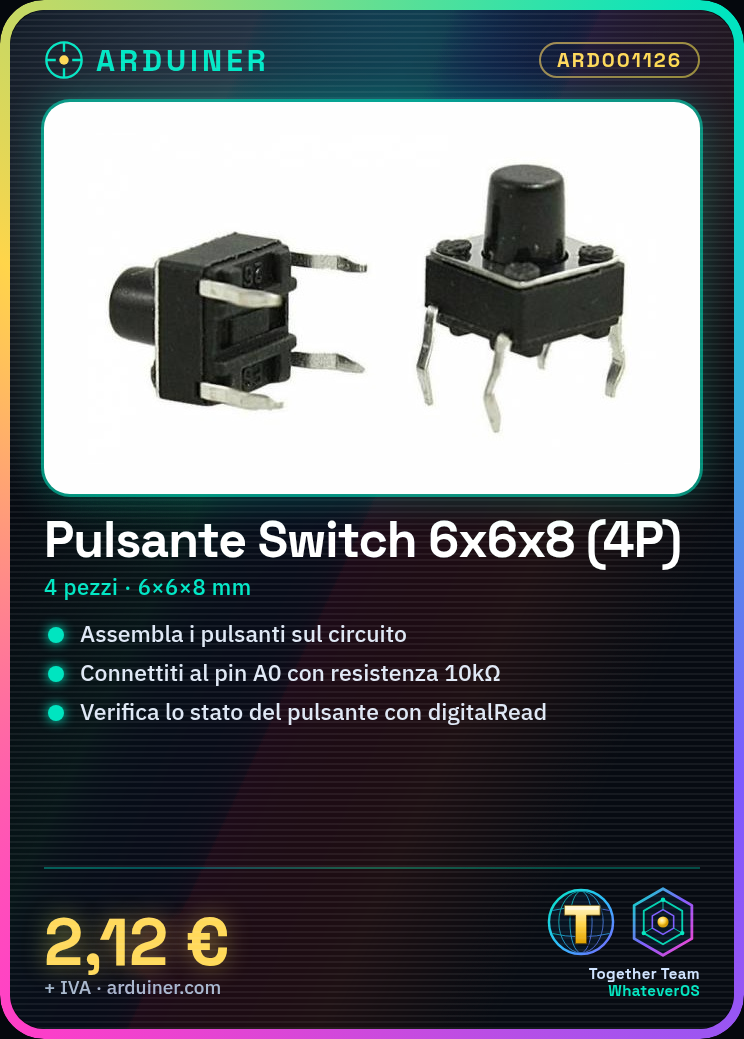
Description
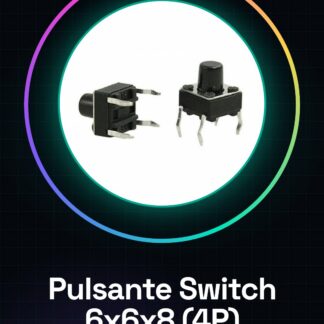
Tutorial: How to Use 4 Push Button Switches 6 * 6 * 8 Normally Open Switch
This button is ideal for projects that require manual interaction as one learns electronics. Useful for beginners and intermediates.
What you need
- 4 push buttons
- Arduino
- Power cable
- 10kΩ resistor
Steps
- 1. Assemble the buttons on the circuit, making sure they are oriented correctly.
- 2. Connect a button to pin A0 of Arduino with the 10kΩ resistor in series.
- 3. Connect pin GND to the button.
- 4. Load the following code onto Arduino.
- 5. Check digital pin A0 to verify the state of the button.
- 6. Repeat for the remaining buttons.
- 7. Test your circuit.
- 8. Check the datasheet for further details.
Example code
```int pulsante = A0;void setup(){}void loop(){ int statoPulsante = digitalRead(pulsante); if (statoPulsante == HIGH) { Serial.println("Pulsante premuto"); }}```Mini project
Create a simple counter that increments every time a button is pressed.
Common mistakes
- Do not check the datasheet before starting.
- Connect the button without resistor.
- Forget to connect the GND.
- Set the wrong pin for the button.
Recommended accessories
- Arduino Uno
- USB cable
- 10kΩ resistor
- Multimeter
Frequently asked questions
How can I check the state of the button?
Use `digitalRead(button)` in an Arduino loop.
Can I use a button with a different power supply?
Check the datasheet for power supply requirements.
Does the button work with just one Arduino?
Yes, but make sure to connect GND and VCC correctly.
Reviews
There are no reviews yet.