 EN
 IT Italiano
 ES Español
 FR Français
 DE Deutsch


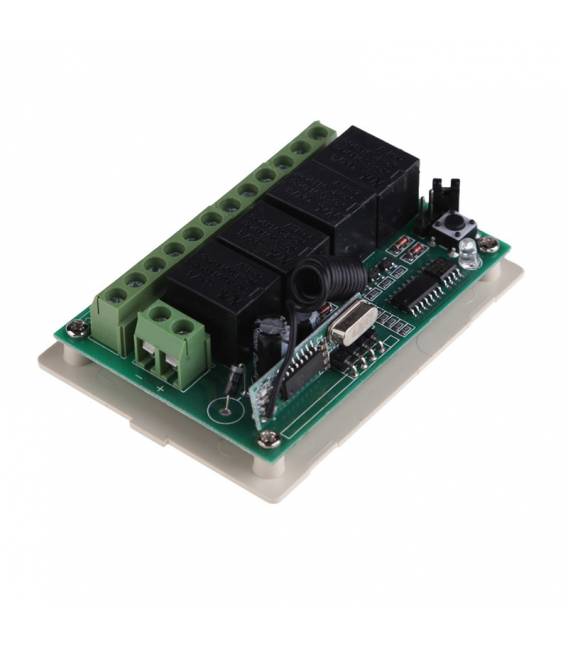
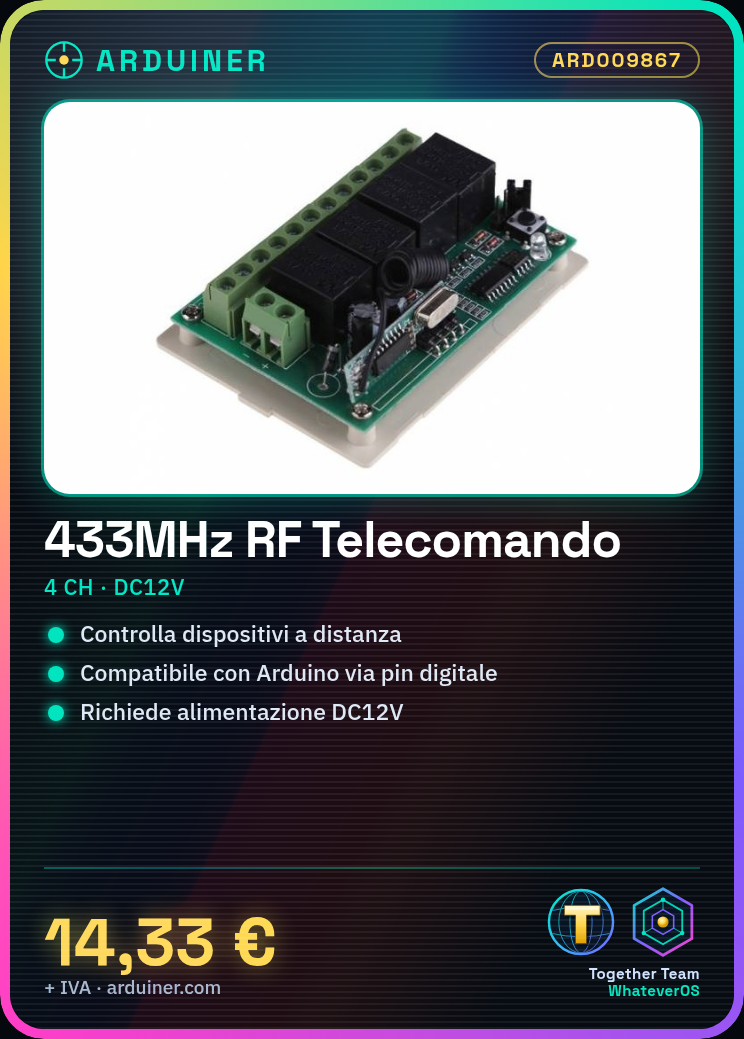
Description
Tutorial: How to Use the 433Mhz RF Wireless Remote Control
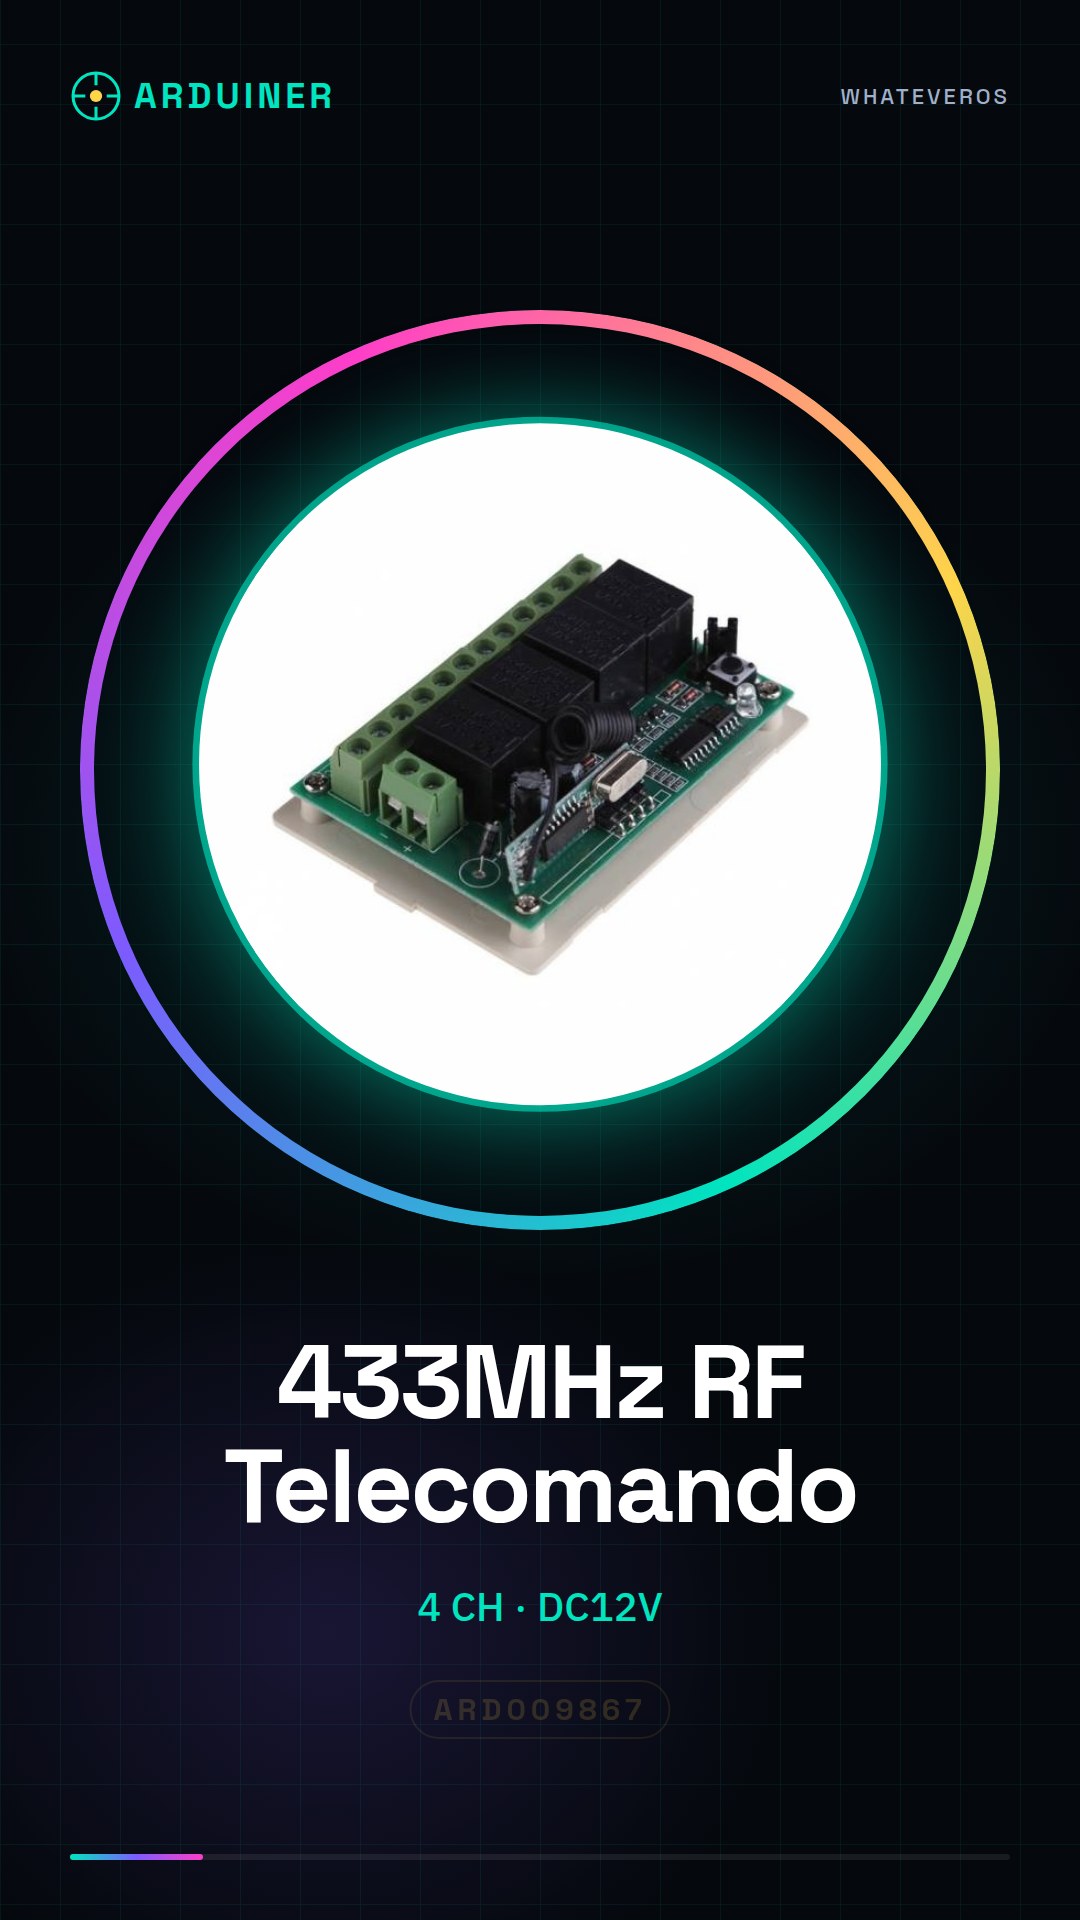
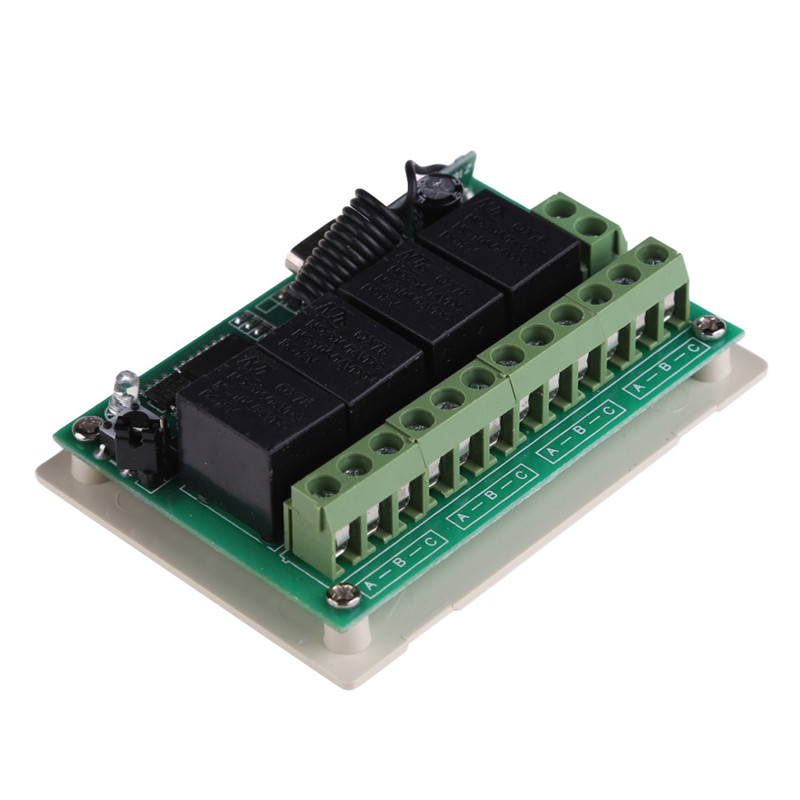
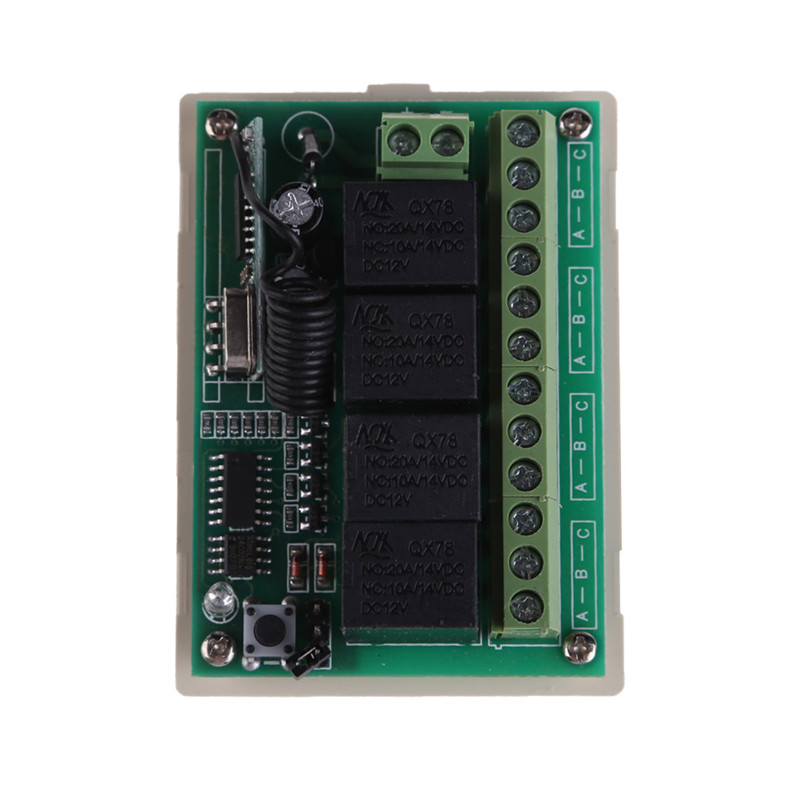
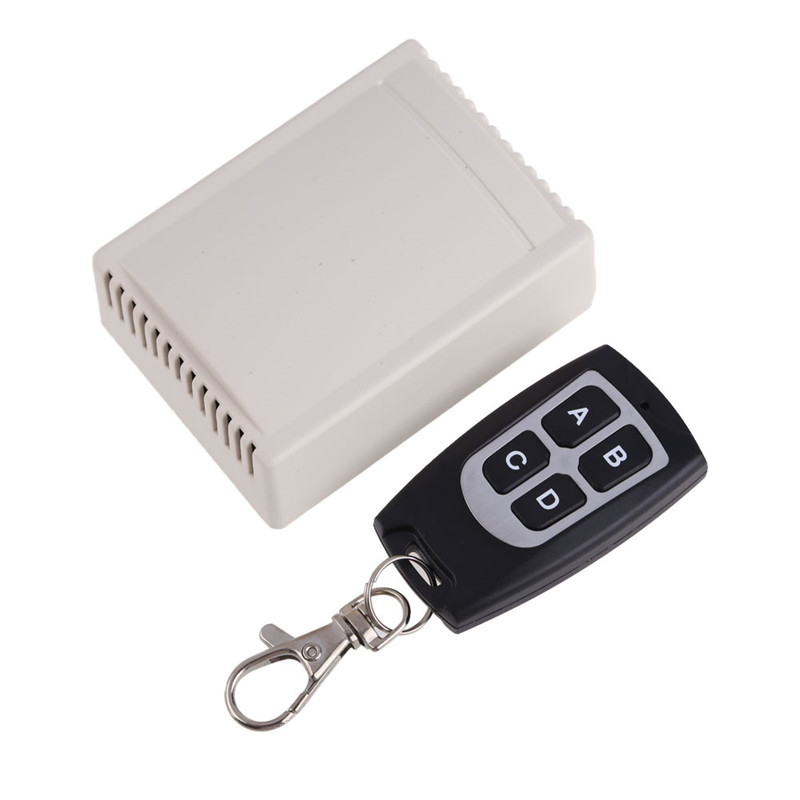
This universal remote control allows you to control devices at a distance using 433MHz RF technology. Ideal for DIY and beginner maker projects.
What you need
- 433MHz Remote Control
- 433MHz Receiver
- Arduino or microcontroller
- USB cable
Steps
- 1. Check the datasheet for the specifications of the remote control and the receiver.
- 2. Connect the 433MHz receiver to a digital pin on an Arduino.
- 3. Load the provided Arduino code.
- 4. Set the remote control to the desired channel.
- 5. Try sending a signal from the remote control.
- 6. Verify that the receiver has received the signal.
- 7. Adapt the Arduino code to control multiple devices.
- 8. Test the system with various commands.
Example code
```
#include <RF433.h>

RF433 rf433;

void setup() {
  Serial.begin(9600);
  pinMode(2, INPUT); // Pin del ricevitore
}

void loop() {
  if (rf433.available()) {
    Serial.println(rf433.decode());
  }
}
```
Mini project
Create a simple automatic lighting system. Connect a relay to an analog pin on an Arduino and control it with the remote control.
Common mistakes
- Set the remote control channel correctly.
- Check that the receiver and the remote control are compatible.
- Check the proper power supply for the receiver.
- Do not invent specifications that are not known.
Recommended accessories
- Relay
- Arduino Uno
- Universal 433MHz Remote Control
- 433MHz Receiver
Frequently asked questions
How to set the channel of the remote control?
Check the datasheet or follow the manufacturer’s instructions.
Does the remote control work with batteries?
Yes, the remote control can work with AA batteries.
Does the receiver need power?
Yes, the receiver requires a DC12V power supply.

Reviews
There are no reviews yet.