 EN
 IT Italiano
 ES Español
 FR Français
 DE Deutsch
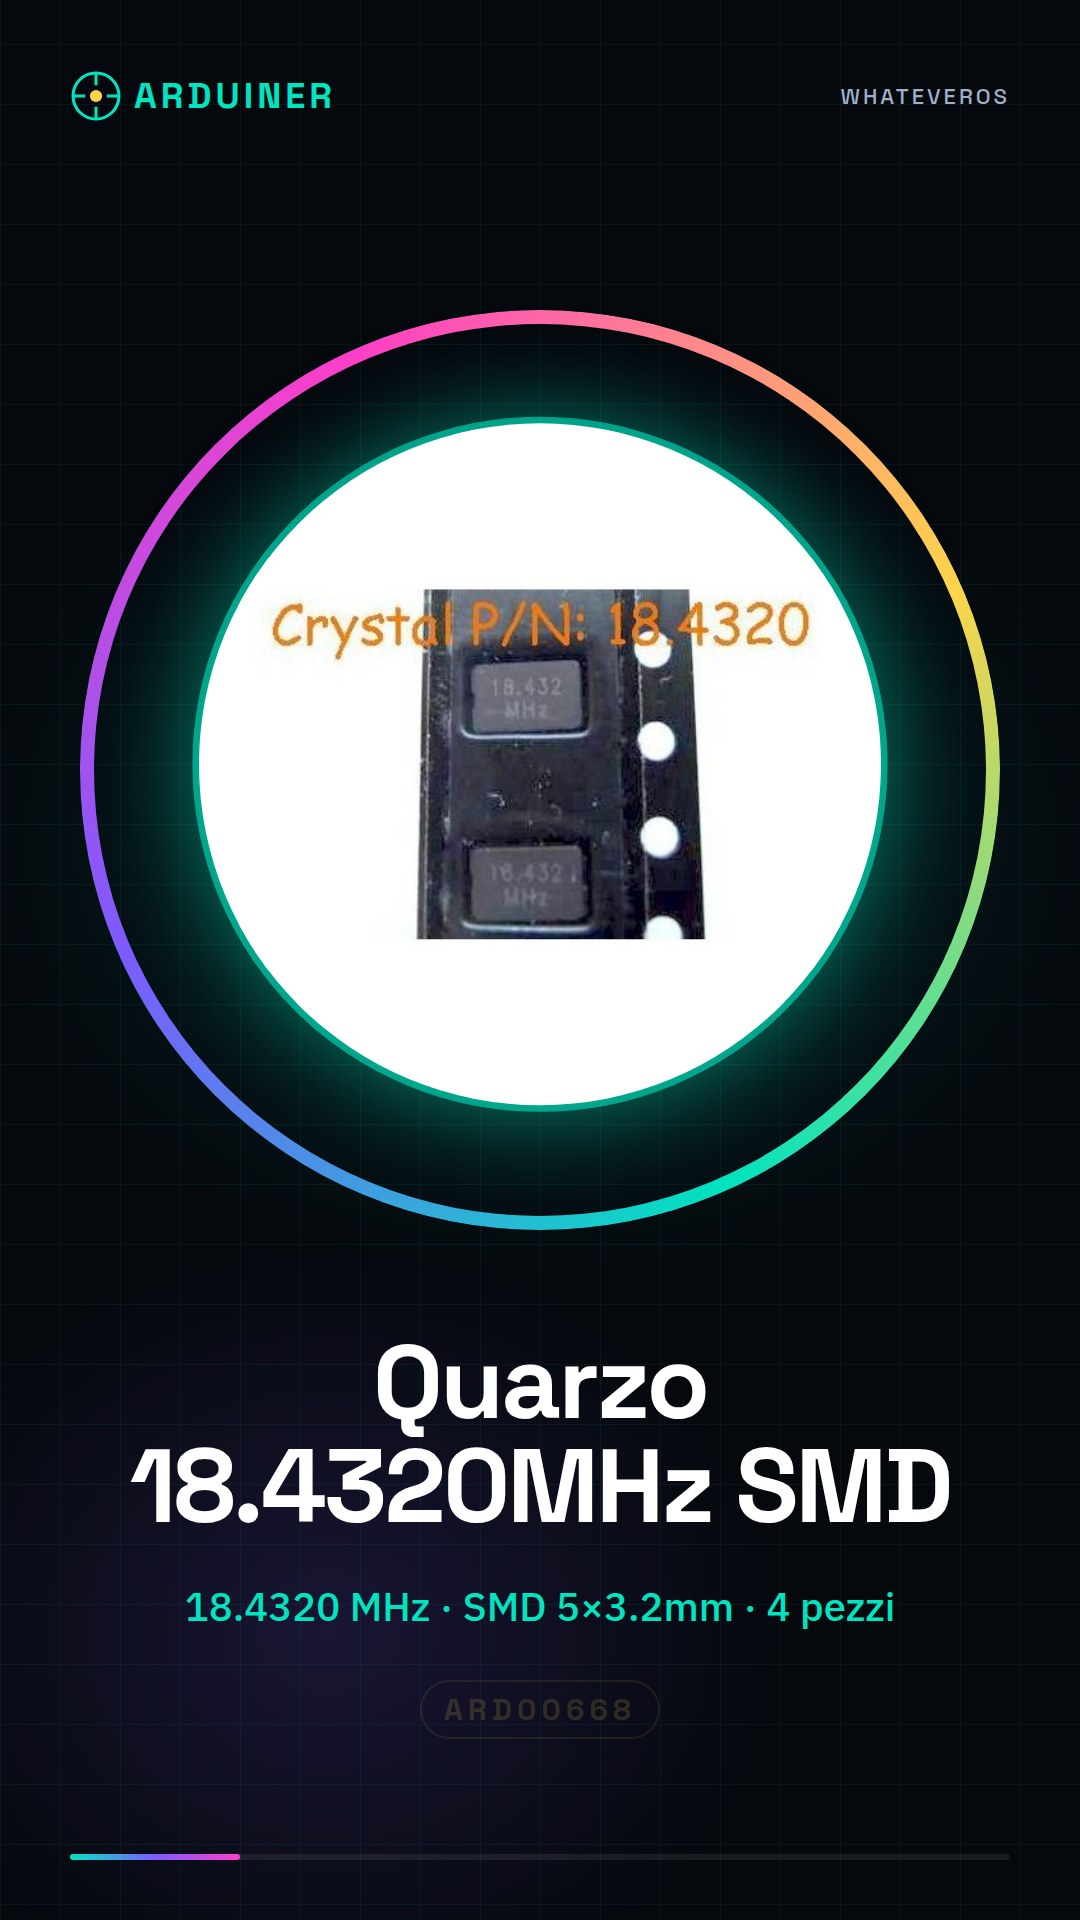
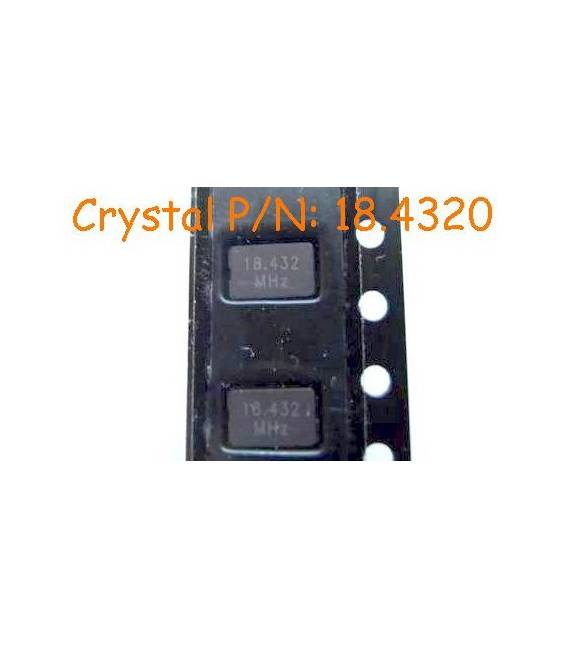
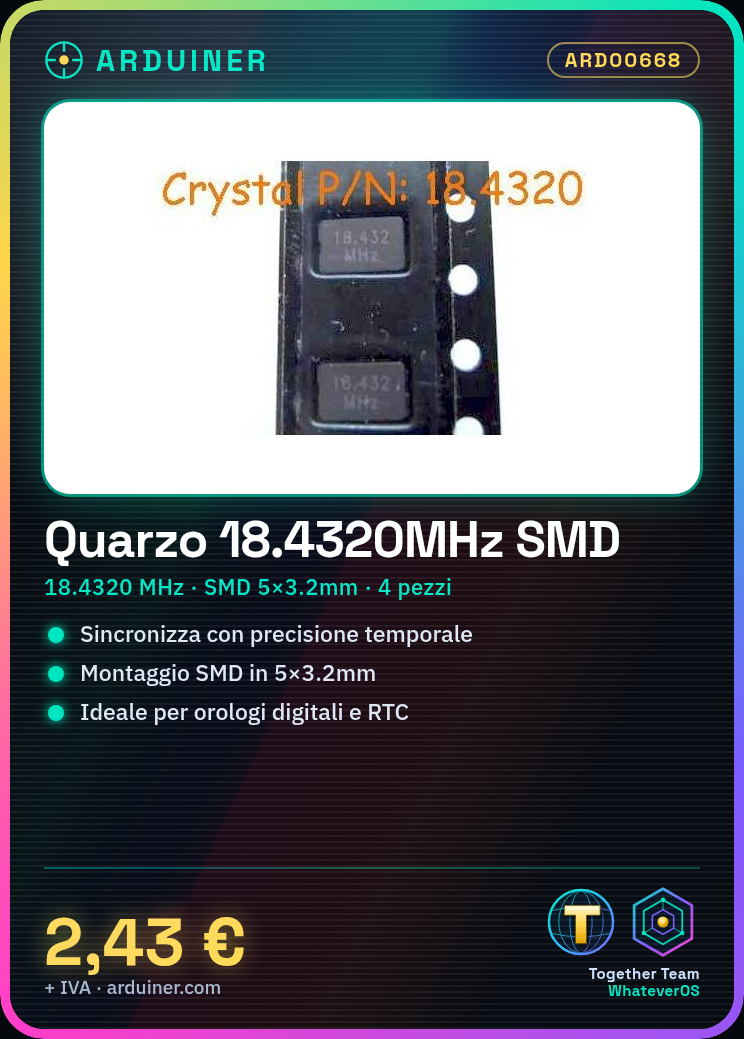
Description
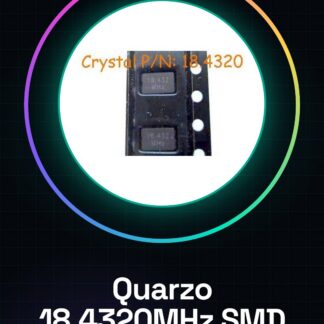
Tutorial: How to Use 18.4320MHz SMD Quartz
The 18.4320MHz quartz is essential for ensuring accurate time synchronization in your Arduino and microcontroller projects, ideal for makers who want to create digital clocks or RTC clocks.
What you need
- Arduino Uno
- Microcontroller with quartz input
- SMD Connection
Steps
- Check the correct position of the quartz on the circuit according to the datasheet.
- Connect the quartz legs to the dedicated pins of the microcontroller or Arduino.
- Ensure the connection is secure and free of short circuits.
- Verify the proper power supply of the circuit.
- Test the oscillator with a measuring tool such as an oscilloscope (if available).
- If you do not have access to an oscilloscope, run a simple Arduino sketch to test the functionality.
Example code
// Esempio di codice
void setup() {
  Serial.begin(9600);
}

void loop() {
  // Codice che utilizza l'oscillatore
}
Mini project
Create a digital clock with an LCD display and your Arduino, synchronized by the quartz.
Common mistakes
- Incorrect pinout of the quartz crystal
- Insufficient power supply to the circuit
- Lack of tests to verify the proper functioning of the oscillator
Recommended accessories
- Arduino Uno
- LCD Display
- Oscilloscope
Frequently asked questions
Can the quartz crystal be replaced with another model?
Check the specifications of the new quartz crystal and ensure they are compatible with your project.
How can I test the oscillator without an oscilloscope?
Run a test sketch on Arduino to verify the timing synchronization.
Reviews
There are no reviews yet.