 EN
 IT Italiano
 ES Español
 FR Français
 DE Deutsch
Description
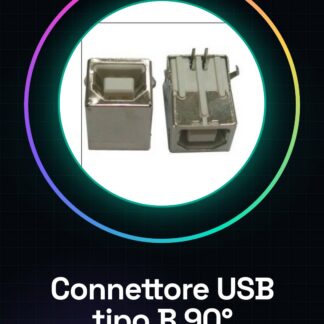
Tutorial: How to Use Right-Angle USB Type B Connector
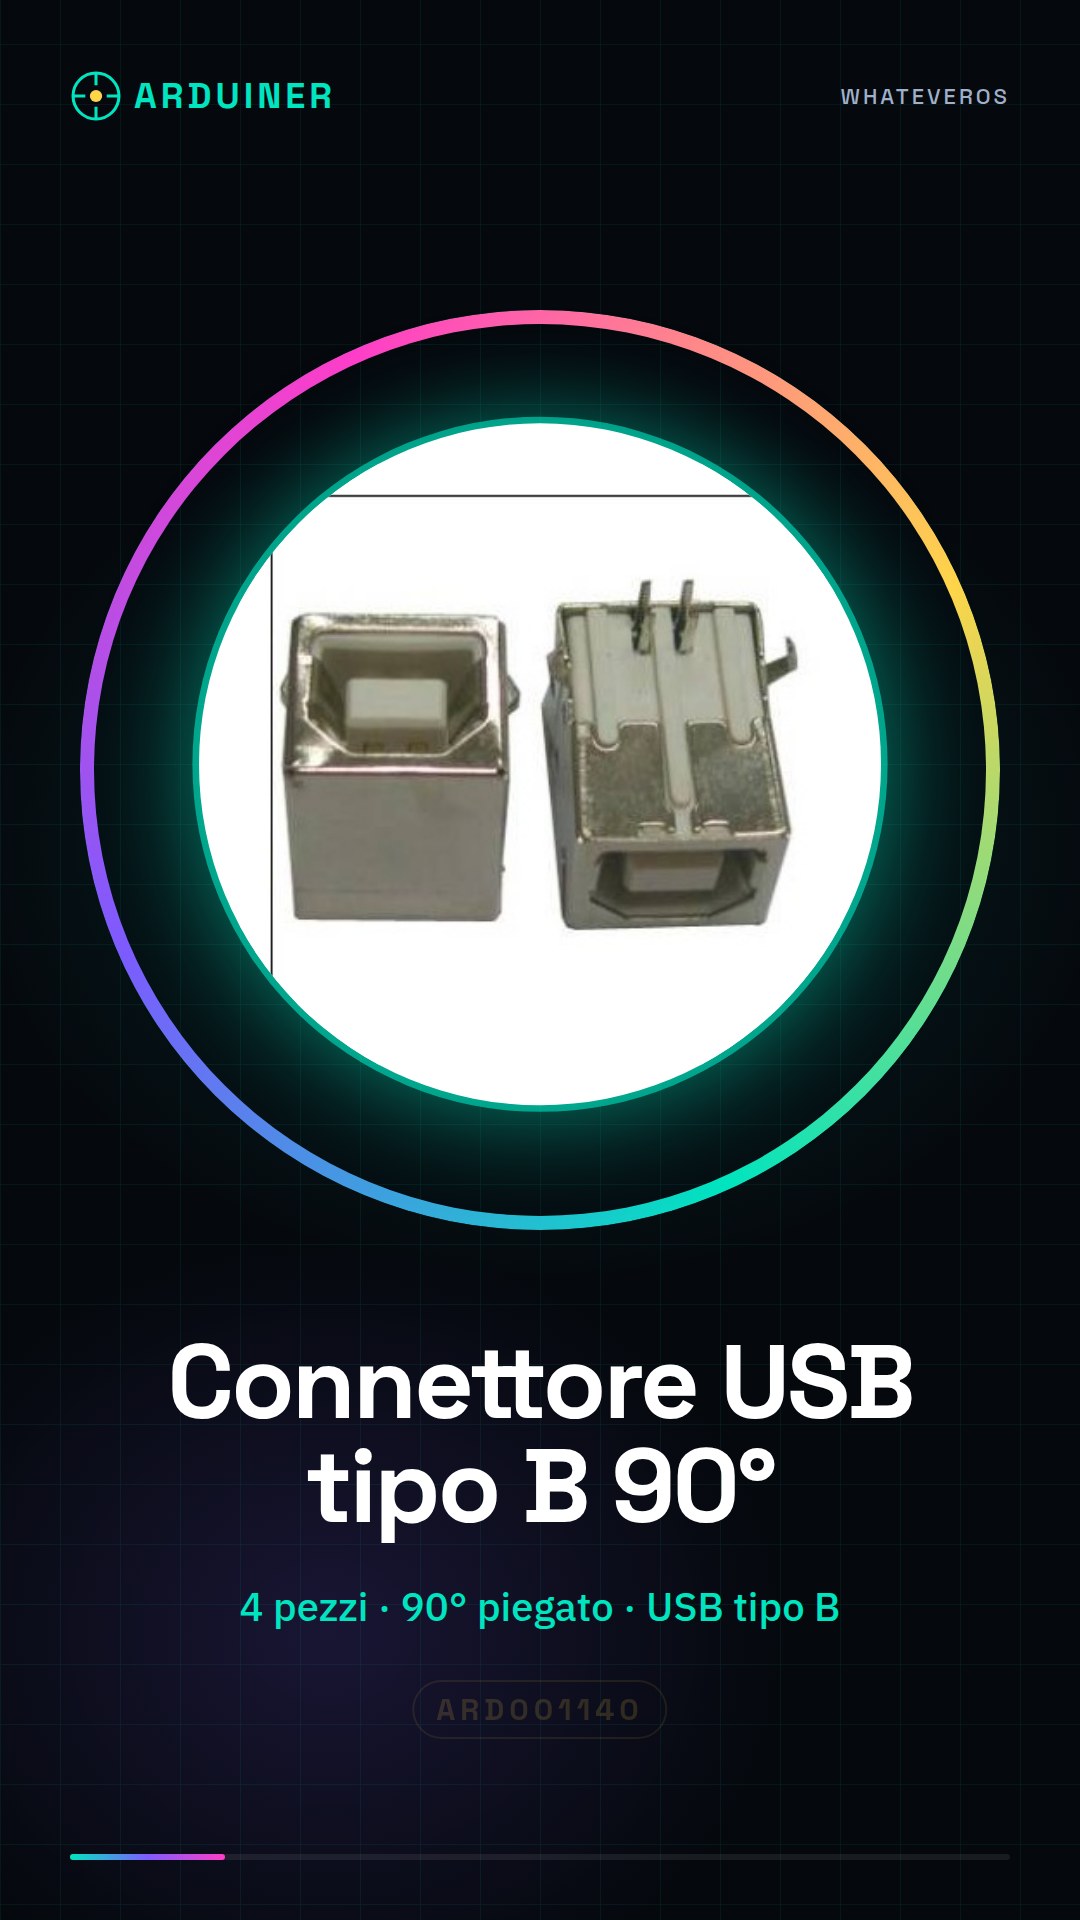
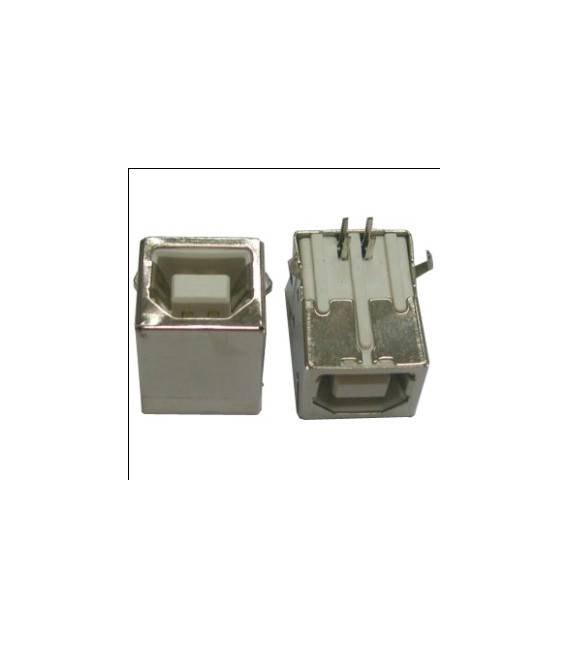
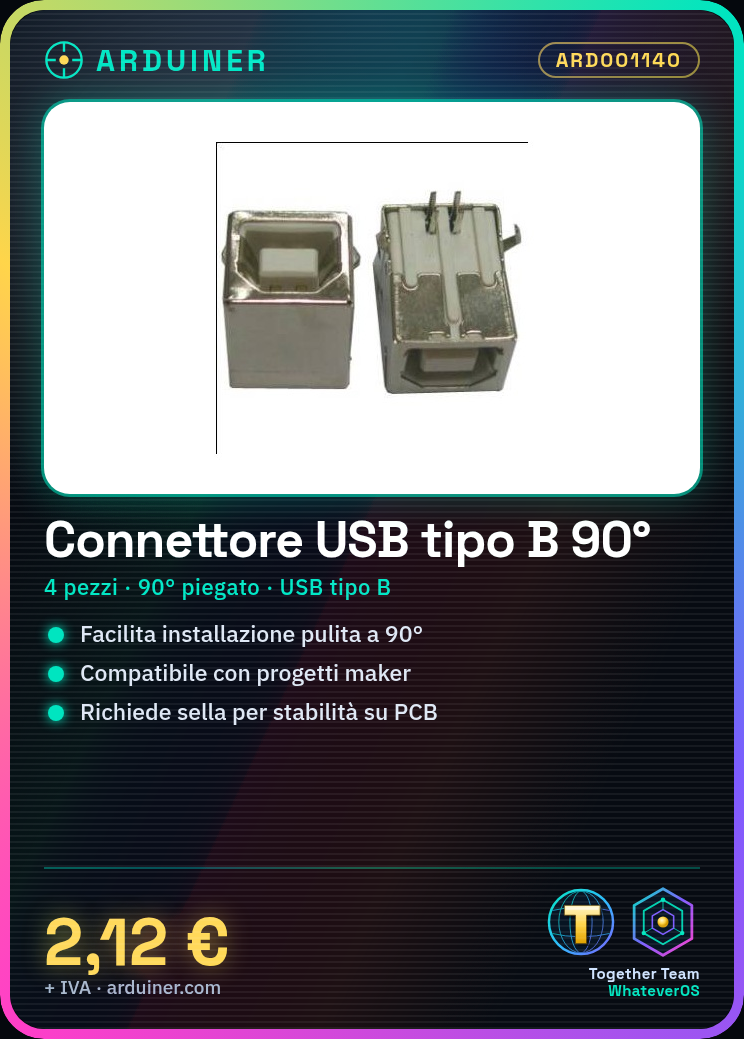
This right-angle USB Type B connector is ideal for electronic projects that require a clean and organized installation. It is perfect for beginner and intermediate makers who want to integrate the USB interface into electronic modules.
What you need
- Arduino
- USB A to B Cable
- Desoldering Tool
Steps
- Check the compatibility of the connector with the module or project you are developing.
- Use a practice knife to deburr any sharp edges on the mounting mold if necessary.
- Connect the USB A to B cable to the connector and ensure it is securely inserted.
- If you are using this connector on a PCB panel, apply solder to ensure the stability of the interface.
- Verify the connection with a testing tool or an LED bulb.
- Repeat the previous steps for all other connectors if you are working with multiple modules.
Mini project
Create a USB module that allows a temperature and humidity sensor to send data to the computer via USB interface.
Common mistakes
- Do not check the connector compatibility before installation.
- Omit the deburring of sharp edges on the mounting mold.
- Ignore the application of solder to ensure a stable installation on a PCB panel.
Recommended accessories
- USB Type A to B cable
- Deburring tool
- Solder
Frequently asked questions
How can I verify the connector compatibility?
Check the datasheet or contact the manufacturer for detailed information.
Can I use this connector on a PCB panel?
Yes, but make sure to apply solder for a stable installation.
Reviews
There are no reviews yet.