 EN
 IT Italiano
 ES Español
 FR Français
 DE Deutsch
Description
What it is
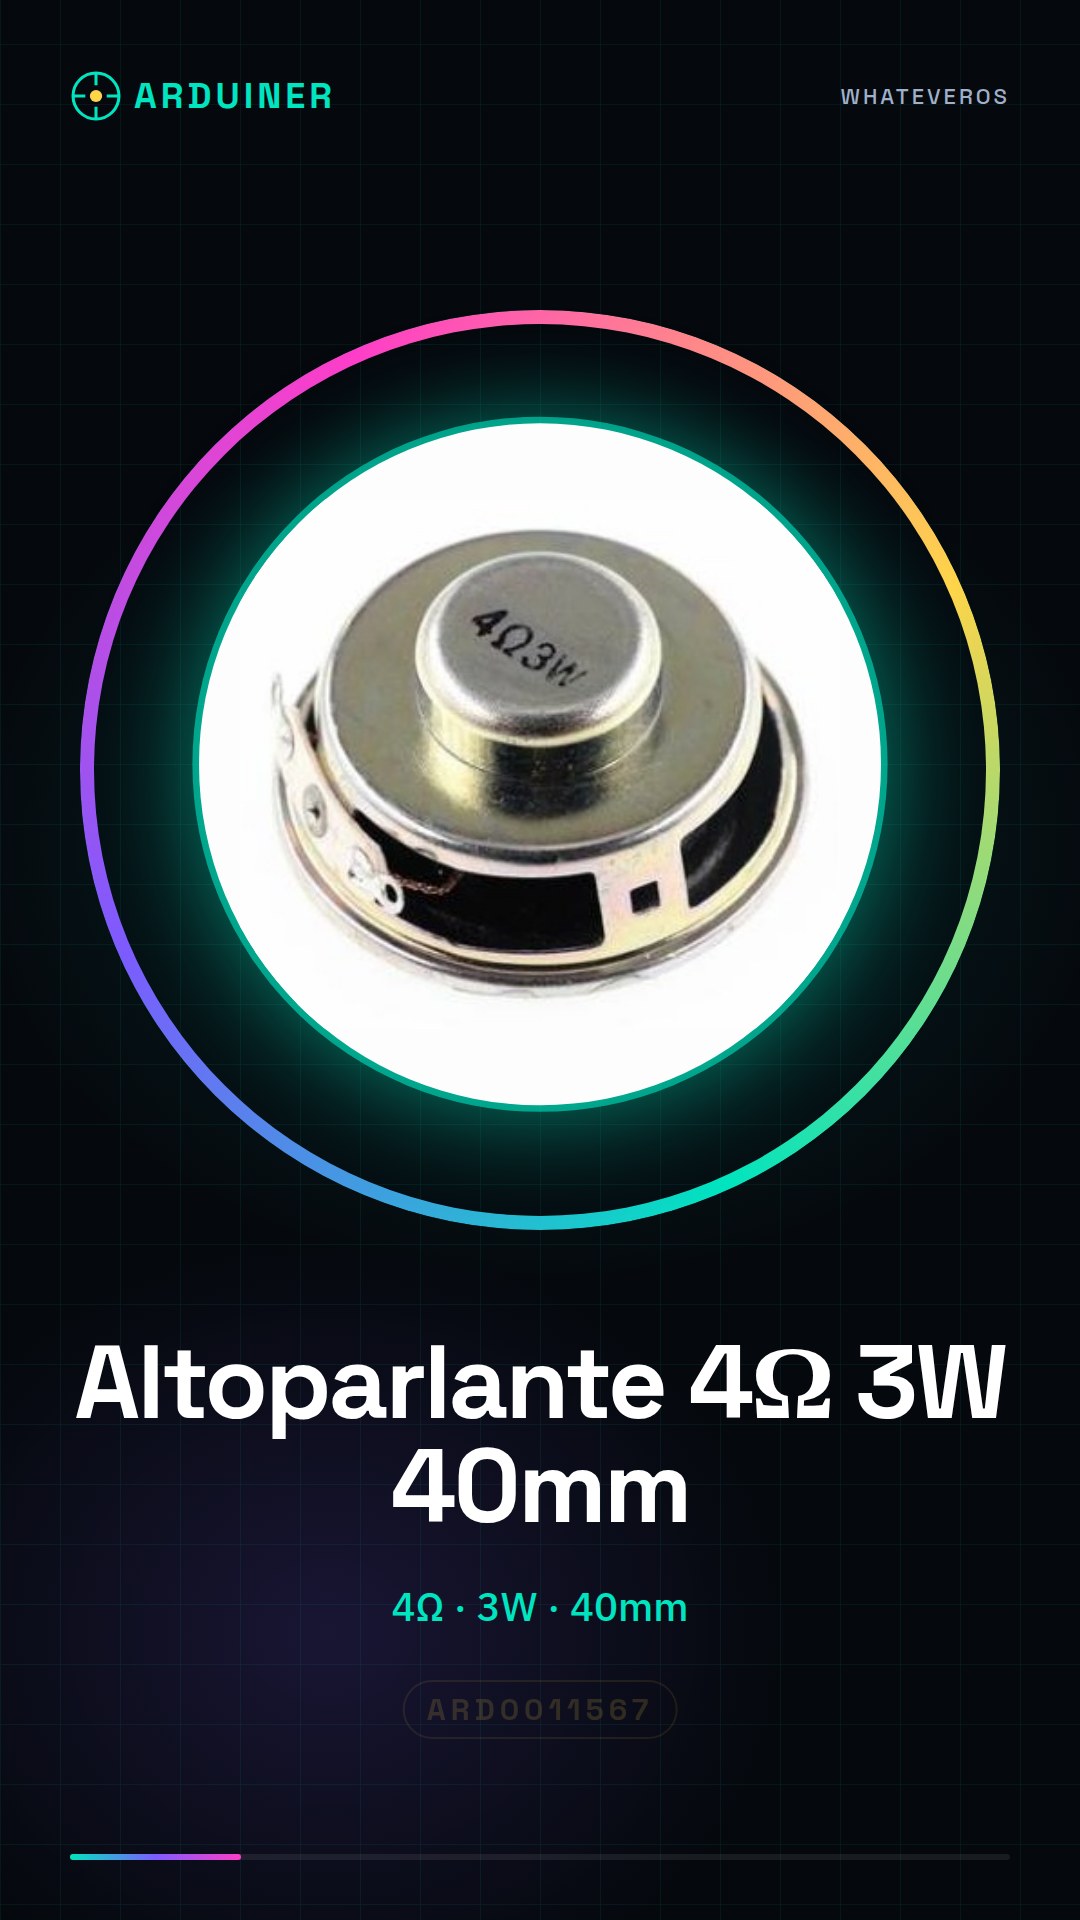
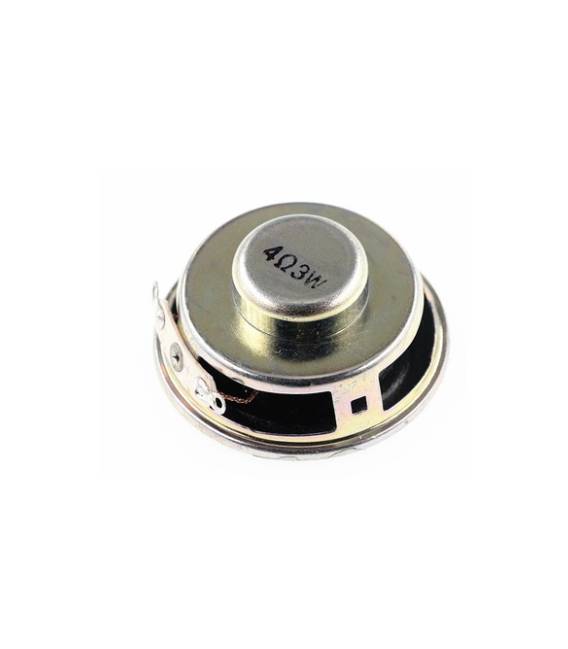
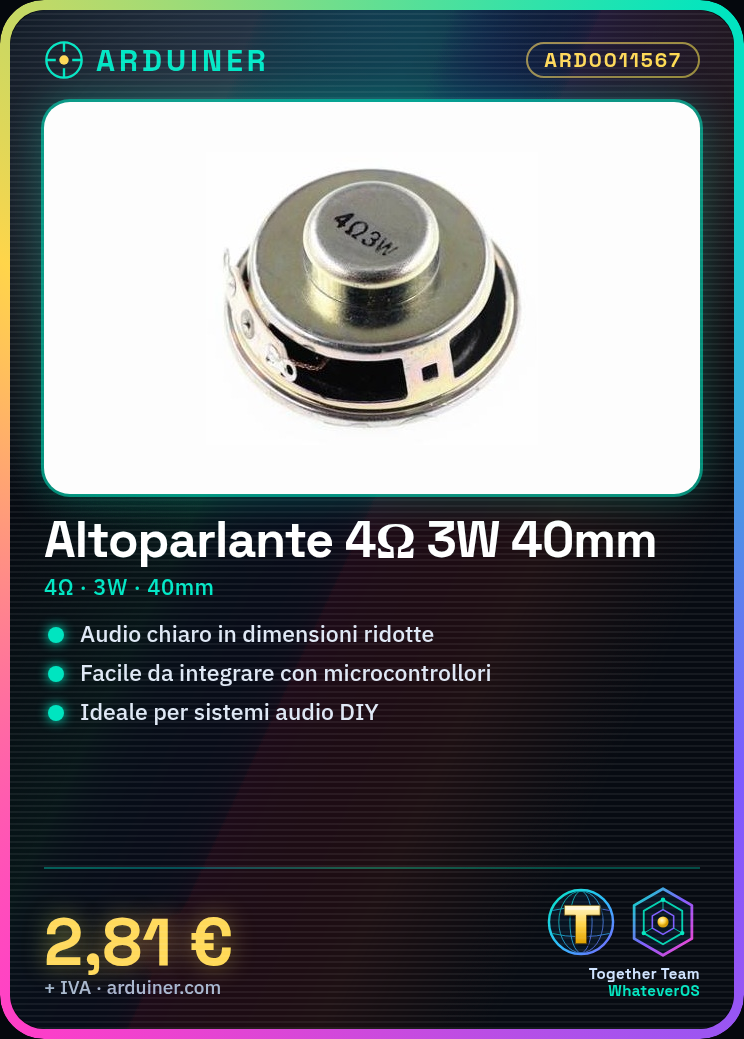
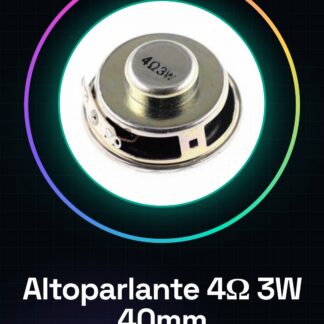
This 4Ω 3W speaker is an audio component suitable for electronic projects like Arduino. With a diameter of 40mm, it is ideal for applications requiring clear and powerful audio in small sizes.
Features
- Impedance: 4 ohms
- Maximum power: 3W
- Diameter: 40mm
What it is for
This speaker is perfect for creating simple audio systems using Arduino or other microcontrollers. You can use it to play back test audio files or integrate it into DIY projects such as small speakers or audio systems.
Tutorial: How to Use 4R 3W Speaker
This speaker is ideal for basic audio projects and for anyone who wants to amplify sounds in small applications. It is used to create simple audio systems.
What you need
- 4R 3W Speaker
- Arduino or microcontroller
- Protection resistor (check the datasheet)
- Power supply
Steps
- 1. Connect the speaker to the test board or directly to the microcontroller.
- 2. Verify that the speaker functions correctly with a signal generator.
- 3. Connect the protection resistor between the board and the speaker (check the datasheet).
- 4. Load a simple sketch that produces an audio signal (check the datasheet).
- 5. Power up the board and check that the speaker produces sounds.
- 6. Adjust the frequency and volume in the code.
- 7. Test the speaker with different audio files.
- 8. Verify the correct use of power.
Example code
```
#include <Tone.h>

Tone piezo(3);

void setup() {
  Tone.begin(3);
}

void loop() {
  Tone.play(440, 1000);
  delay(1000);
  Tone.play(880, 1000);
  delay(1000);
}
```
Mini project
Create a simple audio system using the speaker with an Arduino and a test audio file.
Common mistakes
- Do not use a direct audio signal without a protection resistor.
- Connect the speaker to a microcontroller without adequate power.
- Do not test the speaker with audio signals that are too strong.
- Omit the verification of correct power.
Recommended accessories
- Arduino Uno
- Protection resistor 100 ohm
- Power supply 5V
- Audio Signal Generator
Frequently asked questions
How can I test the speaker?
Connect the speaker to an audio signal generator and check that it produces sound.
What are the power limits of the speaker?
The speaker supports up to 3W.
Can I use this speaker with a Raspberry Pi?
Yes, but verify the power supply and protection resistor.
Reviews
There are no reviews yet.